5 Kids Baking Recipes That Turn Rainy Days Into Sweet Magic
Need a fun, low-mess way to keep kids busy and well-fed? These easy, kid-approved bakes are the sweet spot: simple steps, big flavors, and zero fussy chef vibes. Think tiny hands mixing, big smiles tasting, and your kitchen smelling like a bakery—without a three-hour cleanup.
We’re talking five no-fail recipes with real wow factor. They’re perfect for weekend projects, birthday parties, or those “we need dessert now” moments. Ready to bake some memories?
Disclosure: As Amazon Associates, we earn from qualifying purchases at no extra cost to you.
1. One-Bowl Galaxy Sprinkle Cupcakes That Practically Frost Themselves
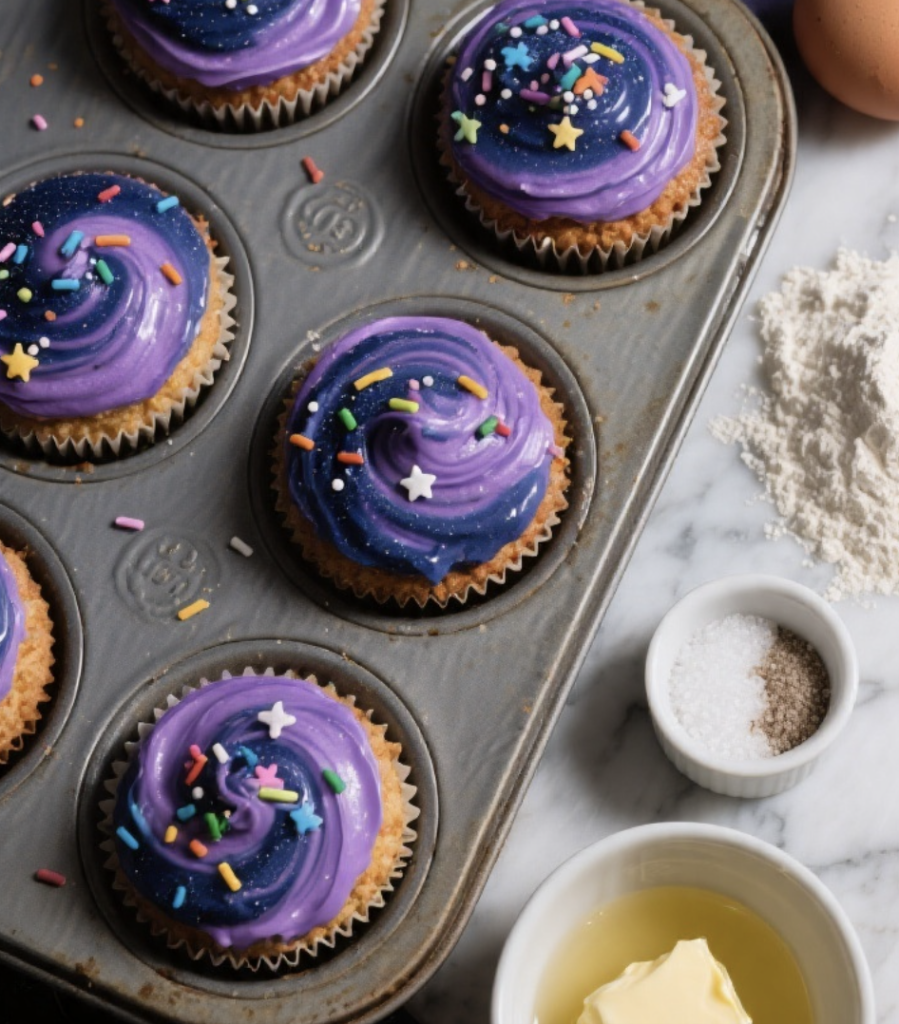
These are the cupcakes kids dream about—soft, vanilla-scented, and bursting with colorful sprinkles. No stand mixer, no drama. They’re perfect for bake sales, birthdays, or a Tuesday afternoon that needs extra sparkle.
Ingredients:
- 1 1/2 cups all-purpose flour
- 3/4 cup granulated sugar
- 1 1/2 teaspoons baking powder
- 1/4 teaspoon fine salt
- 1/2 cup unsalted butter, melted and slightly cooled
- 2 large eggs, room temperature
- 1/2 cup milk (dairy or oat), room temperature
- 2 teaspoons vanilla extract
- 1/3 cup rainbow sprinkles (jimmies work best)
- Optional frosting: 1 1/2 cups powdered sugar, 2–3 tablespoons milk, 1 teaspoon vanilla, food coloring, extra sprinkles
Instructions:
- Preheat oven to 350°F (175°C). Line a 12-cup muffin tin with paper liners.
- In a large bowl, whisk together flour, sugar, baking powder, and salt.
- Add melted butter, eggs, milk, and vanilla. Whisk until just smooth—don’t overmix. Fold in sprinkles.
- Divide batter evenly among liners (about 2/3 full). Bake 18–20 minutes, until tops spring back and a toothpick comes out clean.
- Cool in the tin 5 minutes, then transfer to a rack to cool completely.
- For the glaze-style frosting, whisk powdered sugar, milk, and vanilla until smooth. Tint with food coloring if you like. Spoon over cooled cupcakes and top with extra sprinkles.
Pro tip: Use “jimmies” sprinkles; nonpareils can bleed color into the batter. For a galaxy vibe, swirl two frosting colors with a toothpick, then shower with star sprinkles. Store covered at room temp for 2 days.
2. Chewy Chocolate Chip Cookie Bars You Cut Into Treasure Maps
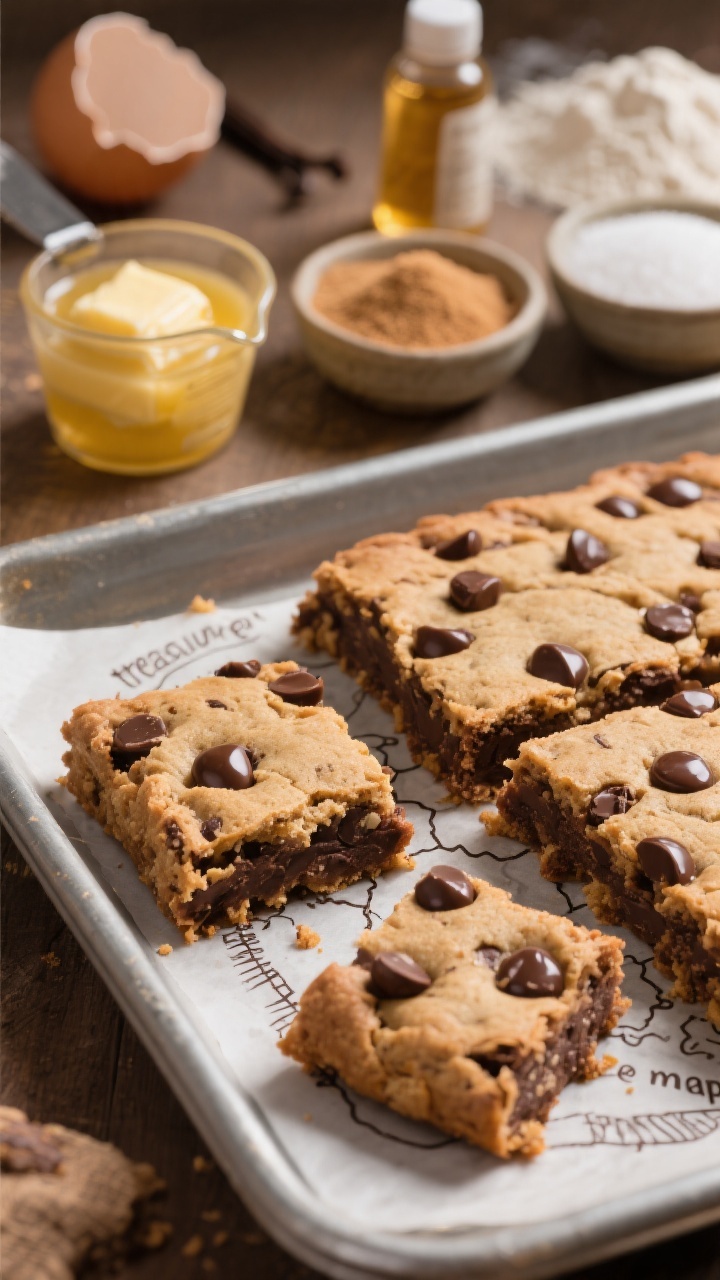
All the joy of chocolate chip cookies, none of the scooping. These bars are soft, gooey in the middle, and sturdy enough for little hands. Slice into “map” squares and let kids draw X’s with melted chocolate—instant adventure snack.
Ingredients:
- 1/2 cup unsalted butter, melted
- 1/2 cup light brown sugar, packed
- 1/4 cup granulated sugar
- 1 large egg
- 2 teaspoons vanilla extract
- 1 cup all-purpose flour
- 1/2 teaspoon baking soda
- 1/4 teaspoon fine salt
- 3/4 cup chocolate chips (semi-sweet or milk)
- Optional: 1/4 cup mini M&M’s, flaky sea salt for topping
Instructions:
- Preheat oven to 350°F (175°C). Line an 8-inch square pan with parchment, leaving overhang.
- In a bowl, whisk melted butter, brown sugar, and granulated sugar until shiny. Whisk in egg and vanilla.
- Sprinkle over flour, baking soda, and salt. Stir until just combined. Fold in chocolate chips and optional M&M’s.
- Press batter evenly into the pan. Sprinkle a pinch of flaky salt if you like.
- Bake 18–22 minutes, until edges are set and the center looks just barely underbaked. Cool completely in the pan.
- Lift out with parchment and slice into bars. For “treasure maps,” drizzle melted chocolate in squiggles and add an X. Arrr!
Pro tip: Slight underbake = ultra chewy. Want thicker bars? Double the recipe and bake in a 9×13 pan for 22–25 minutes. Serve with cold milk or crumble into ice cream sundaes.
3. 10-Minute No-Bake PB&J Oat Squares That Actually Stick Together
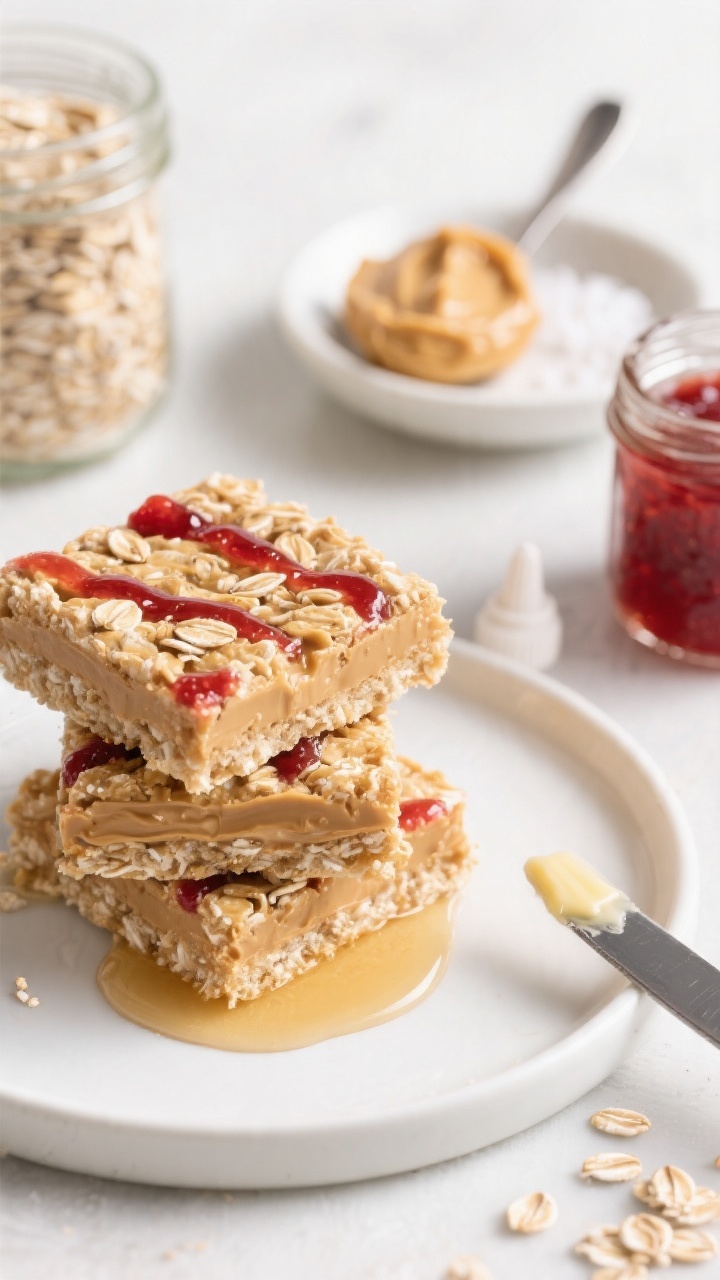
No oven, no problem. These PB&J squares are sweet, nutty, and gently chewy—like a granola bar met a sandwich and decided to be dessert. They’re a brilliant lunchbox treat and perfect for tiny chefs who love to stir.
Ingredients:
- 1 1/2 cups quick oats
- 1/2 cup creamy peanut butter (or sunflower seed butter for nut-free)
- 1/3 cup honey or maple syrup
- 1/2 teaspoon vanilla extract
- 1/4 teaspoon fine salt
- 1/3 cup strawberry or raspberry jam
- Optional mix-ins: 2 tablespoons mini chocolate chips, 2 tablespoons finely chopped dried fruit
Instructions:
- Line a 9×5-inch loaf pan with parchment, leaving overhang for easy lifting.
- In a microwave-safe bowl, warm peanut butter and honey in 15-second bursts until easily stirrable. Mix in vanilla and salt.
- Stir in oats (and optional mix-ins) until evenly coated.
- Press half the mixture firmly into the pan. Spread jam in a thin layer. Top with the remaining oat mixture and press hard—use the bottom of a measuring cup.
- Chill 30–45 minutes until set. Lift out and slice into squares or bars.
Pro tip: Pressing firmly is the secret to bars that don’t crumble. Swap jam flavors to keep things fun—blueberry-lemon is a sleeper hit. Store chilled up to 5 days or freeze for grab-and-go snacks.
4. Banana Muffin Minis With Cinnamon Sugar Caps
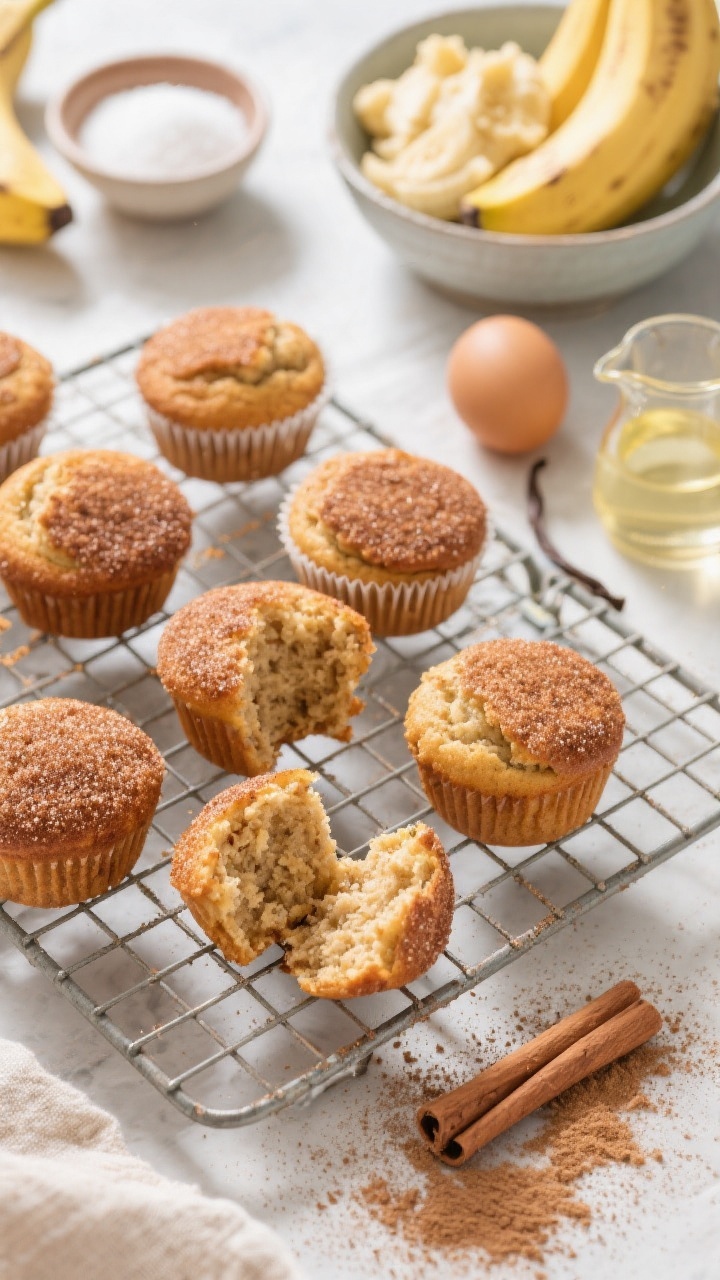
Got spotty bananas? Turn them into bite-size gold. These mini muffins are fluffy, warmly spiced, and crowned with a crackly cinnamon sugar top. Breakfast, snack, dessert—yes to all three.
Ingredients:
- 1 cup mashed ripe banana (about 2 large)
- 1/3 cup granulated sugar
- 1/4 cup light brown sugar, packed
- 1/3 cup neutral oil (canola or melted coconut)
- 1 large egg
- 1 teaspoon vanilla extract
- 1 1/4 cups all-purpose flour
- 1 teaspoon baking powder
- 1/2 teaspoon baking soda
- 1/2 teaspoon ground cinnamon
- 1/4 teaspoon fine salt
- 2 tablespoons milk
- Cinnamon sugar topping: 2 tablespoons sugar + 1/2 teaspoon cinnamon
Instructions:
- Preheat oven to 375°F (190°C). Grease a 24-cup mini muffin tin or line with mini liners.
- In a bowl, whisk banana, sugars, oil, egg, and vanilla until smooth.
- In another bowl, whisk flour, baking powder, baking soda, cinnamon, and salt.
- Add dry ingredients to wet. Stir gently, then add milk to loosen—batter should be thick but spoonable.
- Fill cups about 3/4 full. Sprinkle each with cinnamon sugar.
- Bake 10–12 minutes until the tops spring back. Cool 5 minutes in the pan, then pop onto a rack.
Pro tip: Don’t overmix—streaks of flour disappearing is your stop sign. Stir in 1/3 cup mini chocolate chips or blueberries for a twist. These freeze beautifully; reheat 10 seconds in the microwave.
5. Sheet-Pan Cinnamon Roll “Scones” With Drizzly Vanilla Glaze
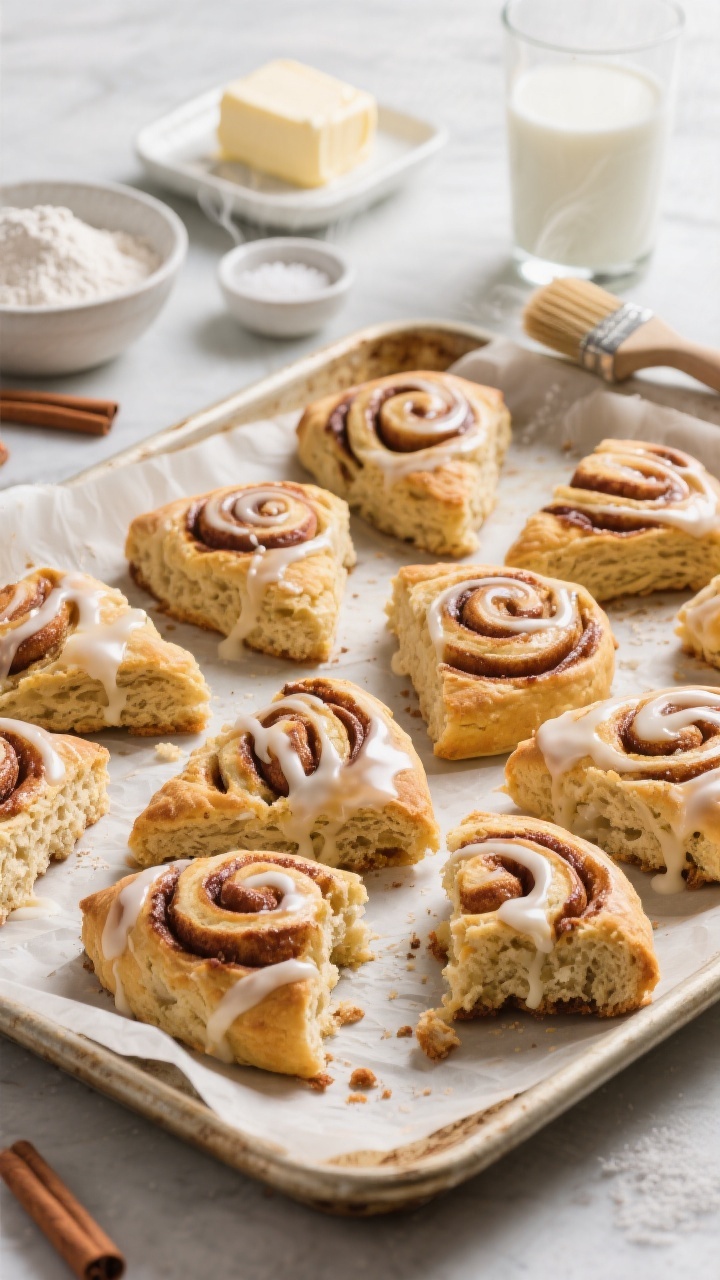
All the cozy cinnamon roll vibes without the yeast or long rise. These tender, flaky “scones” bake on one sheet pan and break into shareable squares. They’re weekend-brunch fast and dangerously good with coffee or hot cocoa.
Ingredients:
- 2 cups all-purpose flour
- 1/4 cup granulated sugar
- 1 tablespoon baking powder
- 1/2 teaspoon fine salt
- 1/2 cup cold unsalted butter, cubed
- 3/4 cup cold milk (plus 1 tablespoon for brushing)
- 1 teaspoon vanilla extract
- Filling: 1/3 cup light brown sugar, packed; 1 1/2 teaspoons ground cinnamon; 2 tablespoons melted butter
- Glaze: 1 cup powdered sugar; 1 1/2–2 tablespoons milk; 1/2 teaspoon vanilla; pinch of salt
Instructions:
- Preheat oven to 400°F (205°C). Line a rimmed sheet pan with parchment.
- In a large bowl, whisk flour, sugar, baking powder, and salt. Cut in cold butter with a pastry cutter or your fingers until pea-sized crumbs form.
- Stir in milk and vanilla until a shaggy dough forms. Don’t overwork.
- Turn dough onto a lightly floured surface. Pat into a 10×8-inch rectangle, about 1/2 inch thick.
- Brush with melted butter. Mix brown sugar and cinnamon, then sprinkle evenly over dough, pressing lightly.
- Fold dough like a letter (short side in thirds) to trap the filling. Gently pat back into a 9×7-inch rectangle.
- Transfer to the sheet pan. Score the top into 12 squares with a knife. Brush with 1 tablespoon milk.
- Bake 14–17 minutes until puffed with lightly golden edges. Cool 10 minutes.
- Whisk glaze ingredients until pourable and drizzle over warm scones. Break apart along score lines to serve.
Pro tip: Keep the butter cold for flakiness—chill the dough 10 minutes if your kitchen’s warm. Add mini raisins or chopped pecans to the filling if your kids are into it. Leftovers reheat like a dream at 300°F for 5–7 minutes.
Kid Helper Roles That Make Baking Fun (And Safer)
- Measurers-in-chief: Level flour with a butter knife and count spoonfuls out loud.
- Mix masters: Whisk wet ingredients and fold in sprinkles or chips.
- Decoration department: Swirl frosting, place sprinkles, and make “treasure map” designs.
- Timer captains: Press start, announce the countdown, and help with the cooling rack transfer.
Mess-Minimizing Moves You’ll Thank Yourself For
- Use big bowls for small batters to contain the flour flurries.
- Line pans with parchment—lifts right out and saves scrubbing.
- Set a “sprinkle zone” tray to catch the chaos. Trust me, it helps.
There you go—five sweet baking wins that deliver big smiles without a culinary degree. Pick one, preheat the oven (or don’t, for those PB&J bars), and let the little bakers take the lead. You’ll end up with tasty treats and even better memories—seriously, the best kind of kitchen magic.
Printable Recipe Card
Want just the essential recipe details without scrolling through the article? Get our printable recipe card with just the ingredients and instructions.