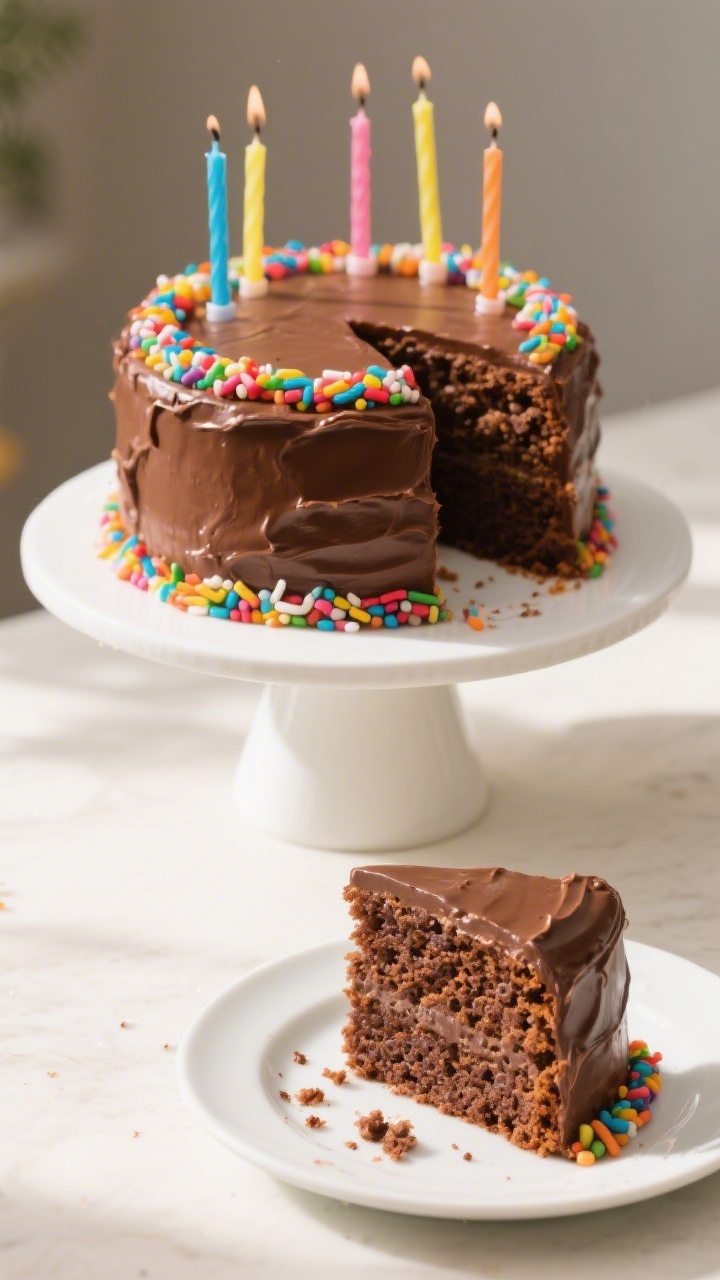
Kids Cake: Easy Chocolate Birthday Cake Recipe – Simple, Soft, and Fun
This chocolate cake is the kind of birthday classic kids ask for year after year. It’s soft, moist, and rich without being too heavy, and the frosting is smooth and creamy. You don’t need fancy tools or skills—just a few bowls and a whisk.
The steps are simple, the ingredients are basic, and the results are reliable. It’s a cake that looks great with sprinkles and candles, and it tastes even better the next day.
Kids Cake: Easy Chocolate Birthday Cake Recipe - Simple, Soft, and Fun
Ingredients
Method
-
Prep the pans and oven. Heat the oven to 350°F (175°C).
Grease and line two 8-inch round cake pans (or one 9x13-inch pan) with parchment. Lightly flour the sides to prevent sticking.
-
Mix the dry ingredients. In a large bowl, whisk flour, sugar, cocoa, baking powder, baking soda, and salt until even. This helps avoid cocoa clumps.
-
Add the wet ingredients (except hot liquid). Whisk in eggs, oil, yogurt, and vanilla until smooth.
The batter will be thick.
-
Bloom the cocoa. Stir the hot milk into the batter to loosen and deepen the chocolate flavor. Mix until combined and glossy.
-
Finish with hot coffee or water. Carefully pour in the hot coffee or water. The batter will look thin—that’s right.
Stir gently until smooth.
-
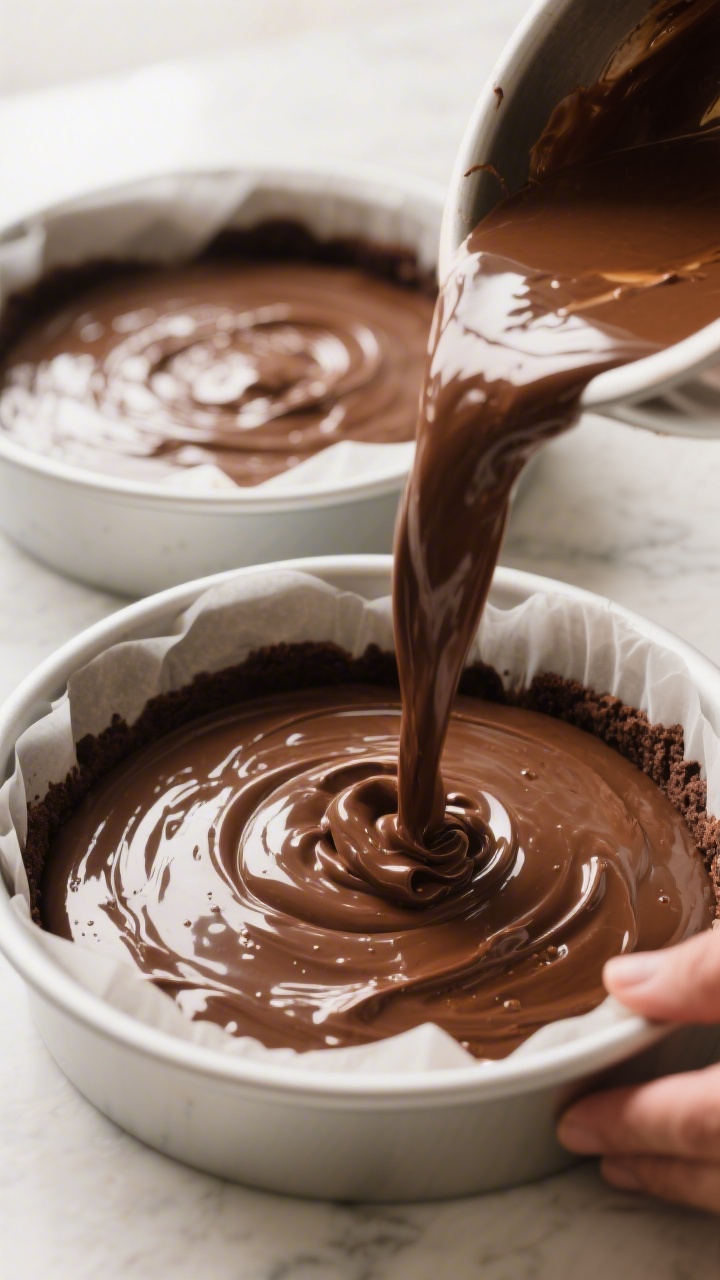
Fill the pans. Divide batter evenly between the prepared pans. Tap each pan once on the counter to pop big air bubbles.
-
Bake. Bake 22–28 minutes for two 8-inch rounds, or 28–34 minutes for a 9x13. The cake is done when a toothpick comes out with a few moist crumbs.
-
Cool completely. Let cakes cool in the pans for 10 minutes, then turn out onto racks.
Remove parchment and cool fully before frosting.
-
Make the frosting. Beat softened butter until creamy. Add cocoa, half the powdered sugar, a pinch of salt, and 2 tablespoons milk. Beat until smooth.
Add remaining sugar and more milk, 1 tablespoon at a time, until the frosting is fluffy and spreadable. Beat in vanilla.
-
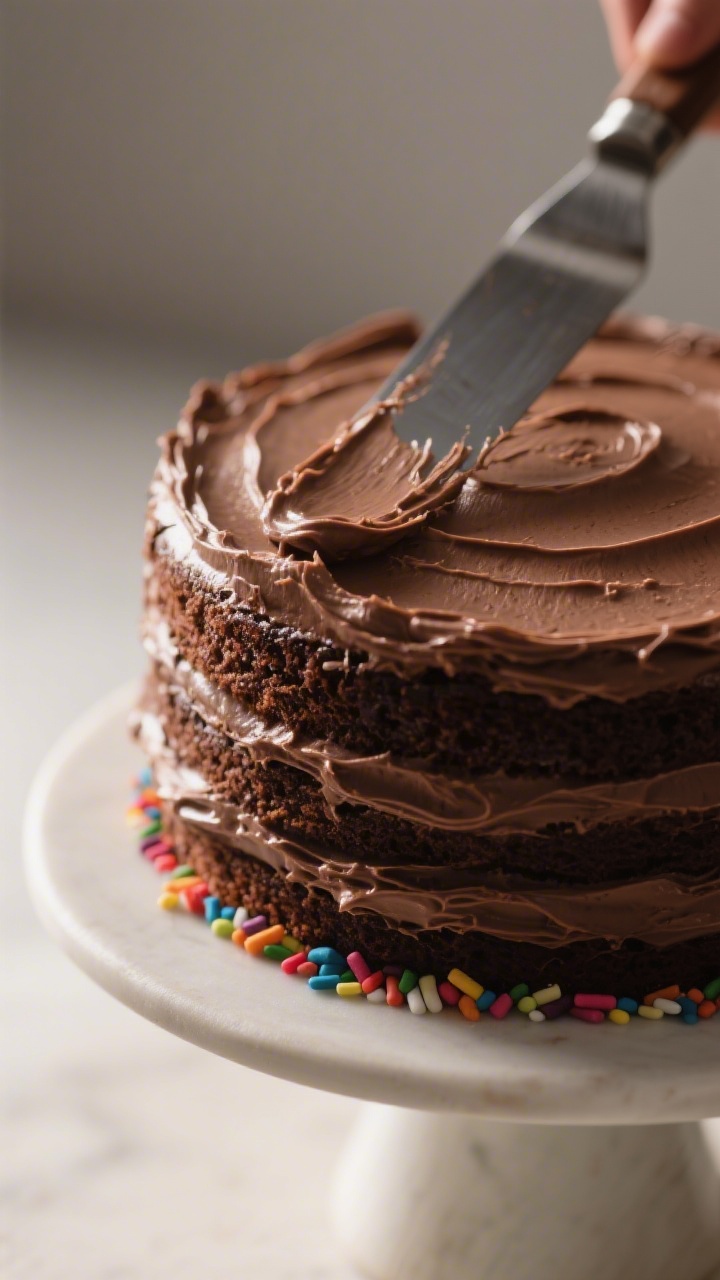
Assemble. If making a layer cake, level domes with a knife. Place the first layer on a plate, add a generous frosting layer, then top with the second cake.
Frost the top and sides. Add sprinkles right away so they stick.
-
Set and serve. Let the frosted cake rest 15–20 minutes so the frosting firms slightly. Slice with a warm knife for clean cuts.
Disclosure: As Amazon Associates, we earn from qualifying purchases at no extra cost to you.
Why This Recipe Works
⭐ My secret tip – Ever since we started using this kids baking set, my toddler loves helping in the kitchen and is much more willing to try new foods. ✨ This is the blender we use for protein smoothies with yogurt, peanut butter, and fruit.
This cake uses oil instead of butter, which keeps it extra moist and tender—even after a night in the fridge. A mix of cocoa powder and hot milk blooms the cocoa, giving the cake a deep chocolate flavor without being bitter.
The frosting blends butter, cocoa, powdered sugar, and a splash of milk for a smooth, spreadable finish. It’s easy to bake in one bowl, and it’s forgiving if little hands want to help. Best of all, it makes clean, sturdy slices that hold up well for party plates.
Ingredients
- All-purpose flour: 2 cups (250 g)
- Granulated sugar: 1¾ cups (350 g)
- Unsweetened cocoa powder: ¾ cup (75 g), sifted if lumpy
- Baking powder: 2 teaspoons
- Baking soda: 1 teaspoon
- Fine salt: ½ teaspoon
- Large eggs: 2, room temperature
- Whole milk: 1 cup (240 ml), heated until hot but not boiling
- Neutral oil (canola or vegetable): ½ cup (120 ml)
- Plain yogurt or sour cream: ½ cup (120 ml), room temperature
- Vanilla extract: 2 teaspoons
- Hot coffee or hot water: ½ cup (120 ml) — coffee boosts chocolate flavor, water works too
For the Chocolate Frosting:
- Unsalted butter:</strong > 1 cup (225 g), softened
- Powdered sugar: 3–3½ cups (360–420 g), sifted
- Unsweetened cocoa powder: ½ cup (50 g)
- Milk or heavy cream: 4–6 tablespoons, as needed
- Vanilla extract: 1½ teaspoons
- Pinch of salt: to balance sweetness
- Sprinkles: optional, for decorating
How to Make It
⭐ My secret tip – Ever since we started using this kids baking set, my toddler loves helping in the kitchen and is much more willing to try new foods. ✨ This is the blender we use for protein smoothies with yogurt, peanut butter, and fruit.
- Prep the pans and oven. Heat the oven to 350°F (175°C).Grease and line two 8-inch round cake pans (or one 9×13-inch pan) with parchment. Lightly flour the sides to prevent sticking.
- Mix the dry ingredients. In a large bowl, whisk flour, sugar, cocoa, baking powder, baking soda, and salt until even. This helps avoid cocoa clumps.
- Add the wet ingredients (except hot liquid). Whisk in eggs, oil, yogurt, and vanilla until smooth.The batter will be thick.
- Bloom the cocoa. Stir the hot milk into the batter to loosen and deepen the chocolate flavor. Mix until combined and glossy.
- Finish with hot coffee or water. Carefully pour in the hot coffee or water. The batter will look thin—that’s right.Stir gently until smooth.
- Fill the pans. Divide batter evenly between the prepared pans. Tap each pan once on the counter to pop big air bubbles.
- Bake. Bake 22–28 minutes for two 8-inch rounds, or 28–34 minutes for a 9×13. The cake is done when a toothpick comes out with a few moist crumbs.
- Cool completely. Let cakes cool in the pans for 10 minutes, then turn out onto racks.Remove parchment and cool fully before frosting.
- Make the frosting. Beat softened butter until creamy. Add cocoa, half the powdered sugar, a pinch of salt, and 2 tablespoons milk. Beat until smooth.Add remaining sugar and more milk, 1 tablespoon at a time, until the frosting is fluffy and spreadable. Beat in vanilla.
- Assemble. If making a layer cake, level domes with a knife. Place the first layer on a plate, add a generous frosting layer, then top with the second cake.Frost the top and sides. Add sprinkles right away so they stick.
- Set and serve. Let the frosted cake rest 15–20 minutes so the frosting firms slightly. Slice with a warm knife for clean cuts.
Keeping It Fresh
Keep the cake covered at room temperature for up to 2 days.
If your kitchen is warm, store it in the fridge, tightly covered, for 4–5 days. For the softest texture, let chilled slices come to room temperature before serving. You can also freeze unfrosted layers: wrap in plastic and foil, then freeze for up to 2 months.
Thaw in the fridge overnight, then frost.
⭐ My secret tip – Ever since we started using this kids baking set, my toddler loves helping in the kitchen and is much more willing to try new foods. ✨ This is the blender we use for protein smoothies with yogurt, peanut butter, and fruit.
Health Benefits
- Portion control: A homemade cake lets you cut sensible slices and skip extra-sweet store frostings.
- Less processed: You choose the ingredients—no artificial preservatives or colors unless you add them with decorations.
- Cocoa perks: Unsweetened cocoa contains antioxidants and minerals like iron and magnesium.
- Balanced fats: Using oil and yogurt creates moisture without loads of saturated fat from butter in the batter.
- Optional swaps: You can reduce sugar slightly or use whole milk for extra protein and a more satisfying treat.
Common Mistakes to Avoid
- Overmixing the batter: Mix just until smooth. Overmixing can make the cake tough.
- Skipping the parchment: Lining pans prevents sticking and broken layers.
- Cold ingredients: Room-temperature eggs and yogurt blend better and help the cake rise evenly.
- Overbaking: Check a few minutes early. A slightly underbaked look in the center sets as it cools.
- Frosting a warm cake: Heat melts buttercream.Cool completely before frosting.
- Too thick or thin frosting: Adjust with milk (to loosen) or powdered sugar (to thicken) until it spreads easily.
Recipe Variations
- Confetti Chocolate Cake: Stir ½ cup rainbow sprinkles into the batter for a speckled surprise.
- Chocolate Orange: Add 1 tablespoon orange zest and swap vanilla for orange extract. Top with candied peel.
- Double Chocolate Chip: Fold in 1 cup mini chocolate chips for melty bites throughout.
- Gluten-Free: Use a 1:1 gluten-free flour blend with xanthan gum. Let the batter rest 10 minutes before baking.
- Dairy-Light: Use dairy-free milk and yogurt; make the frosting with dairy-free butter.Texture stays tender.
- Sheet-Cake Party: Bake in a 9×13 pan and frost right in the pan. Add a simple sprinkle border for instant party vibes.
FAQ
Can I make this cake a day ahead?
Yes. Bake, cool, and frost the cake, then cover and keep at room temperature if your kitchen is cool.
Otherwise, refrigerate and bring to room temperature before serving. The flavor actually improves by the next day.
What if I don’t have cocoa powder?
Cocoa powder is key for this recipe. If you only have hot chocolate mix, the cake will be too sweet and not as chocolatey.
It’s worth getting unsweetened cocoa for the right taste and texture.
Can I use buttermilk instead of milk and yogurt?
Yes. Replace the milk and yogurt with 1½ cups buttermilk, and keep everything else the same. You’ll get a tender, slightly tangy crumb.
How do I make cupcakes with this batter?
Line a 12-cup muffin tin (you’ll get about 24 cupcakes).
Fill liners two-thirds full and bake at 350°F (175°C) for 16–20 minutes. Frost once completely cool.
My cake sank in the middle—why?
Common causes include underbaking, opening the oven door too early, or expired baking powder/soda. Make sure leaveners are fresh, avoid peeking for the first 20 minutes, and bake until a toothpick has moist crumbs.
How can I reduce the sweetness?
Cut the sugar in the cake by ¼ cup without hurting texture.
For the frosting, add a pinch more salt and use cocoa with a splash of strong coffee to balance sweetness.
What’s the best way to get smooth frosting?
Use fully softened butter, sift powdered sugar and cocoa, and beat on medium until fluffy. If it looks grainy, add a teaspoon of milk at a time and keep beating until glossy.
Can I add a filling between layers?
Absolutely. Try a thin layer of raspberry jam, sliced strawberries, or chocolate ganache.
Keep fillings thin so the layers don’t slide.
Final Thoughts
This easy chocolate birthday cake checks every box: simple steps, pantry ingredients, and a soft crumb kids love. It’s sturdy enough for candles and sprinkles but still melts in your mouth. Whether you’re baking for a big party or a cozy family celebration, this recipe delivers reliable, delicious results.
Make it once, and it’s likely to become your go-to kids’ cake—year after year.
Printable Recipe Card
Want just the essential recipe details without scrolling through the article? Get our printable recipe card with just the ingredients and instructions.