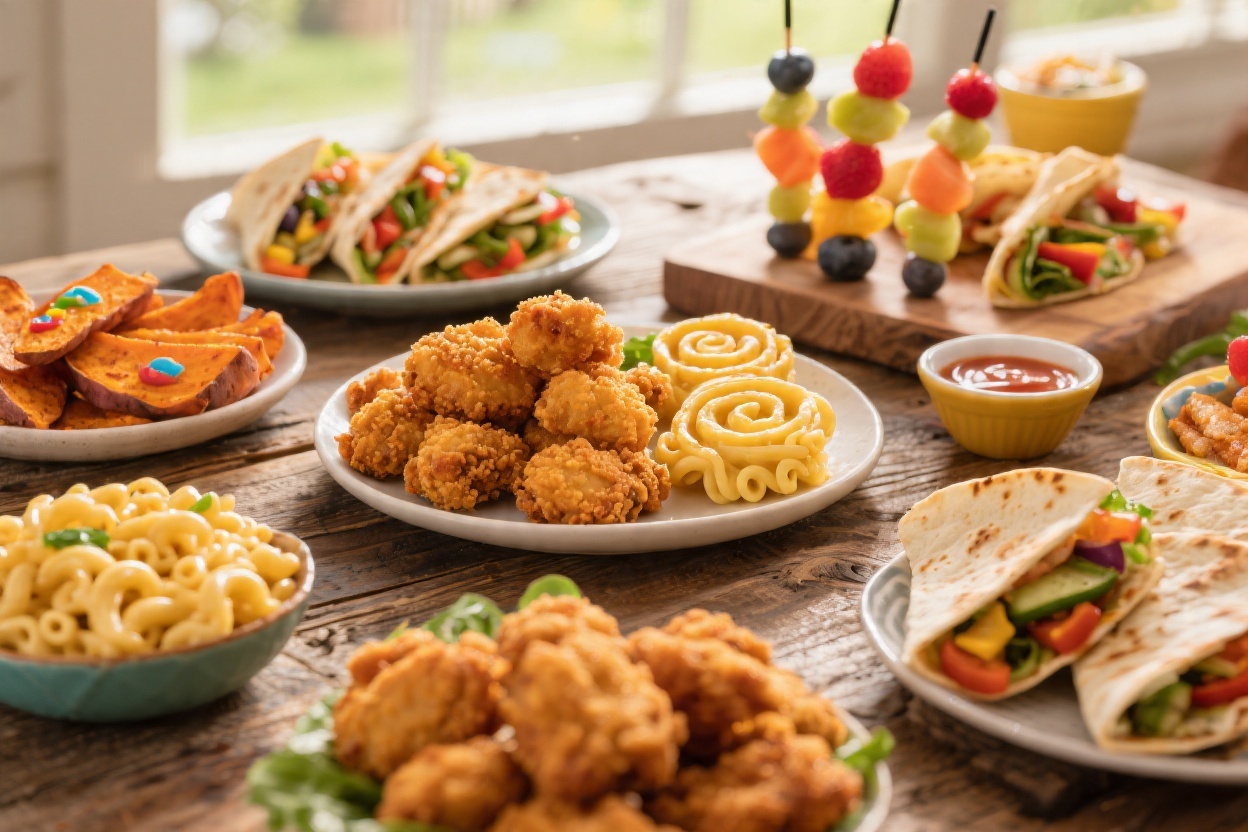
5 Easy Meals for Picky Eaters Kids That Disappear From Plates Fast
Got a picky eater who acts like broccoli is a villain in a superhero movie? You’re not alone. These five easy, colorful, flavor-packed meals are built to win over tiny skeptics—with familiar textures, gentle flavors, and sneaky nutrition. They’re fast for weeknights, customizable for preferences, and kid-tested in the real world (read: they actually get eaten).
1. Cozy Cheesy Chicken & Veggie Rice Cups They’ll Grab With Their Hands

These handheld rice cups are like little edible muffin-tin casseroles—soft, cheesy, and easy to eat. They’re perfect for lunchboxes, busy dinners, or freezer stashes. Plus, the veggies melt into the mix, so even cautious kids say yes.
Disclosure: As Amazon Associates, we earn from qualifying purchases at no extra cost to you.
Ingredients:
- 2 cups cooked white or brown rice (cooled)
- 1 cup cooked shredded chicken (rotisserie works great)
- 1 cup finely chopped steamed broccoli (very small florets)
- 1/2 cup grated carrot
- 1 cup shredded mild cheddar cheese
- 2 large eggs
- 1/4 cup plain Greek yogurt or sour cream
- 1/2 teaspoon garlic powder
- 1/2 teaspoon onion powder
- 1/2 teaspoon salt
- Black pepper to taste
- Olive oil or nonstick spray for the muffin tin
Instructions:
- Preheat the oven to 375°F (190°C). Grease a 12-cup muffin tin generously.
- In a large bowl, mix the rice, chicken, broccoli, carrot, and cheddar cheese.
- In a separate bowl, whisk eggs, Greek yogurt, garlic powder, onion powder, salt, and pepper until smooth.
- Pour the egg mixture over the rice mixture. Stir until everything is evenly coated and clumps together.
- Pack the mixture tightly into the muffin cups, filling to the top and pressing down with the back of a spoon.
- Bake for 20–25 minutes until set and lightly golden at the edges. Let cool 5–10 minutes to firm up.
- Run a butter knife around the edges to release. Serve warm or at room temp.
Serve it with: ketchup, mild salsa, or a tiny bowl of ranch for dipping. Variations: swap broccoli for peas or corn; use ham instead of chicken; add a sprinkle of Parmesan on top. Pro tip: Freeze cooled cups on a tray, then bag. Reheat in a 350°F oven for 8–10 minutes.
2. Creamy Tomato-Pasta Hearts With Hidden Veg Sauce
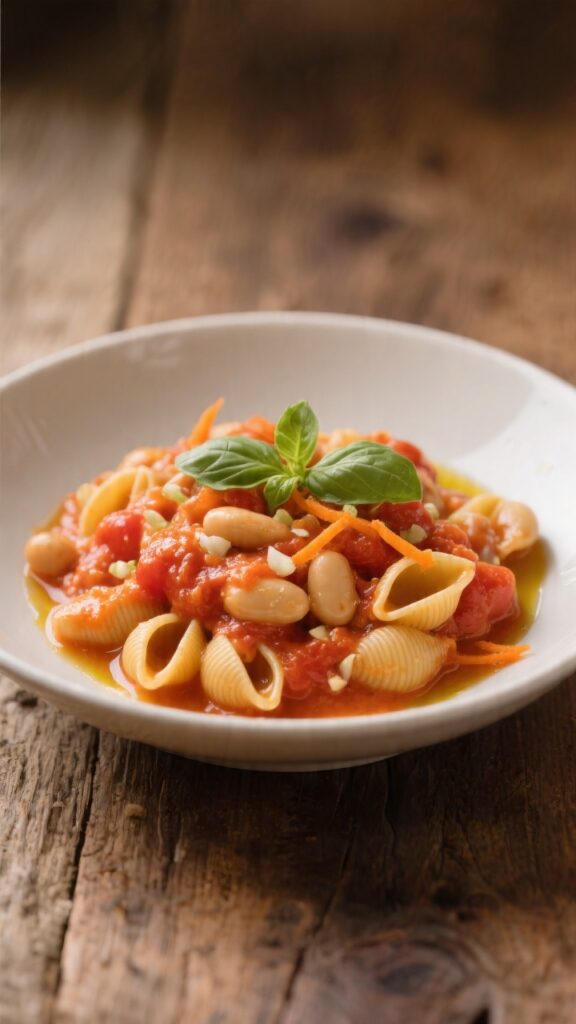
If your kid loves mac and cheese but side-eyes tomatoes, this silky pink sauce is your new best friend. It’s sweet, creamy, and sneaks in carrots and peppers without compromising that familiar pasta comfort. Bonus points for fun-shaped noodles—spirals and shells hold the sauce like champs.
Ingredients:
- 12 ounces small pasta (shells, rotini, or alphabet)
- 1 tablespoon olive oil
- 1/2 small onion, finely chopped
- 1 small carrot, peeled and finely grated
- 1/2 red bell pepper, finely chopped
- 2 cloves garlic, minced
- 1 cup tomato puree or passata (no chunks)
- 1/2 cup low-sodium chicken or vegetable broth
- 1/2 teaspoon sugar (optional, balances acidity)
- 1/3 cup cream or half-and-half
- 1/2 cup finely grated Parmesan cheese
- 1/2 teaspoon salt, plus more for pasta water
- Pinch of dried basil or Italian seasoning
- Butter (optional, 1 tablespoon for richness)
Instructions:
- Boil pasta in salted water until just tender. Reserve 1/2 cup pasta water, drain, and set aside.
- In a skillet, warm olive oil over medium heat. Sauté onion, carrot, and bell pepper for 5–7 minutes until very soft. Add garlic and cook 30 seconds.
- Stir in tomato puree, broth, sugar (if using), salt, and basil. Simmer 5 minutes.
- Blend the sauce with an immersion blender until silky (or carefully use a regular blender). Return to pan.
- Stir in cream and Parmesan. Add butter if using. Simmer 2 minutes; adjust salt if needed.
- Toss pasta with sauce, adding a splash of pasta water for creaminess. Serve warm.
Serve it with: garlic bread soldiers or steamed green beans. Variations: stir in tiny peas or shredded rotisserie chicken for protein. Pro tip: For ultra-smooth sauce, cook veggies extra-soft and blend thoroughly—texture is everything for wary eaters.
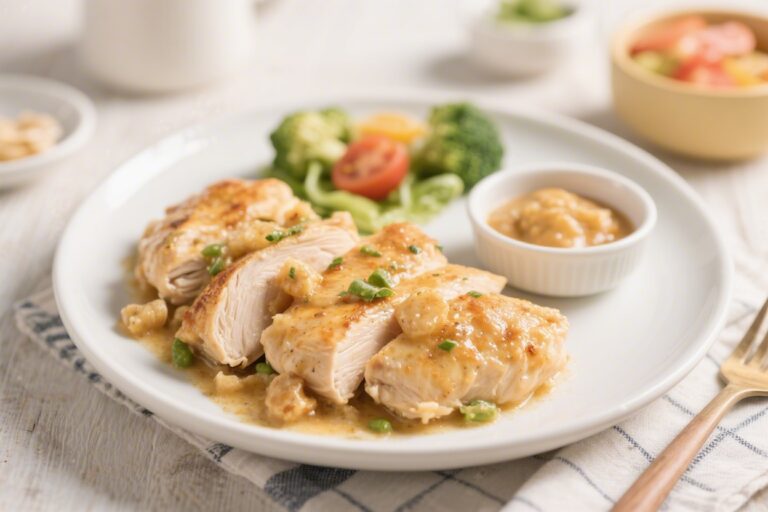
3. Crispy Oven-Baked Chicken Tenders With Sweet Corn “Fries”
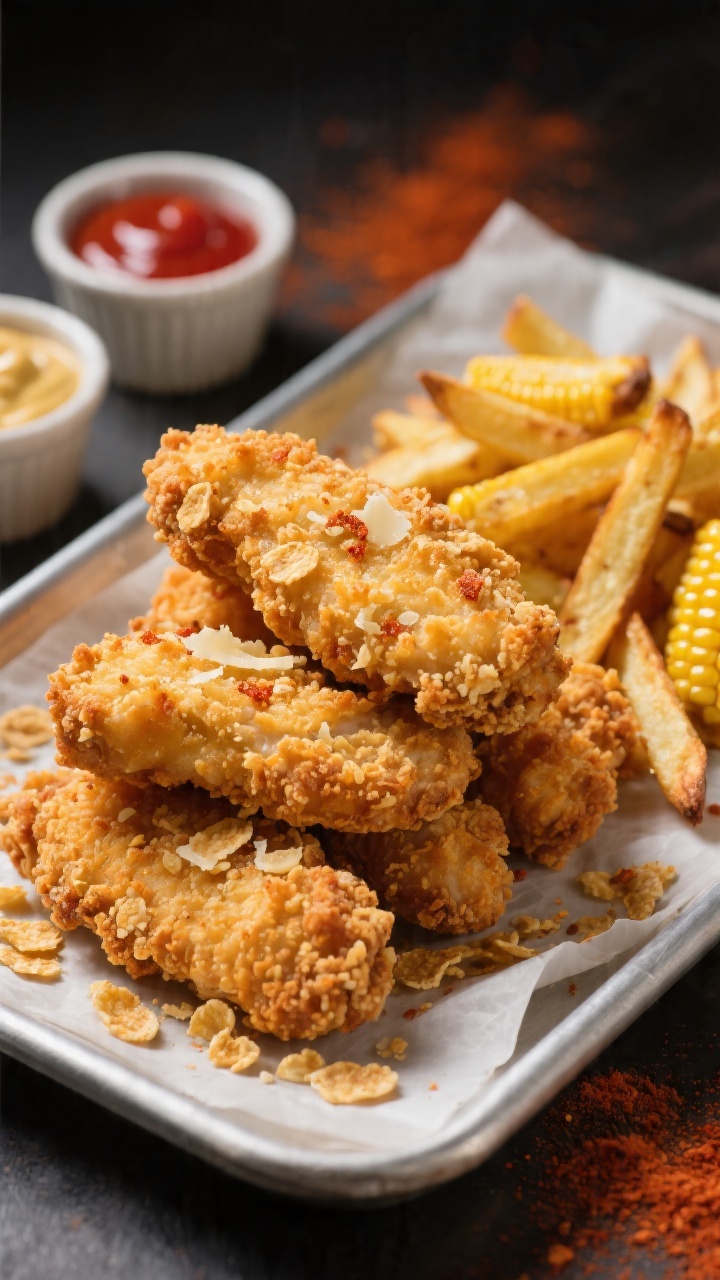
These chicken tenders bring that golden, crunchy bite kids crave—without deep-frying. The cornflake crust stays super crisp, and the side of roasted corn “fries” makes it a playful, familiar plate. It’s fast, fun, and highly dippable. Trust me, this one’s a keeper.
Ingredients:
- 1.5 pounds chicken tenders (or chicken breasts cut into strips)
- 1 cup cornflakes, crushed into fine crumbs
- 1/2 cup panko breadcrumbs
- 1/3 cup grated Parmesan
- 1 teaspoon paprika (sweet, not smoked)
- 1/2 teaspoon garlic powder
- 1/2 teaspoon onion powder
- 1/2 teaspoon salt
- 2 large eggs
- 1/4 cup milk
- 2 tablespoons melted butter or neutral oil
- 2 cups frozen corn kernels, thawed and patted dry
- 1 tablespoon olive oil
- Pinch of salt and pepper
- Optional dips: honey-mustard, ketchup, ranch, or BBQ
Instructions:
- Preheat oven to 425°F (220°C). Line two sheet pans with parchment and lightly grease.
- In a shallow bowl, mix cornflake crumbs, panko, Parmesan, paprika, garlic powder, onion powder, and salt. Drizzle in melted butter; toss to coat crumbs.
- In another bowl, whisk eggs and milk. Pat chicken dry. Dip each piece into egg, then into crumb mix, pressing to adhere. Arrange on one sheet pan with space between pieces.
- Toss corn with olive oil, salt, and pepper. Spread on the second sheet pan in a single layer.
- Bake both pans: chicken for 14–16 minutes, flipping once; corn for 12–15 minutes, shaking once, until lightly browned and crisp at edges. Chicken is done at 165°F (74°C).
- Let rest 3 minutes. Serve with dips and the roasted corn “fries.”
Serve it with: sliced cucumbers or apple wedges for a fresh crunch. Variations: swap cornflakes for crushed rice cereal or gluten-free crumbs; make “parmesan-only” coating for super-simple flavor. Pro tip: Keep your breading hand dry to avoid clumping—wet hand for egg, dry hand for crumbs. Seriously, it helps.
4. Rainbow Quesadilla Pockets With No-Slip Fillings
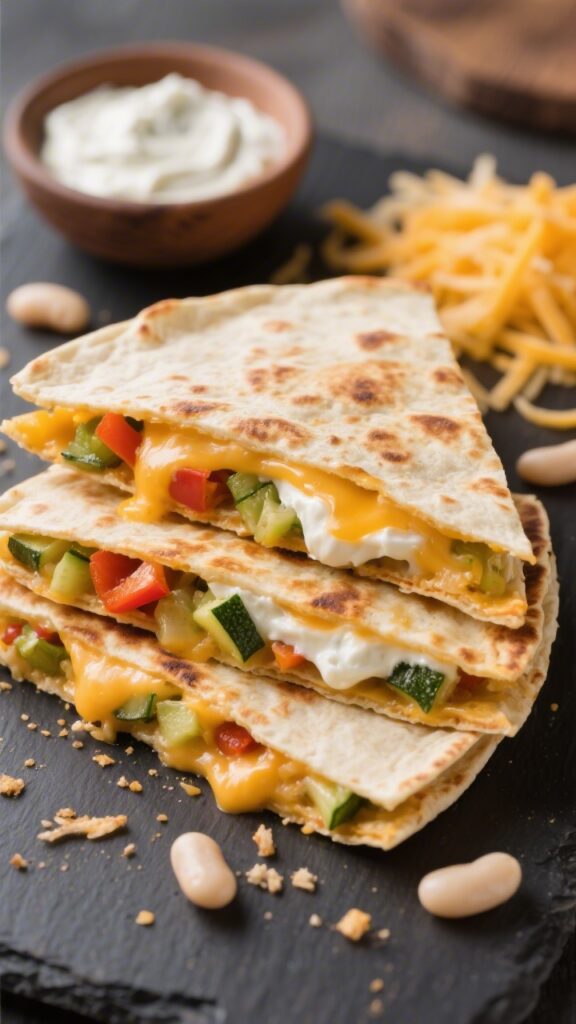
Quesadillas are the ultimate picky-eater canvas. These fold-over pockets keep fillings contained (no veggie escapees!) and toast up quickly on a skillet. You can color-code ingredients by kid—everyone wins, no drama.
Ingredients:
- 4 large flour tortillas (8–10 inch)
- 2 cups shredded mild cheese (mozzarella, cheddar, or a blend)
- 1/2 cup very finely chopped red bell pepper
- 1/2 cup very finely chopped baby spinach
- 1/2 cup sweet corn kernels (thawed or canned, drained)
- 1/2 cup black beans, rinsed and mashed slightly with a fork
- 1/2 cup cooked shredded chicken or turkey (optional)
- 2 tablespoons cream cheese or refried beans (helps glue everything)
- 2 teaspoons butter or neutral oil, divided
- Mild salsa or yogurt for dipping
Instructions:
- Warm a large skillet over medium heat. Spread a thin layer of cream cheese or refried beans over half of each tortilla.
- Sprinkle a base layer of cheese on the same half. Add tiny amounts of chosen fillings (pepper, spinach, corn, beans, chicken). Top with another light sprinkle of cheese.
- Fold the tortilla over to create a half-moon pocket. Press gently to seal.
- Add a little butter or oil to the skillet. Cook quesadillas 2–3 minutes per side until golden and the cheese melts.
- Cool for 2 minutes, then slice into wedges or strips for little hands.
Serve it with: guacamole or plain yogurt dip. Variations: go all-cheese for the ultra-cautious, or add tiny pineapple bits for sweet-savory fans. Pro tip: Keep fillings minimal and finely chopped—less spillage, more bites eaten.
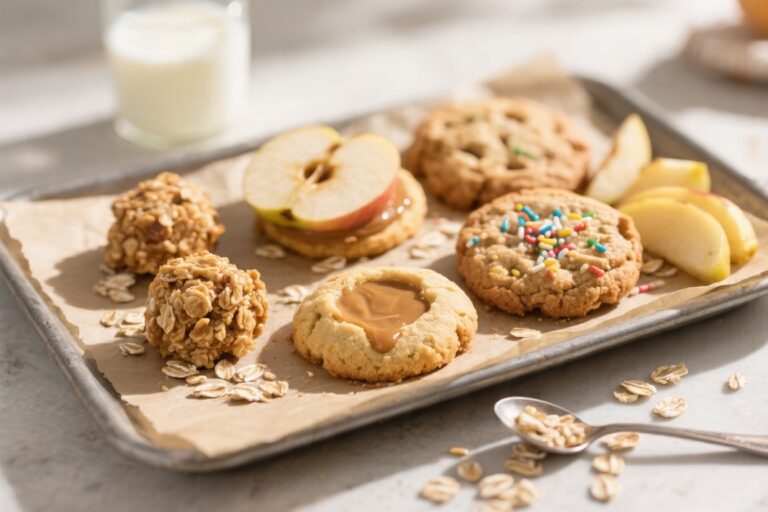
5. Breakfast-For-Dinner Banana Oat Pancake Bites

Who says dinner can’t be pancakes? These mini pancake bites are naturally sweet, soft, and packed with oats and banana—no refined sugar needed. They mix in one bowl and bake in a mini muffin tin for zero flipping. Kids love the dippable size; parents love the nutrition sneak.
Ingredients:
- 1 large ripe banana, mashed very smooth
- 1 cup milk (dairy or unsweetened oat/almond)
- 1 large egg
- 1 teaspoon vanilla extract
- 1 tablespoon melted butter or neutral oil
- 1 cup quick oats (or finely pulsed rolled oats)
- 1/2 cup all-purpose flour (or whole wheat pastry flour)
- 1 teaspoon baking powder
- 1/4 teaspoon cinnamon
- Pinch of salt
- Optional add-ins: mini chocolate chips (2 tablespoons), blueberries (1/2 cup), or finely chopped strawberries (1/2 cup)
- Maple syrup or yogurt for dipping
Instructions:
- Preheat oven to 350°F (175°C). Grease a mini muffin tin well.
- In a bowl, whisk banana, milk, egg, vanilla, and melted butter until smooth.
- Stir in oats, flour, baking powder, cinnamon, and salt until combined. Fold in optional add-ins.
- Spoon batter into mini muffin cups, filling almost to the top.
- Bake 12–14 minutes until set and lightly golden. Cool 5 minutes before removing.
Serve it with: a tiny cup of warm maple syrup or vanilla yogurt for dipping, plus sliced fruit. Variations: swap banana for applesauce; sprinkle a few bites with cinnamon sugar for a “donut” vibe. Pro tip: If using blueberries, toss them in a little flour first to prevent sinking.
How To Make These Meals Picky-Eater Friendly
Keep textures predictable: soft, creamy, or gently crispy. Avoid surprise chunks. Let kids help choose shapes, dips, or toppings—ownership boosts bites taken. And present small portions first; victories stack quickly when plates look doable.
You’ve got five easy wins here—fast, flexible, and built for cautious eaters without sacrificing flavor. Start with the recipe that feels most familiar to your kid and work outward. One happy bite leads to another, and before you know it, clean plates. Go make dinner magic!
Printable Recipe Card
Want just the essential recipe details without scrolling through the article? Get our printable recipe card with just the ingredients and instructions.