Puppy Cupcakes for Kids: Cute Puppy Face Cupcakes Recipe – Fun, Easy, and Adorable
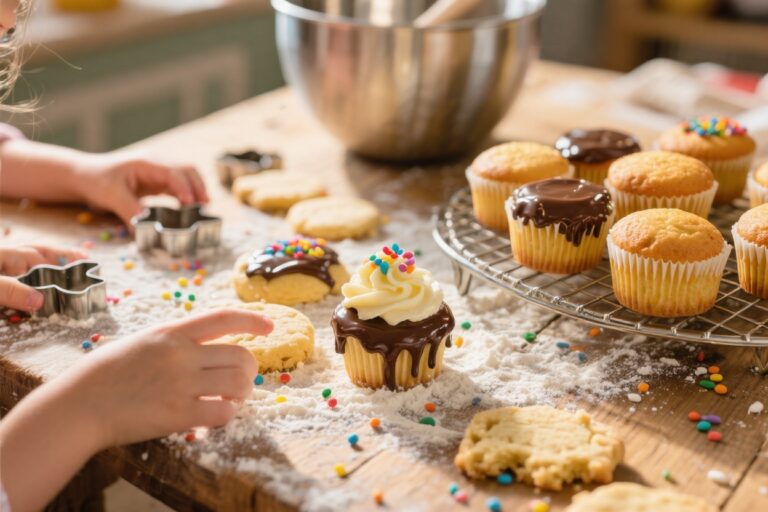
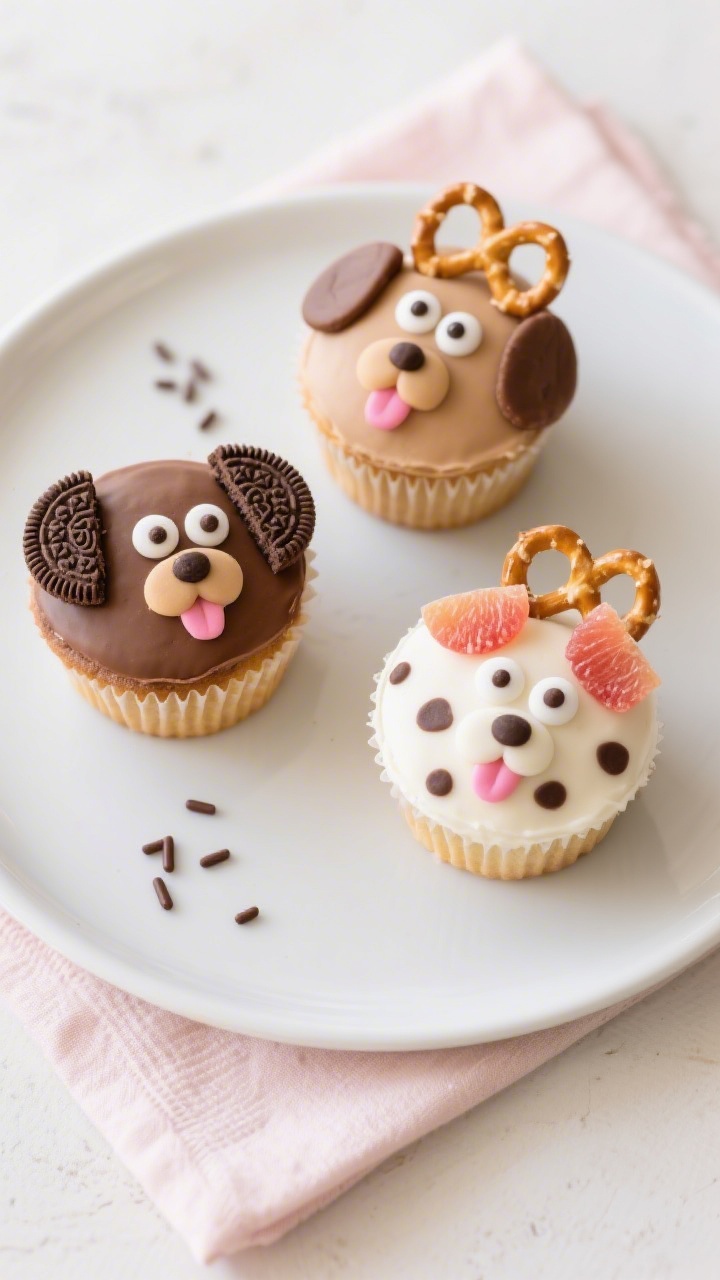
These puppy cupcakes are almost too cute to eat, and kids love helping make them. You’ll start with simple vanilla cupcakes and turn them into sweet puppy faces using frosting and candies. The design is easy enough for little hands, but still looks impressive for parties or school events.
Make a batch for birthdays, playdates, or a rainy afternoon baking project. Expect lots of smiles and a few happy “woofs.”
Puppy Cupcakes for Kids: Cute Puppy Face Cupcakes Recipe - Fun, Easy, and Adorable
Ingredients
Method
-
Preheat and prep: Heat oven to 350°F (175°C).
Line a 12-cup muffin pan with cupcake liners.
-
Make the batter: In a bowl, whisk 1 1/2 cups flour, 1 1/2 teaspoons baking powder, and 1/4 teaspoon salt. In a separate bowl, beat 1/2 cup softened butter and 3/4 cup sugar until light and fluffy, about 2 minutes. Beat in 2 eggs (one at a time), then 1 teaspoon vanilla.
-
Combine: Add half the dry ingredients to the butter mixture, then 1/2 cup milk, then the remaining dry ingredients.
Mix just until smooth. Do not overmix.
-
Fill and bake: Divide batter evenly among liners, about two-thirds full. Bake 18–22 minutes, until a toothpick comes out clean.
Cool in the pan 5 minutes, then move to a rack to cool completely.
-
Make the frosting: Beat 3/4 cup softened butter until creamy. Add 2 1/2–3 cups powdered sugar in batches, beating until fluffy. Add 1–3 tablespoons heavy cream or milk to reach a spreadable texture.
Beat in 1 teaspoon vanilla and a pinch of salt.
-
Color options: For brown fur, beat in 2–3 tablespoons cocoa powder. For tan, stir in a little cocoa powder at a time. Keep some white frosting for muzzles if you like contrast.
-
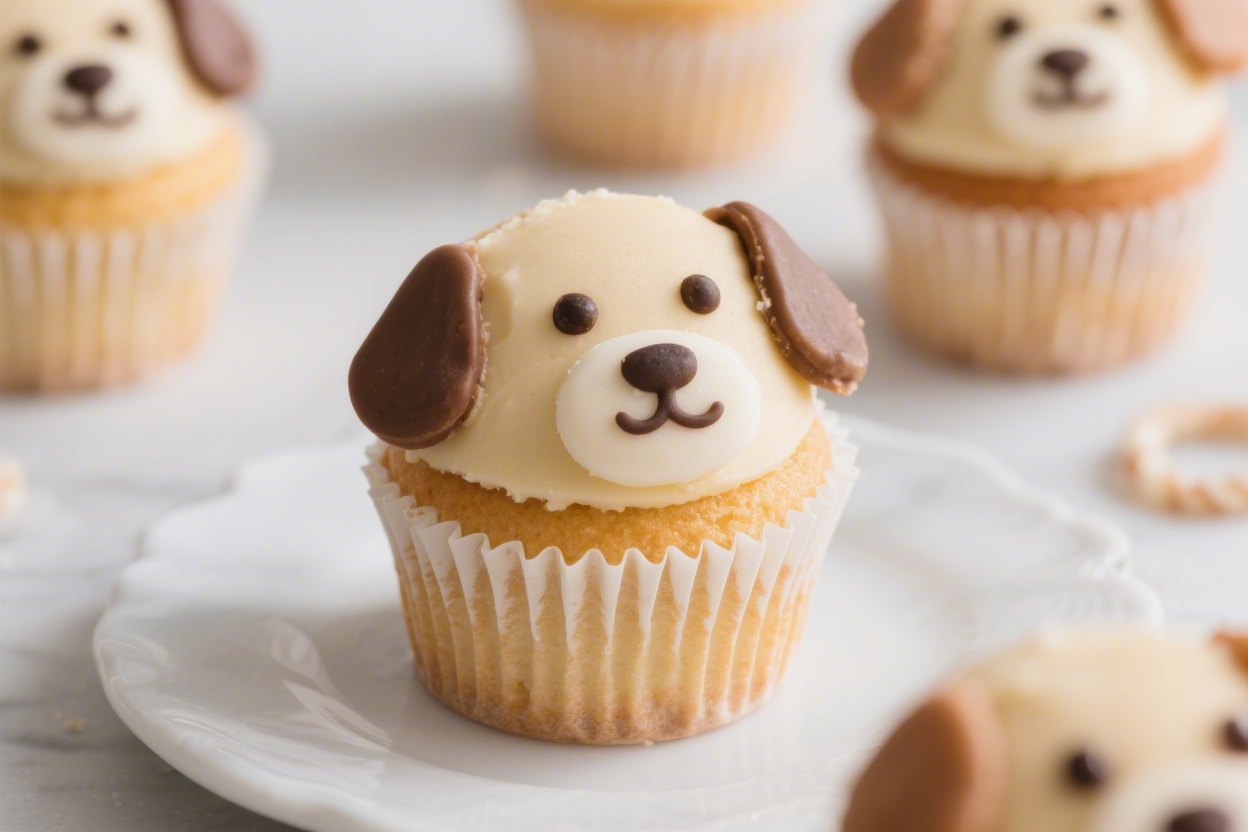
Frost the base: Spread or pipe a smooth layer of frosting over each cooled cupcake.
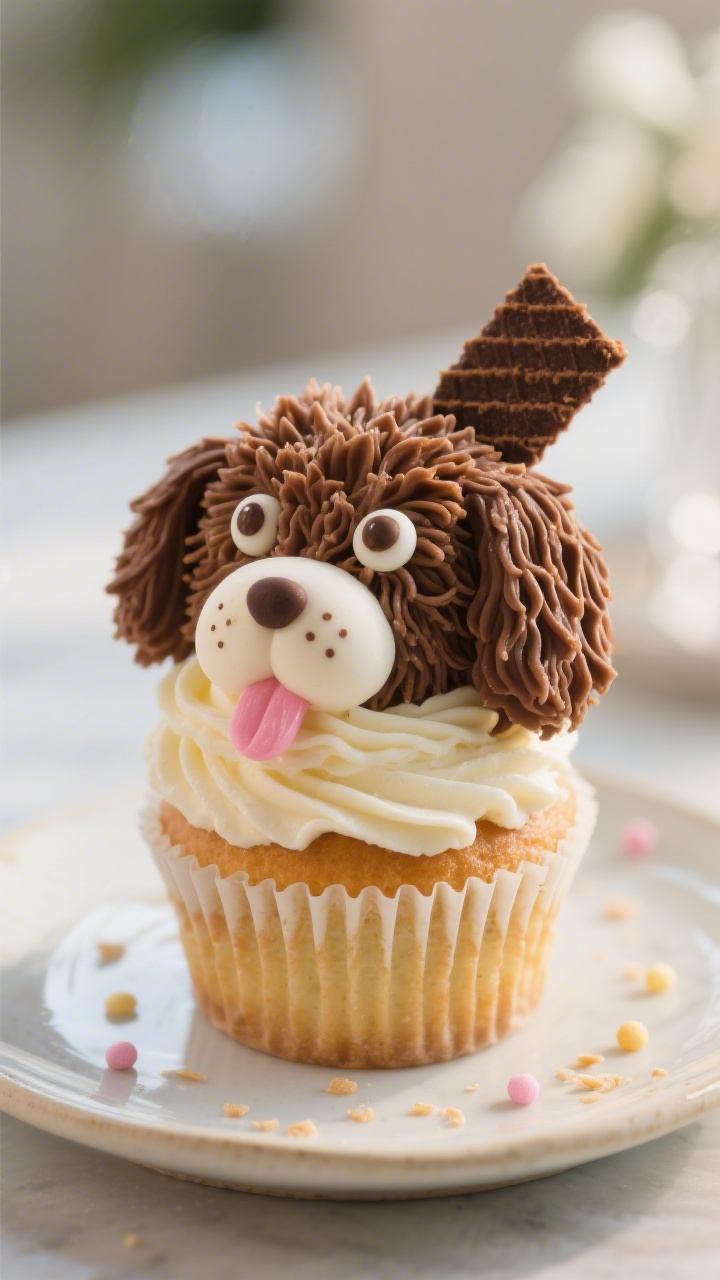
For extra texture, use a small star tip and pipe short pulls to mimic fur.
-
Add ears: Break chocolate sandwich cookies in half for floppy ears and press one half on each side near the top. For a different look, use mini pretzels or chocolate wafers angled outward.
-
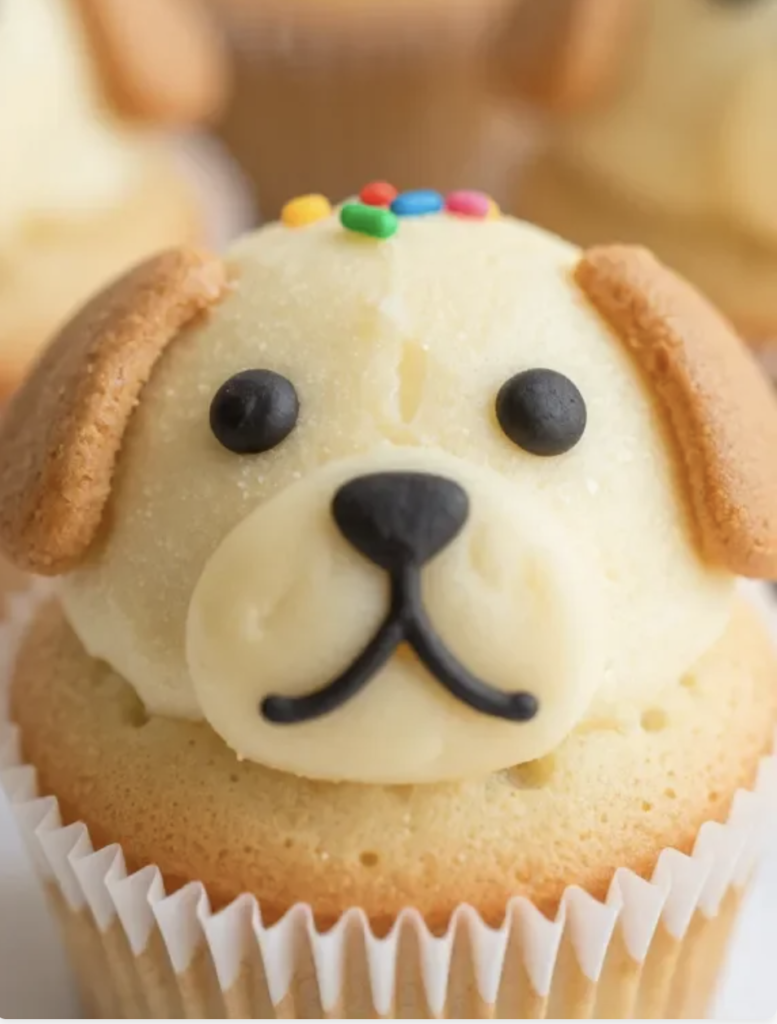
Add eyes: Press on candy eyes. If using white chocolate chips, place them tip-side down and dot the centers with melted chocolate or a food-safe marker.
Mini chocolate chips also work—press tip-side down.
-
Add the nose and muzzle: Place a chocolate chip or brown M&M in the center. For a muzzle, add a small oval of white frosting beneath the nose and use mini chocolate chips to suggest freckles.
-
Add the tongue: Slice a small strip from pink taffy, fruit leather, or a pink Starburst and tuck it under the muzzle so it peeks out like a tongue.
-
Finishing touches: Add a few chocolate jimmies or round sprinkles as spots. If piping, add tiny fur swirls around the eyes and ears to hide seams.
-
Set and serve: Chill for 10 minutes to help decorations set, then serve.
Keep the rest refrigerated if the room is warm.
Disclosure: As Amazon Associates, we earn from qualifying purchases at no extra cost to you.
Why This Recipe Works
These cupcakes use a straightforward batter that bakes up soft and fluffy every time. The buttercream is stable, easy to pipe, and not too sweet.
You’ll use common candy pieces to create the ears, nose, tongue, and eyes, so decorating is quick and low-stress. The design is flexible, so kids can mix and match colors and candy types. Most of the work can be done ahead, which keeps party-day chaos to a minimum.
Shopping List
- All-purpose flour – for a tender cupcake crumb
- Granulated sugar
- Baking powder
- Salt
- Unsalted butter – room temperature for both batter and frosting
- Eggs – large
- Milk – whole or 2%
- Vanilla extract
- Powdered sugar – for the buttercream
- Heavy cream or milk – to loosen frosting
- Cocoa powder – optional, for brown puppy fur
- Chocolate chips or brown M&M’s – noses
- Mini chocolate chips, candy eyes, or white chocolate chips with dots – eyes
- Pink taffy, pink Starburst, or fruit leather – tongues
- Chocolate sandwich cookies or chocolate wafers – ears
- Mini pretzels – optional, for floppy ears
- Sprinkles – optional, for spots
- Cupcake liners
Instructions
- Preheat and prep: Heat oven to 350°F (175°C).Line a 12-cup muffin pan with cupcake liners.
- Make the batter: In a bowl, whisk 1 1/2 cups flour, 1 1/2 teaspoons baking powder, and 1/4 teaspoon salt. In a separate bowl, beat 1/2 cup softened butter and 3/4 cup sugar until light and fluffy, about 2 minutes. Beat in 2 eggs (one at a time), then 1 teaspoon vanilla.
- Combine: Add half the dry ingredients to the butter mixture, then 1/2 cup milk, then the remaining dry ingredients.Mix just until smooth. Do not overmix.
- Fill and bake: Divide batter evenly among liners, about two-thirds full. Bake 18–22 minutes, until a toothpick comes out clean.Cool in the pan 5 minutes, then move to a rack to cool completely.
- Make the frosting: Beat 3/4 cup softened butter until creamy. Add 2 1/2–3 cups powdered sugar in batches, beating until fluffy. Add 1–3 tablespoons heavy cream or milk to reach a spreadable texture.Beat in 1 teaspoon vanilla and a pinch of salt.
- Color options: For brown fur, beat in 2–3 tablespoons cocoa powder. For tan, stir in a little cocoa powder at a time. Keep some white frosting for muzzles if you like contrast.
- Frost the base: Spread or pipe a smooth layer of frosting over each cooled cupcake.For extra texture, use a small star tip and pipe short pulls to mimic fur.
- Add ears: Break chocolate sandwich cookies in half for floppy ears and press one half on each side near the top. For a different look, use mini pretzels or chocolate wafers angled outward.
- Add eyes: Press on candy eyes. If using white chocolate chips, place them tip-side down and dot the centers with melted chocolate or a food-safe marker.Mini chocolate chips also work—press tip-side down.
- Add the nose and muzzle: Place a chocolate chip or brown M&M in the center. For a muzzle, add a small oval of white frosting beneath the nose and use mini chocolate chips to suggest freckles.
- Add the tongue: Slice a small strip from pink taffy, fruit leather, or a pink Starburst and tuck it under the muzzle so it peeks out like a tongue.
- Finishing touches: Add a few chocolate jimmies or round sprinkles as spots. If piping, add tiny fur swirls around the eyes and ears to hide seams.
- Set and serve: Chill for 10 minutes to help decorations set, then serve.Keep the rest refrigerated if the room is warm.
How to Store
Room temperature: Keep decorated cupcakes in an airtight container up to 1 day if your kitchen is cool. Avoid direct sunlight.
Refrigerator: Store in a covered container for 3–4 days. Let sit at room temperature 20–30 minutes before serving so the frosting softens.
Freezer: Freeze unfrosted cupcakes, well wrapped, for up to 2 months.
Thaw at room temperature, then frost and decorate the day you plan to serve. Frosted cupcakes can be frozen, but candy decorations may bloom or lose shine.
Why This is Good for You
Family time: Baking together builds confidence and fine motor skills for kids—measuring, mixing, and decorating all count.
Portion control: Cupcakes are naturally portioned, which helps manage sugar intake at parties compared to cutting oversized slices.
Creativity boost: Kids practice creativity and problem-solving while choosing colors and candy placements.
Know what’s inside: You control ingredients, from using less sugar in frosting to choosing dye-free candies.
Pitfalls to Watch Out For
- Overmixing the batter: This leads to dense cupcakes. Stop mixing once the flour disappears.
- Frosting too soft: If it slides, add more powdered sugar or chill for 10 minutes.Warm kitchens melt buttercream fast.
- Heavy toppings sinking: Let the frosted surface set slightly before adding big candy ears.
- Hot cupcakes: Decorating warm cupcakes melts frosting. Make sure they’re fully cool.
- Allergy surprises: Check labels for nuts, gluten, or dyes. Swap candies as needed.
Alternatives
- Flavor swaps: Use chocolate cupcakes, funfetti, or banana cupcakes as the base.
- Frosting options: Try cream cheese frosting for tang or a Swiss meringue buttercream for silky smoothness.
- Dairy-free: Use plant-based butter and non-dairy milk.Many dark chocolates are naturally dairy-free—confirm labels.
- Gluten-free: Replace flour with a 1:1 gluten-free baking blend and check candy coatings for gluten.
- No candy eyes? Pipe dots of white frosting and add a dot of melted chocolate for pupils.
- No sandwich cookies? Use halved marshmallows dusted with cocoa or cut fruit leather for floppy ears.
- Natural colors: Tint with cocoa, freeze-dried strawberry powder, or turmeric for soft hues.
FAQ
Can I make these a day ahead?
Yes. Bake cupcakes and make the frosting a day ahead. Store cupcakes covered at room temperature and keep frosting in the fridge.
Decorate the day of serving for the best texture and shine on candies.
How do I get that fluffy bakery-style crumb?
Cream butter and sugar until pale and airy, use room-temperature ingredients, and avoid overmixing once you add flour. Bake just until a toothpick comes out clean—overbaking dries them out.
What piping tip should I use for “fur”?
A small star tip (like Wilton 21) works well. Pipe short pulls all over the surface.
If you don’t have tips, a butter knife swirl gives a cute, shaggy look too.
How can I reduce the sweetness?
Use less powdered sugar in the frosting and add a pinch more salt. You can also switch to cream cheese frosting or use dark chocolate pieces for balance.
My frosting looks grainy—how do I fix it?
Add a splash of cream and beat a bit longer. If it’s still grainy, sift the powdered sugar before adding next time, and make sure the butter is fully softened.
What if I don’t have cupcake liners?
Grease the muffin cups well with butter or baking spray and dust with flour.
Let cupcakes cool 10 minutes before loosening edges with a knife and removing.
How do I make a spotted puppy look?
Frost the cupcake in brown or tan, then add white frosting patches using a small offset spatula. Press on chocolate sprinkles or mini chips as freckles and one “patch” eye using a larger chocolate disk.
Can I use a cake mix?
Absolutely. Prepare according to the box and focus your energy on fun decorating.
No one will mind—it’s about the cute puppy faces and the smiles.
How many cupcakes does this make?
This recipe makes about 12 standard cupcakes. Double the ingredients for 24 and bake in two pans.
What’s the best way to transport them?
Use a cupcake carrier or place them snugly in a shallow box with a non-slip mat. Chill for 15 minutes before travel so the frosting firms up slightly.
In Conclusion
These puppy cupcakes are playful, simple, and perfect for little helpers.
With a reliable base cupcake and a forgiving buttercream, you’ll get cute results even if each face looks a little different—that’s part of the charm. Keep the candies simple, the frosting smooth, and the mood light. Bake a batch, let the kids create their favorite pups, and enjoy a tray full of wag-worthy treats.
Printable Recipe Card
Want just the essential recipe details without scrolling through the article? Get our printable recipe card with just the ingredients and instructions.