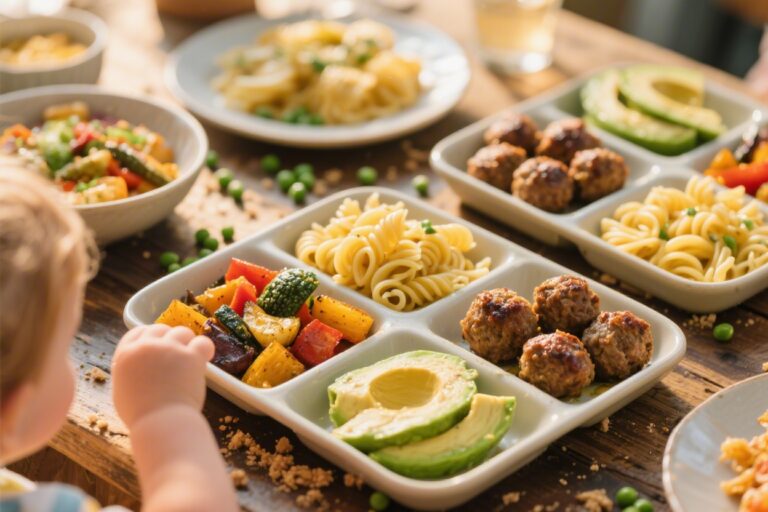
5 Easy Baking Recipes for Kids That Make Rainy Days Delicious
Need a fun kitchen project that doubles as snack time? These kid-approved bakes are simple, quick, and packed with “I made this!” pride. Think one-bowl batters, no-fuss steps, and big flavor with minimal mess. Ready to turn little hands into happy bakers?
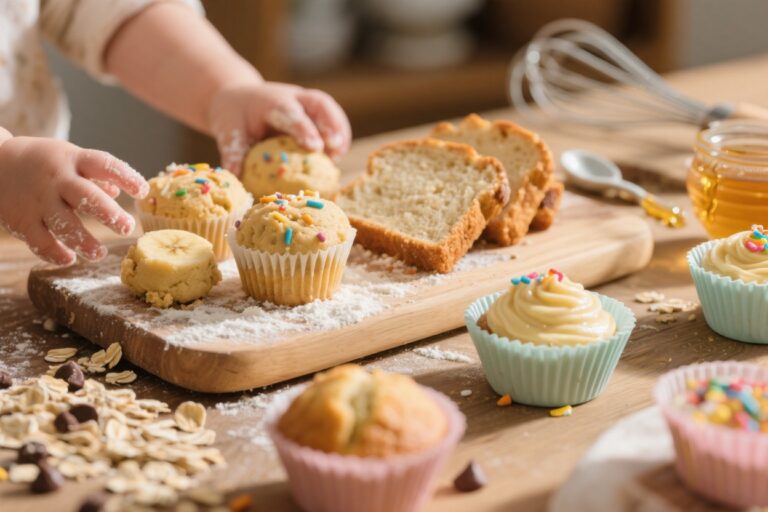
1. One-Bowl Banana Muffins With Chocolate Confetti
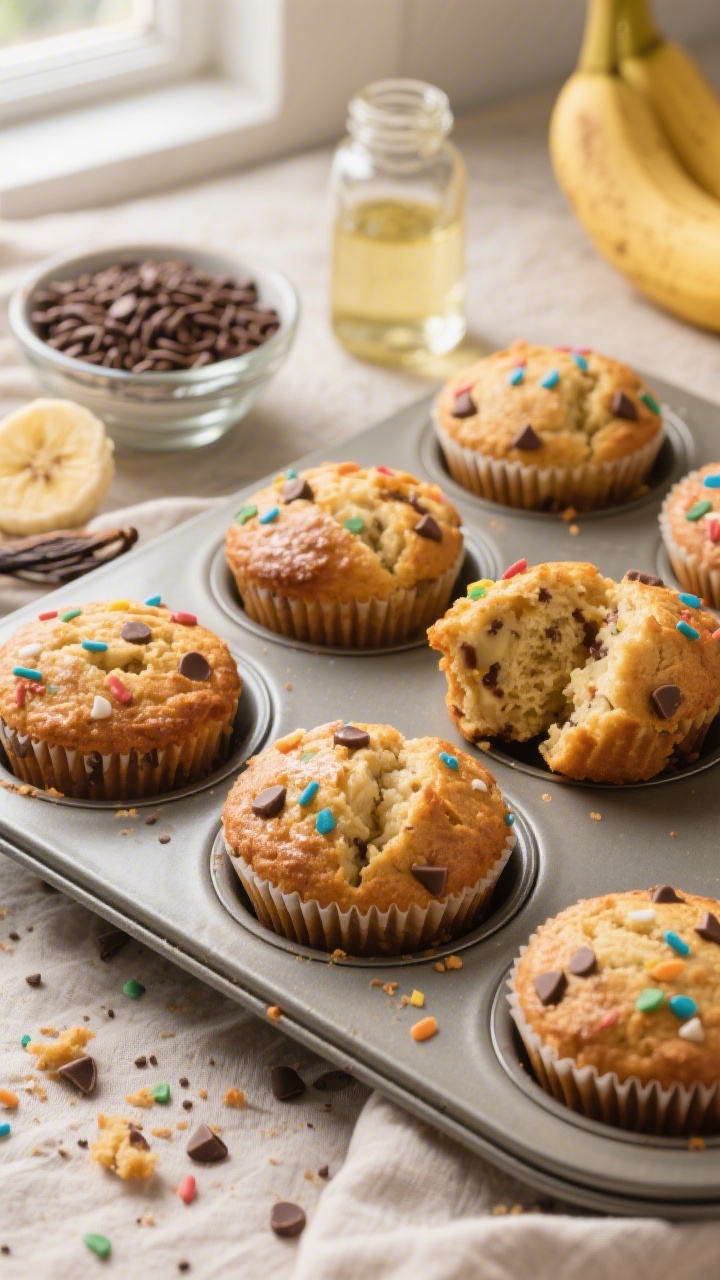
These are the muffins you make when those bananas on the counter start freckling. They’re sweet, tender, and studded with melty chocolate—basically breakfast and dessert had a very friendly meeting. One bowl, no mixer, and tons of kid-friendly stirring time.
Disclosure: As Amazon Associates, we earn from qualifying purchases at no extra cost to you.
Ingredients:
- 3 very ripe bananas, mashed (about 1 1/3 cups)
- 1/2 cup granulated sugar
- 1/4 cup light brown sugar, packed
- 1/3 cup neutral oil (canola or vegetable)
- 2 large eggs
- 1 teaspoon vanilla extract
- 1 1/2 cups all-purpose flour
- 1 teaspoon baking soda
- 1/2 teaspoon baking powder
- 1/2 teaspoon fine salt
- 1/2 teaspoon ground cinnamon (optional but cozy)
- 3/4 cup mini chocolate chips (plus a few for topping)
Instructions:
- Preheat the oven to 350°F (175°C). Line a 12-cup muffin tin with paper liners or lightly grease it.
- In a large bowl, whisk the mashed bananas, sugars, oil, eggs, and vanilla until smooth.
- Sprinkle the flour, baking soda, baking powder, salt, and cinnamon over the wet mixture. Gently fold with a spatula until just combined—no overmixing.
- Fold in the mini chocolate chips. Divide the batter evenly among the muffin cups. Add a few extra chips on top for sparkle.
- Bake 16–20 minutes, until the centers spring back and a toothpick comes out with a few moist crumbs.
- Cool in the pan 5 minutes, then transfer to a rack. Try not to eat them all warm (or do—your call).
Serve with cold milk or yogurt. Swap the chips for blueberries, chopped walnuts, or a swirl of peanut butter. Pro tip: Freeze extras in a zip-top bag and reheat in the microwave for 20 seconds. Instant happy snack.
2. 15-Minute No-Bake Cereal Bars With Marshmallow Magic
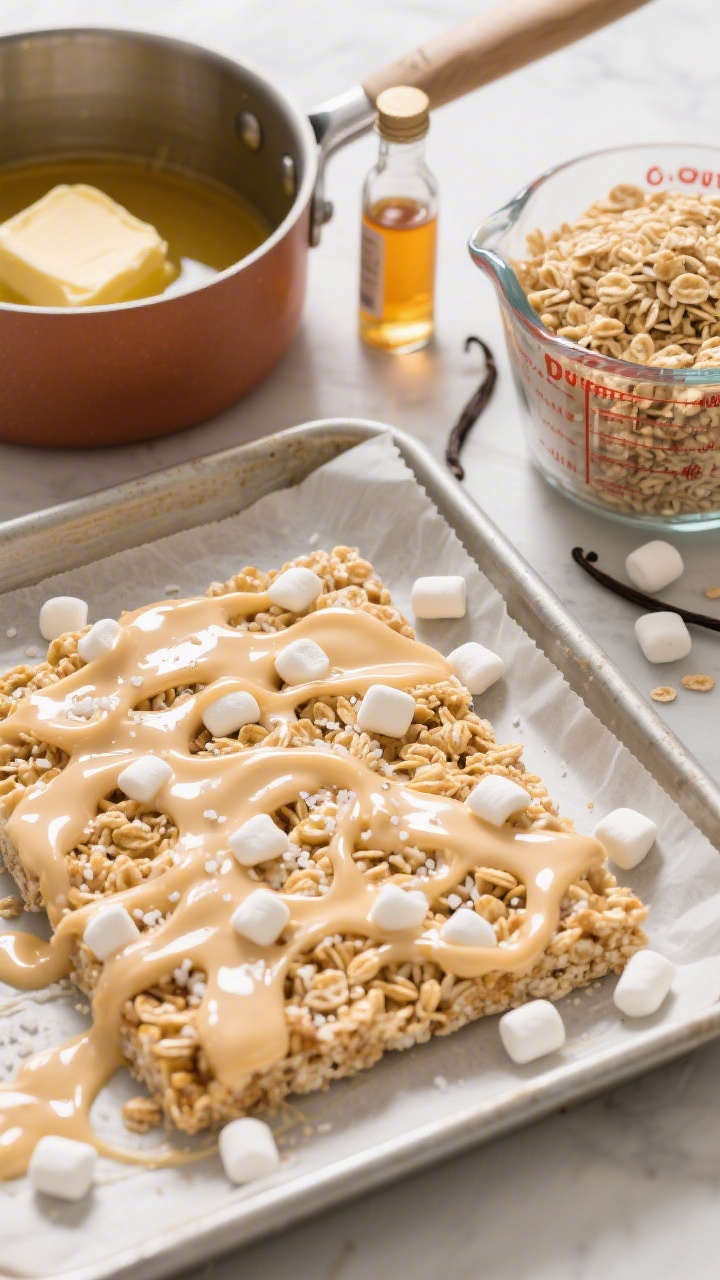
No oven, no problem. These chewy cereal bars are basically a high-five to every kid who loves gooey marshmallows. They’re ridiculously fast and make perfect lunchbox treats or after-school fuel.
Ingredients:
- 4 tablespoons unsalted butter
- 1 (10-ounce) bag mini marshmallows (about 6 cups), divided
- 1 teaspoon vanilla extract
- 1/4 teaspoon fine salt
- 6 cups crispy rice cereal (or your favorite kid cereal)
- 1/2 cup colorful sprinkles or mini M&M’s (optional)
Instructions:
- Grease a 9×13-inch pan or line with parchment for easy lifting.
- In a large pot over low heat, melt the butter. Add 5 cups of the marshmallows, stirring until completely melted and smooth.
- Stir in the vanilla and salt. Remove from heat.
- Quickly fold in the cereal until coated. Add the remaining 1 cup mini marshmallows and sprinkles or M&M’s; fold gently to create gooey pockets.
- Press the mixture into the pan using a greased spatula or a sheet of parchment. Don’t pack too hard—keep it chewy!
- Cool 20–30 minutes, then slice into bars. Cue the sticky smiles.
Variation: Mix in crushed pretzels or peanuts for salty-crunchy vibes. For chocolate drizzle, melt 1/2 cup chocolate chips and zigzag over the top. Store airtight at room temp up to 3 days—if they last that long, seriously.
3. Rainbow Sprinkle Sugar Cookies You Don’t Even Need A Mixer For
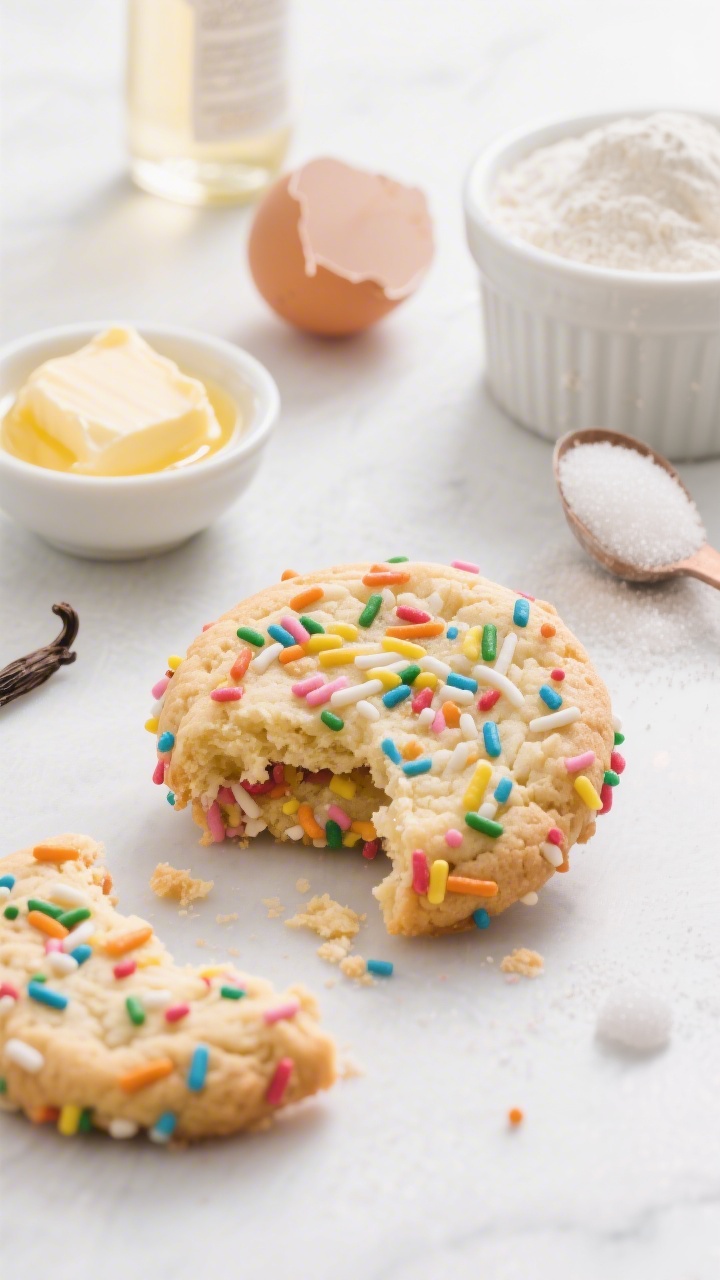
When you want a cookie that screams “party,” this is it. These sugar cookies bake up soft in the middle with lightly crisp edges and plenty of colorful sprinkles. The dough comes together in minutes with just a bowl and a whisk.
Ingredients:
- 1/2 cup unsalted butter, melted and slightly cooled
- 3/4 cup granulated sugar
- 1 large egg
- 1 teaspoon vanilla extract
- 1 1/2 cups all-purpose flour
- 1/2 teaspoon baking soda
- 1/4 teaspoon baking powder
- 1/4 teaspoon fine salt
- 1/2 cup rainbow sprinkles (plus extra for rolling)
Instructions:
- Preheat the oven to 350°F (175°C). Line two baking sheets with parchment paper.
- In a medium bowl, whisk the melted butter and sugar until glossy. Add the egg and vanilla; whisk until smooth.
- Sprinkle in the flour, baking soda, baking powder, and salt. Stir with a spatula until just combined. Fold in the sprinkles.
- Scoop 1 1/2-tablespoon balls. Roll in extra sprinkles for that funfetti glam. Place 2 inches apart on the baking sheets.
- Bake 8–10 minutes until the edges are set and the centers look slightly underbaked. Let cool on the sheet 5 minutes, then move to a rack.
Pro tip: For thicker cookies, chill the dough 20 minutes before baking. Swap sprinkles for mini chocolate chips or crushed freeze-dried strawberries for a fruity twist. Serve with a glass of cold milk and a cartoon—chef’s orders.
4. Cheesy Garlic Pull-Apart Bread Blossoms

If kids love pizza (spoiler: they do), they’ll flip for these soft, buttery pull-apart bites. They’re garlicky, cheesy, and baked into a flower-like pan that pulls apart effortlessly—great for family movie nights or quick side dishes.
Ingredients:
- 1 (16-ounce) can refrigerated biscuit dough (8 biscuits)
- 3 tablespoons unsalted butter, melted
- 2 cloves garlic, finely minced (or 1/2 teaspoon garlic powder)
- 1/2 teaspoon Italian seasoning
- 1/4 teaspoon fine salt
- 1 cup shredded mozzarella cheese
- 1/4 cup grated Parmesan cheese
- 2 tablespoons chopped fresh parsley (optional)
- Warm marinara sauce, for dipping
Instructions:
- Preheat the oven to 350°F (175°C). Grease a 9-inch round cake pan.
- Cut each biscuit into quarters. In a large bowl, mix the melted butter, garlic, Italian seasoning, and salt. Add biscuit pieces and toss to coat.
- Layer half the biscuit pieces in the pan. Sprinkle with half the mozzarella and Parmesan. Repeat with remaining biscuit pieces and cheeses.
- Bake 20–25 minutes until puffed and golden brown on top and the center is cooked through.
- Cool 5 minutes. Sprinkle with parsley and serve warm with marinara for dipping.
Make it yours: Add mini pepperoni between layers for a pizza moment, or swap mozzarella for cheddar. For extra browning, broil the top for 1 minute at the end—watch closely. These reheat like a dream in the air fryer.
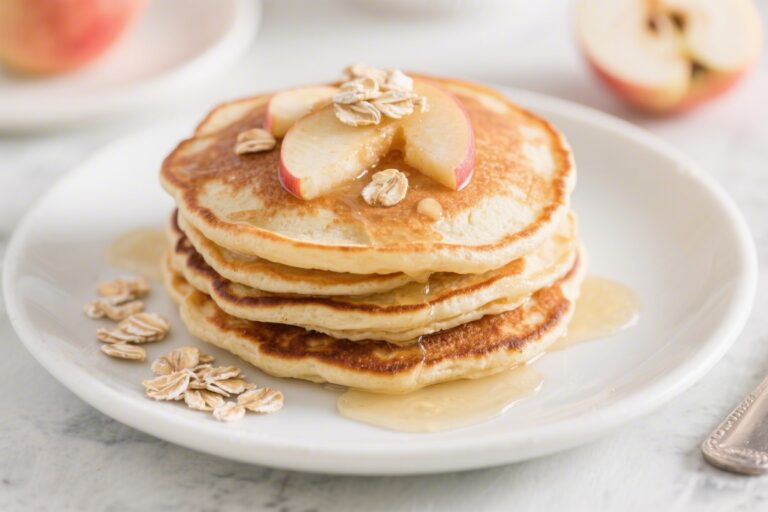
5. Apple Pie Hand Pies With Cinnamon Sugar Sparkle
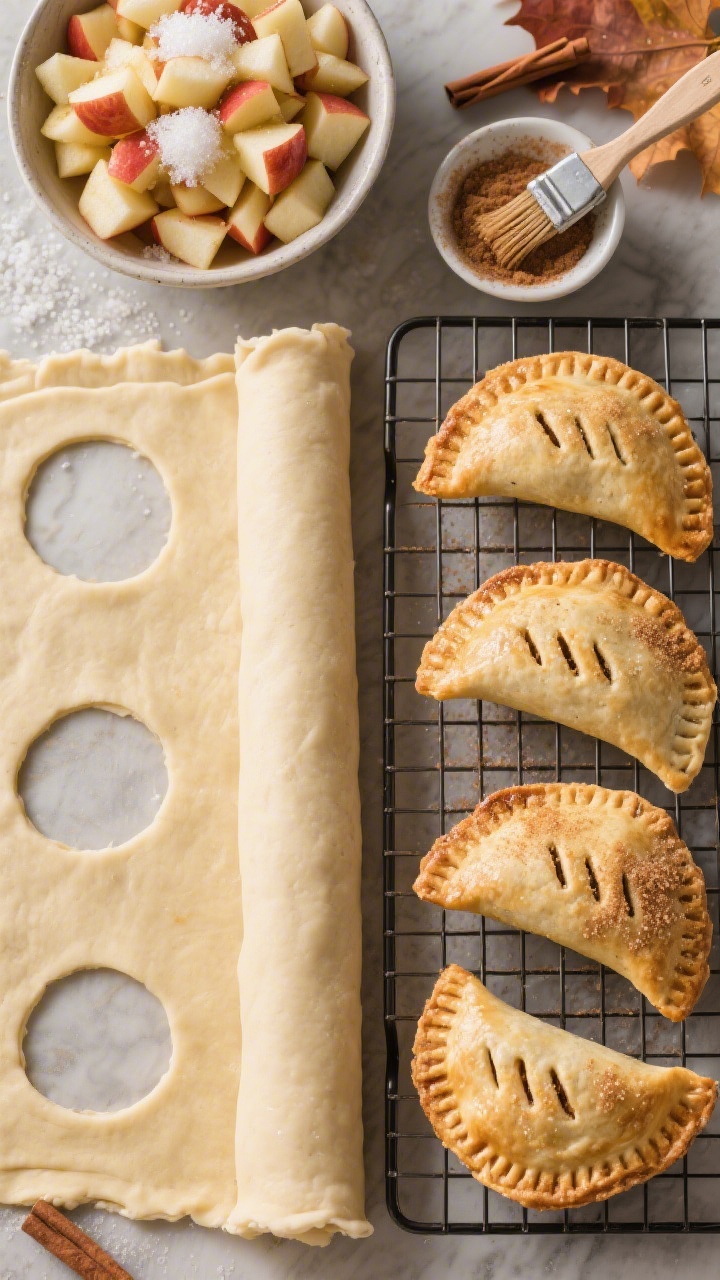
Hand pies are tiny pockets of joy—flaky, cozy, and perfect for little bakers to assemble. We’re using store-bought pie dough to keep this weeknight-friendly, but the filling tastes like Grandma’s kitchen. Bonus: no slicing needed; everyone gets their own pie.
Ingredients:
- 2 refrigerated pie crusts (from a 14–16 oz box), unrolled and chilled
- 2 small apples (about 2 cups finely diced), peeled if desired
- 2 tablespoons granulated sugar
- 1 tablespoon light brown sugar
- 1 tablespoon all-purpose flour
- 1 teaspoon lemon juice
- 1 teaspoon ground cinnamon
- Pinch of nutmeg and salt
- 1 egg, beaten (for egg wash)
- 2 tablespoons coarse sugar (or granulated) for topping
Instructions:
- Preheat the oven to 400°F (205°C). Line a baking sheet with parchment.
- In a bowl, combine the diced apples, sugars, flour, lemon juice, cinnamon, nutmeg, and salt. Toss to coat.
- Using a 4-inch round cutter (or a small bowl), cut 10–12 circles from the pie crusts, rerolling scraps as needed.
- Place half the circles on the baking sheet. Spoon 1–2 tablespoons apple filling into the center of each, leaving a border.
- Brush edges with egg wash. Top with remaining circles. Crimp edges with a fork to seal. Cut a small slit on top for steam.
- Brush tops with egg wash and sprinkle with coarse sugar.
- Bake 16–20 minutes until golden and bubbling. Cool 10 minutes—the filling is hot.
Serve warm with vanilla ice cream or caramel dip. Try pear or blueberry filling instead, or drizzle cooled pies with a quick icing (powdered sugar + milk). Pack for picnics—they travel like champs, trust me.
Kid Baking Tips & Tricks
- Set up a “mise en place” tray: pre-measured ingredients in little bowls make kids feel like TV chefs.
- Use big bowls and rubber spatulas—easier to scrape and fewer spills.
- Teach “just mixed” magic: stop stirring as soon as the flour disappears to keep bakes tender.
- Safety first: grown-up handles ovens, knives, and hot pans. Kids crack eggs, whisk, and decorate.
- Clean-up game: one song’s worth of tidying between steps keeps the kitchen sane.
Pantry Swaps That Save The Day
- No vanilla? A pinch of cinnamon or almond extract works.
- Out of butter? Use neutral oil in muffins and cookies (but keep butter for flavor when you can).
- Gluten-free? Use a 1:1 GF flour blend in the muffins and cookies; check cereal labels for the bars.
Ready to bake up some memories? These 5 easy baking recipes for kids are simple enough for tiny hands, delicious enough for the whole crew, and guaranteed to make the house smell amazing. Pick one, preheat, and let the kitchen fun begin.
Printable Recipe Card
Want just the essential recipe details without scrolling through the article? Get our printable recipe card with just the ingredients and instructions.