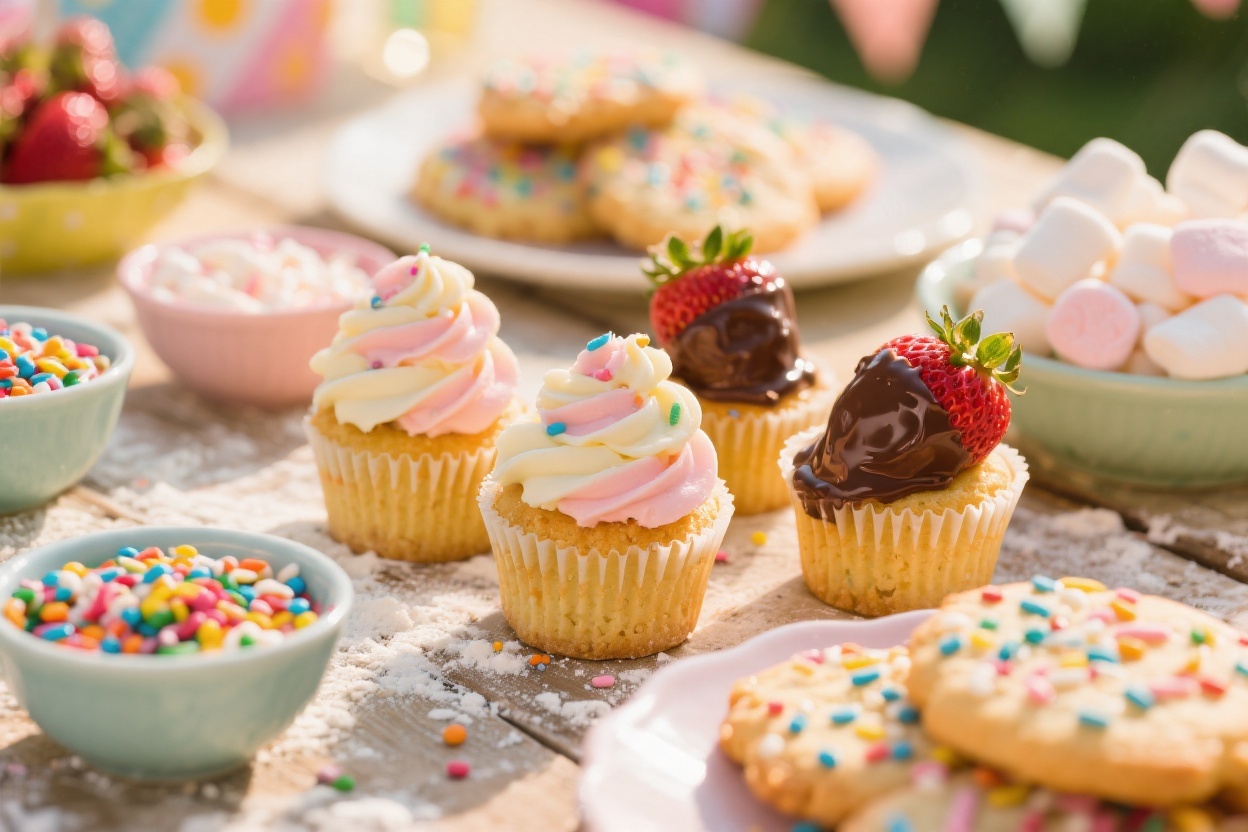
5 Kids Baking Party — Easy Recipe Ideas They’ll Beg to Make Again
You know what kids love? Mixing, sprinkling, and sneaking chocolate chips when they think you’re not looking. A baking party is pure magic: it keeps little hands busy, fills your kitchen with happy chaos, and ends in sweet, buttery triumph. These five recipes are purposely simple, super flexible, and totally party-proof. Minimal prep, maximum sparkle. Ready to bake up some memories?
1. Rainbow Confetti Sugar Cookie Wands That Grant Sweet Wishes
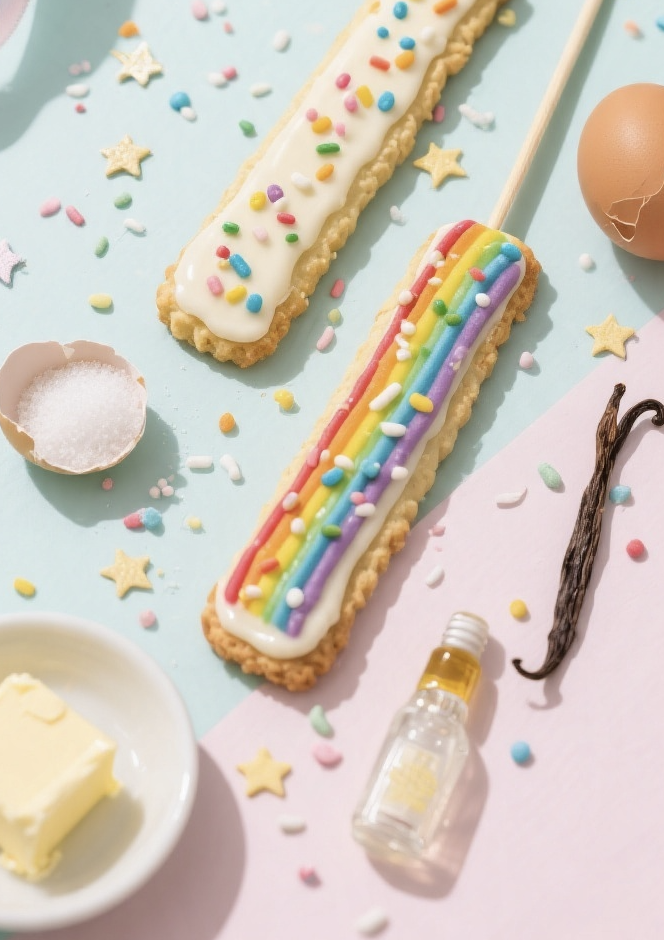
Cookies on a stick? Instant party hero. These buttery sugar cookies bake up soft and sturdy, perfect for decorating with sprinkles and edible glitter. Kids love the “wand” reveal, and grown-ups love that they can be made ahead and decorated on the spot.
Disclosure: As Amazon Associates, we earn from qualifying purchases at no extra cost to you.
Ingredients:
- 2 3/4 cups all-purpose flour
- 1/2 teaspoon baking powder
- 1/2 teaspoon fine salt
- 1 cup unsalted butter, softened
- 1 cup granulated sugar
- 1 large egg
- 2 teaspoons vanilla extract
- 2 tablespoons milk
- 1/2 cup rainbow sprinkles (jimmies work best)
- 24 lollipop sticks or wooden craft sticks (oven-safe)
- Optional: edible glitter, royal icing, or melted white chocolate for decorating
Instructions:
- Preheat oven to 350°F (175°C). Line two baking sheets with parchment.
- Whisk flour, baking powder, and salt in a bowl.
- In a large bowl, beat butter and sugar until light and fluffy, 2–3 minutes. Beat in egg and vanilla.
- Mix in half the dry ingredients, then milk, then remaining dry ingredients. Fold in sprinkles just until streaked—don’t overmix or colors may bleed.
- Roll dough to about 1/4 inch thick on a lightly floured surface. Cut stars, hearts, or circles with 2–3 inch cutters.
- Slide a stick 1–1.5 inches into each cookie. If needed, patch with a bit of dough over the stick to secure.
- Bake 9–11 minutes until edges are just set and pale golden. Cool on the sheet 5 minutes, then transfer to a rack.
- Decorate with melted white chocolate or icing and extra sprinkles once cool.
Serve in a jar like a cookie bouquet or tie ribbons on the sticks for instant party vibes. Swap sprinkles for mini chocolate chips or crushed freeze-dried strawberries. Pro tip: Chill cut cookies 10 minutes before baking for the cleanest edges.
2. One-Bowl Banana Muffin Minis With Chocolate Chip Smiles
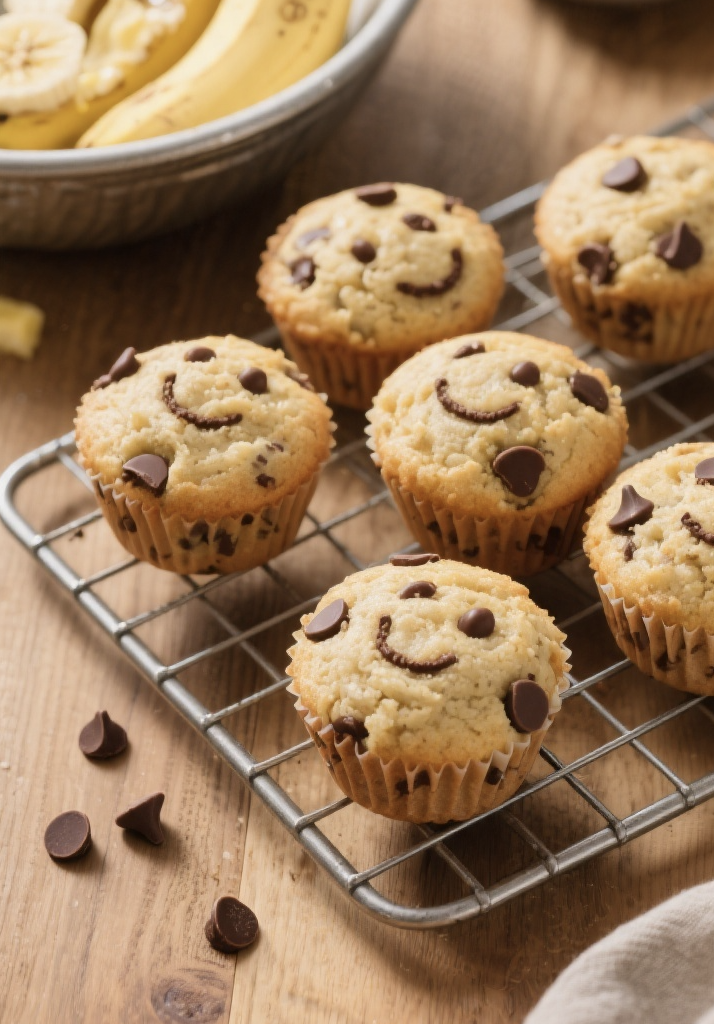
These mini muffins are the kind you wish you had on speed dial: mash, mix, bake, boom. They’re naturally moist from ripe bananas and totally customizable. Perfect for little bakers because it’s one bowl, no mixer, and lots of stirring power.
Ingredients:
- 3 very ripe bananas, mashed (about 1 1/4 cups)
- 1/2 cup granulated sugar
- 1/4 cup light brown sugar, packed
- 1/3 cup melted unsalted butter (or neutral oil)
- 1 teaspoon vanilla extract
- 1 large egg
- 1 cup all-purpose flour
- 1/2 cup whole wheat flour (or use all AP flour)
- 1 teaspoon baking soda
- 1/2 teaspoon baking powder
- 1/2 teaspoon fine salt
- 1/2 cup mini chocolate chips (plus extra for “smiles” on top)
- Optional: 1/2 teaspoon cinnamon
Instructions:
- Preheat oven to 350°F (175°C). Grease a mini muffin pan or line with mini cups (24–30 minis).
- In a large bowl, whisk mashed bananas, sugars, melted butter, vanilla, and egg until smooth.
- Add flours, baking soda, baking powder, salt, and cinnamon if using. Stir gently until just combined—no dry pockets, but don’t overmix.
- Fold in mini chocolate chips.
- Fill cups about 3/4 full. Add two or three extra chips on top like little smiles.
- Bake 10–12 minutes until a toothpick comes out clean or with a few moist crumbs.
- Cool 5 minutes in the pan, then move to a rack. Warm is best, but they’re great at room temp too.
Try half the batch with blueberries or chopped strawberries. Want a breakfasty twist? Sprinkle with quick oats and a pinch of sugar before baking. Seriously, stash a bag in the freezer—future you will say thanks.
3. No-Roll Mini Fruit Hand Pies That Kids Can Crimp Themselves
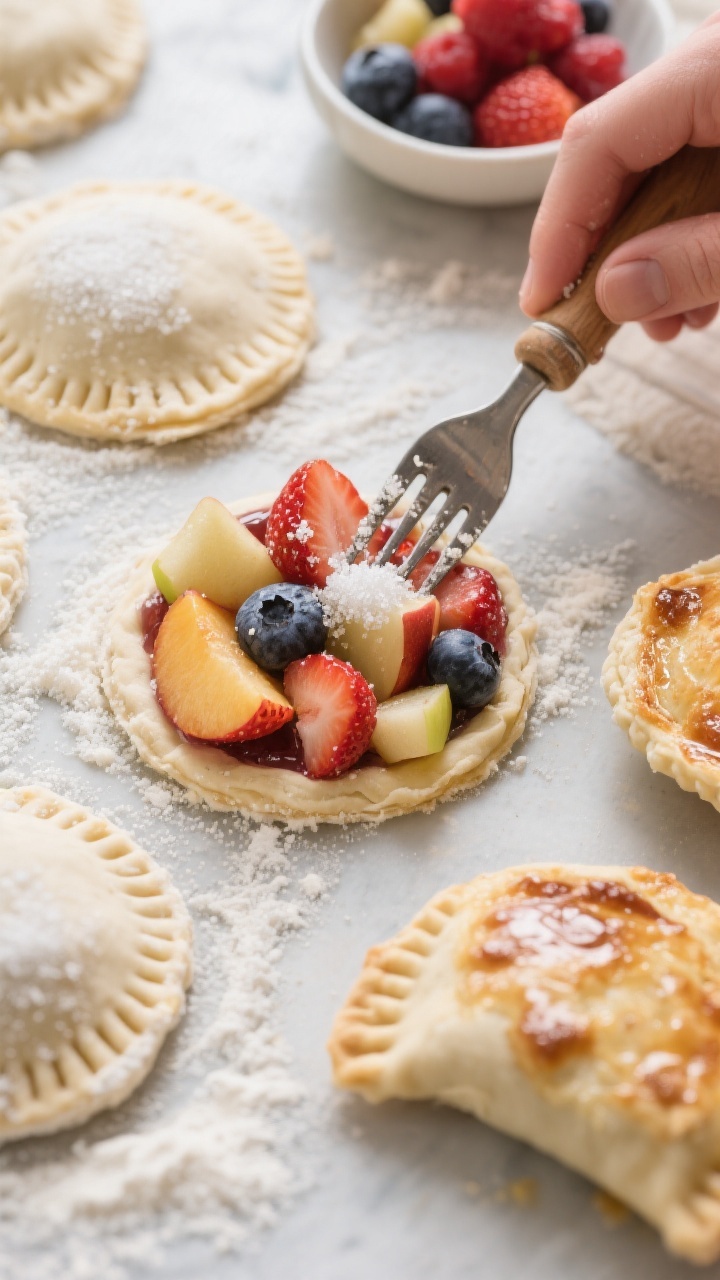
Hand pies are basically edible pockets of joy. Using store-bought pie dough keeps it easy, and kids can cut, fill, and crimp to their hearts’ content. No rolling wars, no tears—just flaky, fruity wins.
Ingredients:
- 2 refrigerated pie crusts (room temp per package directions)
- 1 1/2 cups chopped fruit (strawberries, peaches, apples, blueberries)
- 2 tablespoons granulated sugar (adjust to fruit sweetness)
- 1 tablespoon cornstarch
- 1 teaspoon lemon juice
- 1/2 teaspoon vanilla extract
- 1/4 teaspoon cinnamon (optional)
- Pinch of salt
- 1 egg, beaten (for egg wash) or milk for a kid-friendly alternative
- Coarse sugar for sprinkling
Instructions:
- Preheat oven to 400°F (200°C). Line a baking sheet with parchment.
- In a bowl, toss fruit with sugar, cornstarch, lemon juice, vanilla, cinnamon, and salt. Set aside.
- Unroll pie crusts on a lightly floured surface. Using a 3–4 inch cutter (or a cup), cut as many rounds as possible. Gather scraps and re-cut once.
- Place half the rounds on the baking sheet. Spoon 1–2 teaspoons of fruit filling in the center of each.
- Top with remaining rounds. Crimp edges with a fork to seal. Cut a small slit on top for steam.
- Brush with egg wash or milk. Sprinkle with coarse sugar.
- Bake 14–17 minutes until golden and bubbling. Cool slightly before serving—hot filling is lava!
Let kids dip cooled pies in vanilla yogurt or drizzle with a simple glaze (powdered sugar + a splash of milk). Feeling fancy? Make savory versions with shredded cheese and thin apple slices. Pro tip: Freeze unbaked, then bake from frozen 2–3 minutes longer.
4. Mix-and-Match Sheet Pan Brownie Pizza With Candy Toppings

It’s a brownie. It’s a pizza. It’s the dessert everyone wants to decorate. A thin, fudgy brownie “crust” gets topped with fluffy frosting and a sprinkle bar free-for-all. No pizza cutter fights—there’s plenty to go around.
Ingredients:
- 1 box brownie mix (18–20 oz) + ingredients on the box (usually eggs, oil, water)
- 1/2 teaspoon espresso powder (optional, for deeper chocolate flavor)
- 4 ounces cream cheese, softened
- 3 tablespoons unsalted butter, softened
- 1 1/2 cups powdered sugar
- 1 teaspoon vanilla extract
- 2–3 tablespoons milk (as needed for spreadable frosting)
- Pinch of salt
- Toppings: mini marshmallows, mini M&M’s, crushed pretzels, sliced strawberries, sprinkles, shredded coconut
Instructions:
- Preheat oven to 350°F (175°C). Line a rimmed sheet pan (about 13×18 inches) with parchment and lightly grease.
- Prepare brownie batter per box, adding espresso powder if using. Spread thinly and evenly on the pan—aim for an even layer that doesn’t reach the very edges to avoid overflow.
- Bake 12–15 minutes until set but still soft in the center. Cool completely in the pan.
- Beat cream cheese and butter until smooth. Gradually add powdered sugar, vanilla, salt, and enough milk to make a spreadable frosting.
- Spread frosting over cooled brownie “crust.” Set out bowls of toppings and let kids create sections—sweet-and-salty corner, tropical slice, sprinkle city.
Chill 15 minutes for cleaner slices, then cut into squares or wedges. Swap frosting for whipped cream if serving right away. Pro tip: Use a plastic knife for neat cuts—wild, but it works.
5. Easy Vanilla Cupcakes With 3-Color Swirl Buttercream
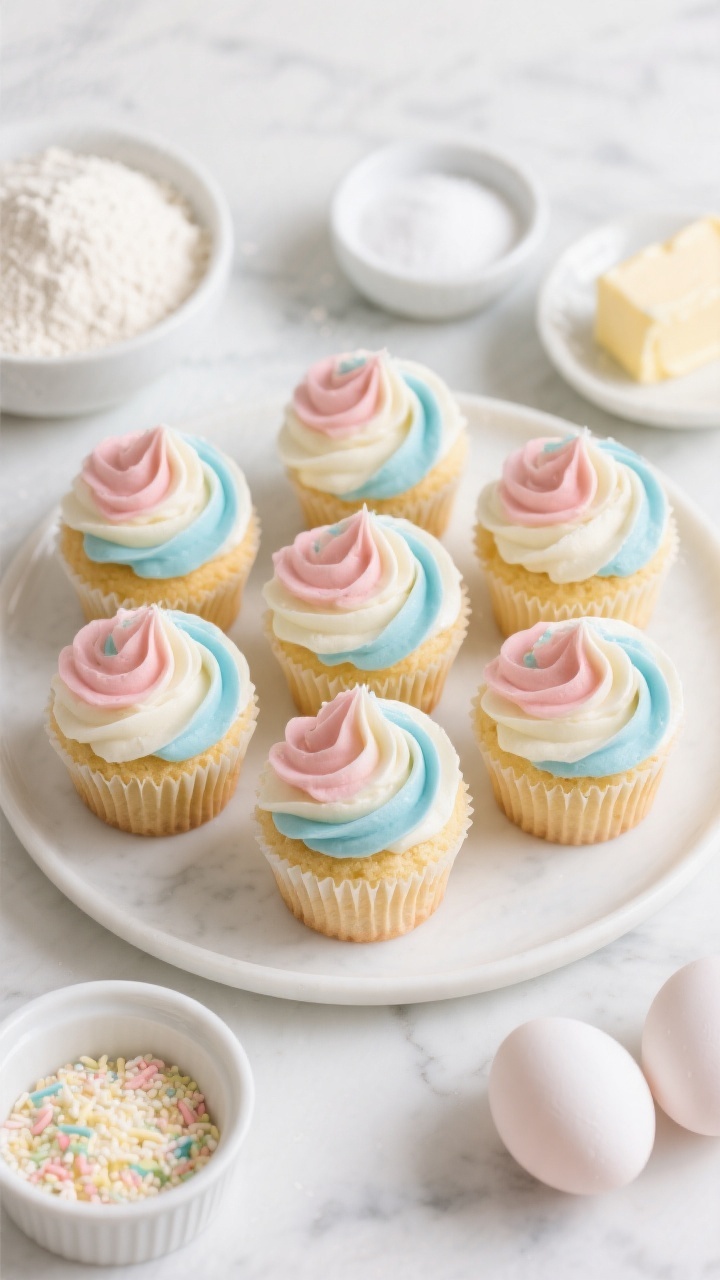
Classic vanilla cupcakes that never fail—pillowy crumb, buttery flavor, and a party trick frosting that looks bakery-level but takes minutes. Kids can help mix, scoop, and swirl like pros.
Ingredients:
Cupcakes:
- 1 1/2 cups all-purpose flour
- 1 1/2 teaspoons baking powder
- 1/2 teaspoon fine salt
- 1/2 cup unsalted butter, softened
- 3/4 cup granulated sugar
- 2 large eggs, room temperature
- 2 teaspoons vanilla extract
- 1/2 cup milk, room temperature
- 1/4 cup sour cream or plain yogurt
Buttercream:
- 1 cup unsalted butter, softened
- 3 1/2 cups powdered sugar
- 2 teaspoons vanilla extract
- 2–4 tablespoons milk or cream
- Pinch of salt
- Gel food coloring: 2–3 colors
- Optional: sprinkles for topping
Instructions:
- Preheat oven to 350°F (175°C). Line a 12-cup muffin tin with liners.
- Whisk flour, baking powder, and salt.
- Cream butter and sugar until pale and fluffy, 2–3 minutes. Beat in eggs one at a time, then vanilla.
- Stir milk and sour cream together. Add dry ingredients to the butter mixture in two parts, alternating with the milk mixture. Mix just until combined.
- Divide batter among liners, about 2/3 full. Bake 16–19 minutes until tops spring back and a toothpick is clean. Cool completely.
- For buttercream: Beat butter until creamy. Add powdered sugar gradually with vanilla, salt, and enough milk for a soft, pipeable texture.
- Divide frosting into 3 bowls and tint each a different color.
- On a piece of plastic wrap, spread each color in three parallel stripes. Roll into a log, twist one end, and snip the other. Drop into a piping bag fitted with a large star tip.
- Pipe tall swirls onto cupcakes. Add sprinkles if desired.
Flavor swaps: Add lemon zest to the batter or fold in mini confetti sprinkles for funfetti. Short on time? Use a boxed vanilla cake mix and focus on the frosting flair—trust me, no one will mind.
Party Flow Tips
Keep the chaos joyful and the mess manageable with a few smart moves.
- Prep stations: one for mixing, one for decorating, one for cooling/packaging.
- Aprons and sheet-pan “placemats” catch most of the fallout.
- Pre-measure dry ingredients into labeled bowls for quick dump-and-stir action.
- Offer a “tasting ticket” at the end to keep little hands from sneaking too many bites mid-bake.
Allergy-Friendly Swaps
- Dairy-free: Use plant butter and non-dairy milk; dairy-free chocolate chips for muffins.
- Egg-free: Try a store-bought egg replacer or 1/4 cup applesauce per egg in muffins/cupcakes.
- Gluten-free: Use a 1:1 gluten-free flour blend for cookies, muffins, and cupcakes; check brownie mix labels.
There you go—five party-perfect bakes that invite kids to stir, sprinkle, and shine. Pick two or three for a shorter party, or go big and let them box up treats to take home. The best part isn’t even the sugar rush—it’s the pride on their faces when they say, “I made that.” Now crank up the music, preheat that oven, and let the flour fly!
Printable Recipe Card
Want just the essential recipe details without scrolling through the article? Get our printable recipe card with just the ingredients and instructions.