5 Easy Lunchbox Recipes for Kids That Disappear by Noon
Let’s make lunchboxes exciting again. These five kid-approved recipes pack quick prep, bold flavor, and sneaky nutrition—without weird ingredients or a morning meltdown. Think colorful, hand-held, and sturdy enough to survive the backpack toss. Ready to upgrade the midday munch?
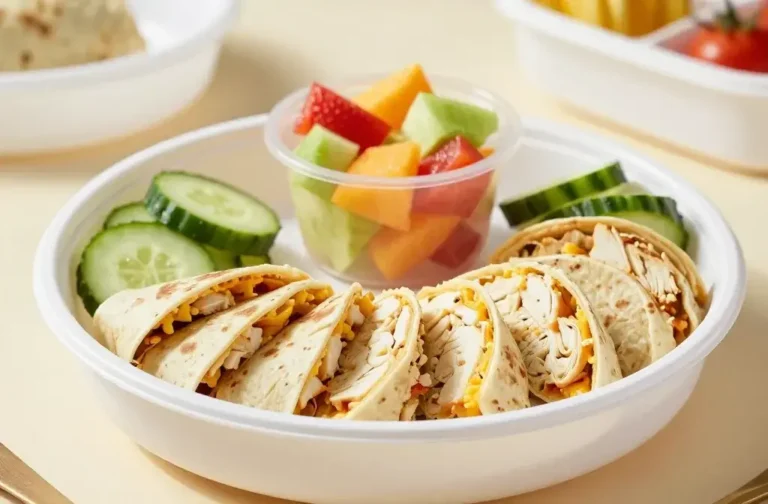
1. Rainbow Turkey Pinwheels That Never Come Home Uneaten
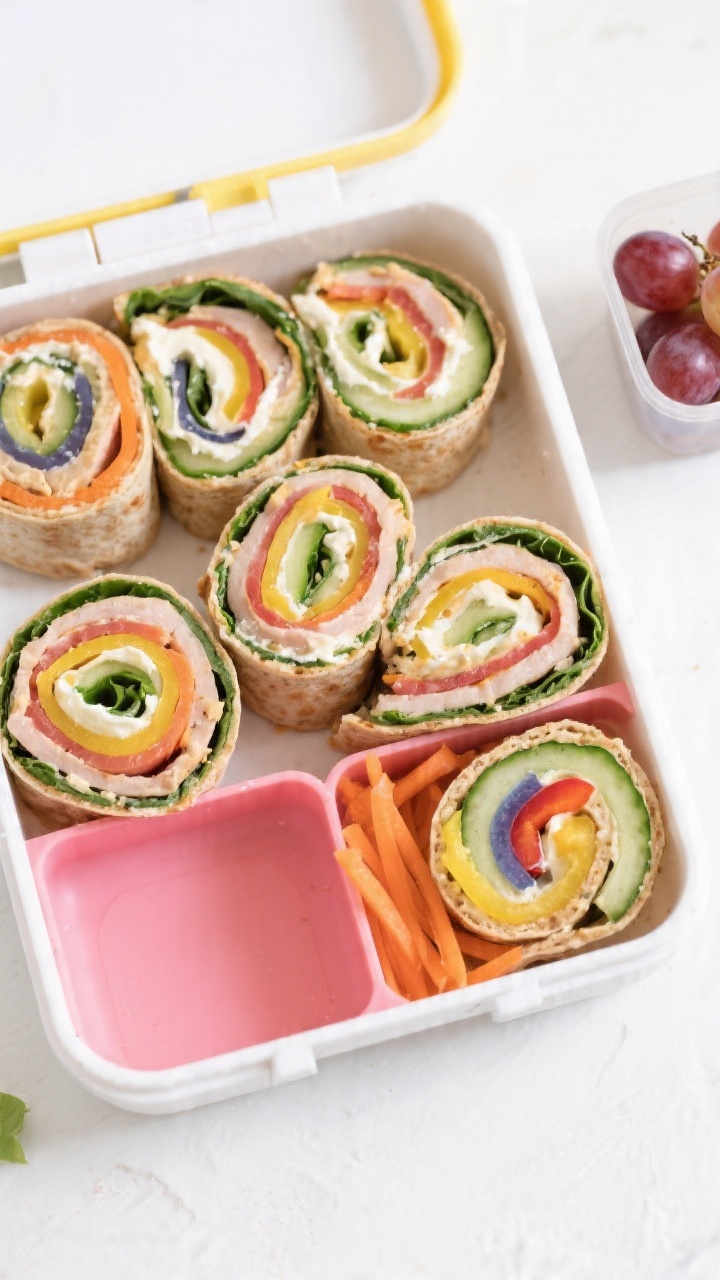
These bright, swirly wraps are lunchbox gold. They’re soft, crunchy, creamy, and packed with color (hello, built-in veggie win). Make them the night before, slice in the morning, and watch them vanish.
Disclosure: As Amazon Associates, we earn from qualifying purchases at no extra cost to you.
Ingredients:
- 4 large spinach or whole-wheat tortillas (10-inch)
- 6 ounces sliced turkey breast (nitrate-free if possible)
- 4 tablespoons cream cheese or hummus
- 1 cup shredded carrots
- 1 cup thinly sliced cucumbers
- 1 cup baby spinach
- 1/2 red bell pepper, thinly sliced
- 1/4 teaspoon garlic powder
- 1/4 teaspoon dried Italian herbs (optional)
- Pinch of salt and pepper
Instructions:
- Lay a tortilla on a board and spread 1 tablespoon cream cheese or hummus edge to edge. Sprinkle with garlic powder, herbs, salt, and pepper.
- Layer turkey in a thin, even sheet. Add a stripe of carrots, cucumbers, spinach, and bell pepper across the lower third.
- Roll tightly from the veggie side, tucking as you go. Seal the edge with a tiny smear of cream cheese if needed.
- Chill the roll for 10 minutes (helps slicing). Cut into 1-inch pinwheels with a sharp knife.
- Pack snugly so the pieces don’t unravel. Add a small ice pack if using cream cheese.
Pro tip: Swap turkey for rotisserie chicken or a slice of cheddar for a vegetarian version. For dipping, pack a tiny container of ranch or yogurt sauce. Want bonus crunch? Add a few crushed tortilla chips before rolling—seriously.
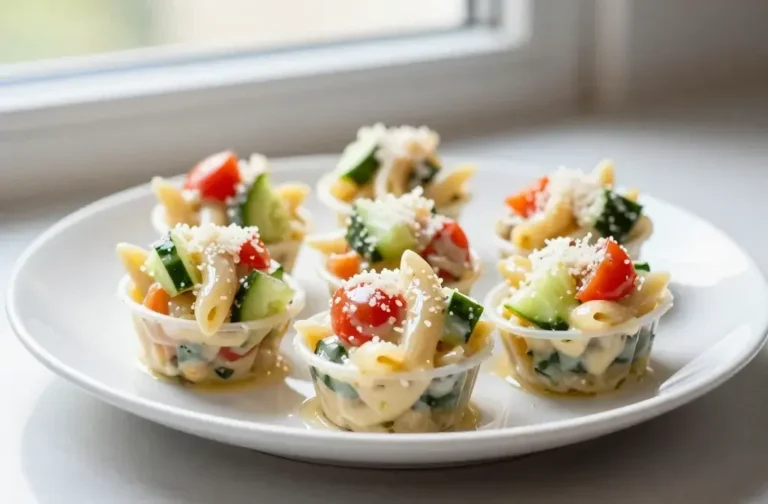
2. Stick-To-Your-Ribs Mac ‘N’ Cheese Muffins (With Hidden Veg)

Comfort food, but portable. These baked mac-and-cheese cups hold their shape, taste like the real deal, and sneak in cauliflower without a peep of protest. They reheat great or go straight from fridge to lunchbox.
Ingredients:
- 8 ounces elbow macaroni
- 1 cup finely chopped cauliflower florets (or riced)
- 1 tablespoon butter
- 1 tablespoon all-purpose flour
- 1 cup milk (whole or 2%)
- 1 1/2 cups shredded sharp cheddar
- 1/4 cup grated Parmesan
- 1 large egg, beaten
- 1/4 teaspoon mustard powder (optional)
- 1/4 teaspoon garlic powder
- 1/4 teaspoon salt, plus more for pasta water
- Black pepper to taste
- Nonstick spray or butter for muffin tin
Instructions:
- Preheat oven to 375°F (190°C). Grease a 12-cup muffin tin well.
- Boil macaroni in salted water according to package directions. In the last 3 minutes, add cauliflower to the pot. Drain well.
- In the same pot, melt butter over medium heat. Whisk in flour and cook 1 minute. Slowly whisk in milk, cooking until thickened, 2–3 minutes.
- Off heat, stir in cheddar, Parmesan, mustard powder, garlic powder, salt, and pepper until smooth.
- Fold in drained macaroni and cauliflower. Let cool 2 minutes, then quickly stir in beaten egg.
- Divide mixture among muffin cups, pressing lightly to compact. Bake 15–18 minutes until set and lightly golden around edges.
- Cool 10 minutes in the tin, then loosen with a butter knife and transfer to a rack.
Serving ideas: Pack with cherry tomatoes and apple slices. For a flavor twist, mix in 1/2 cup peas or tiny broccoli bits. If your kid loves crunch, top with a sprinkle of panko before baking.
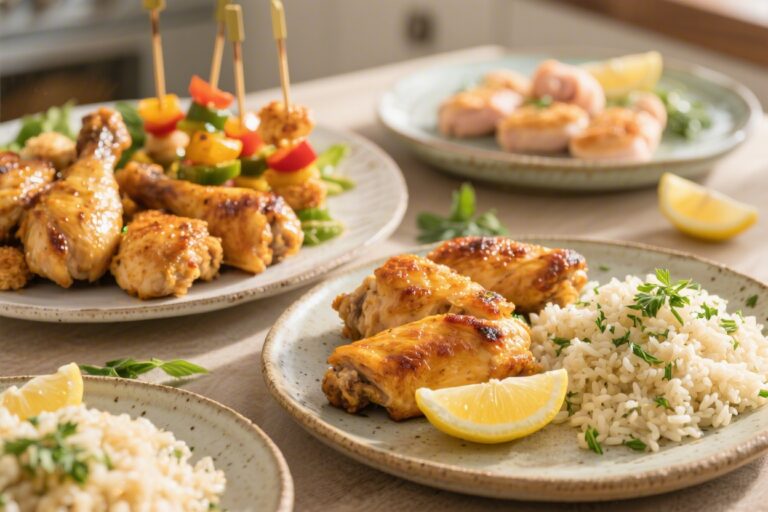
3. Bento-Style Chicken Sushi Rolls Without The Raw Fish Drama
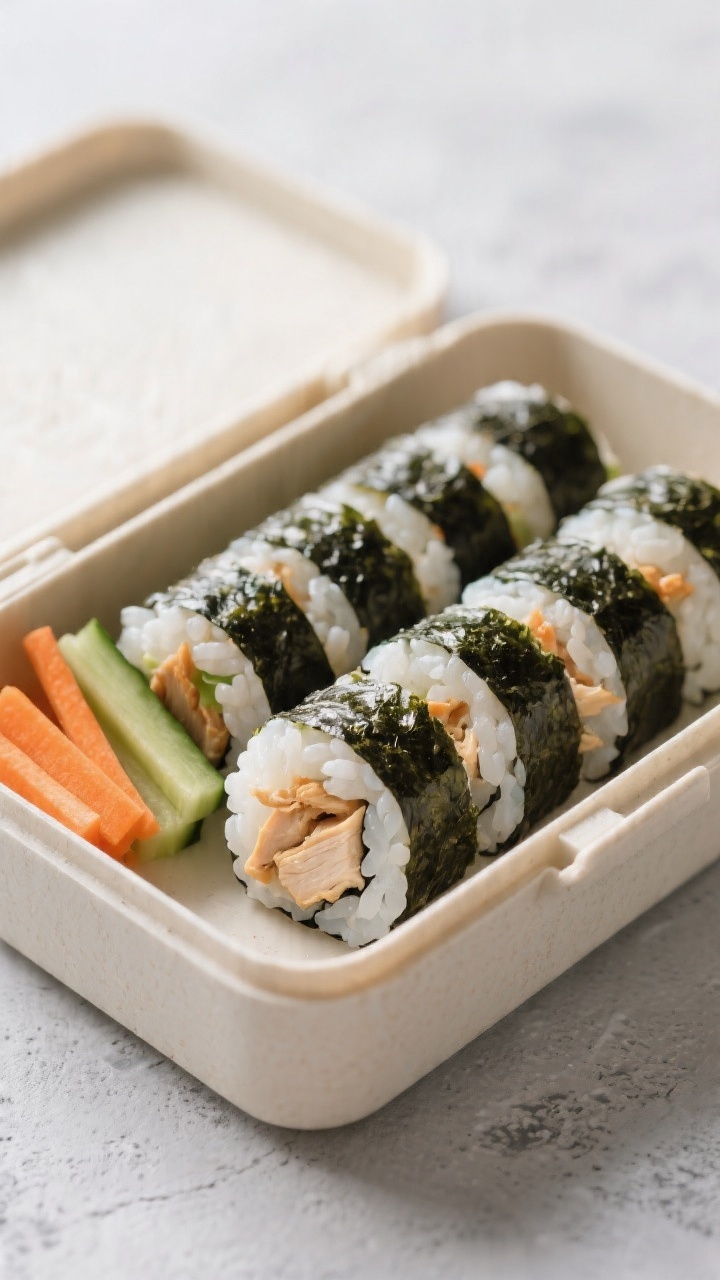
Sushi vibes, zero raw fish. These rolls use cooked chicken and sticky rice for a kid-friendly, hand-held bite. Fun to assemble, easy to pack, and wildly customizable (hello, cucumber and mango).
Ingredients:
- 2 cups cooked short-grain rice (or sushi rice), cooled slightly
- 2 teaspoons rice vinegar
- 1/2 teaspoon sugar
- Pinch of salt
- 4 nori sheets
- 1 cup finely shredded cooked chicken (rotisserie is great)
- 2 tablespoons mayonnaise or Greek yogurt
- 1 teaspoon soy sauce or coconut aminos
- 1/2 teaspoon sesame oil (optional)
- 1/2 cup matchstick cucumbers
- 1/2 cup thin carrot sticks
- 1/2 small ripe mango, sliced into thin strips (optional but delightful)
- Sesame seeds for sprinkling (optional)
Instructions:
- In a small bowl, mix rice vinegar, sugar, and salt. Gently fold into warm rice and let cool to just above room temperature.
- Stir chicken with mayo, soy sauce, and sesame oil until creamy.
- Place a nori sheet on a sushi mat or clean towel, shiny side down. With wet fingers, spread a thin layer of rice over 3/4 of the sheet, leaving the top edge bare.
- Arrange a line of chicken, cucumbers, carrots, and mango along the bottom third. Sprinkle sesame seeds if using.
- Roll tightly from the bottom, using the mat to compress. Moisten the top edge to seal.
- Let rest seam-side down for 5 minutes, then slice into 8 pieces with a sharp, damp knife.
Pack it right: Add edamame, orange segments, and a mini container of soy sauce or mild teriyaki for dipping. Swap chicken for canned tuna or mashed chickpeas to mix things up. Trust me, these rolls make lunch feel like a mini party.
4. Sweet ‘N’ Savory Apple Cheddar Quesadillas Your Kid Will Brag About
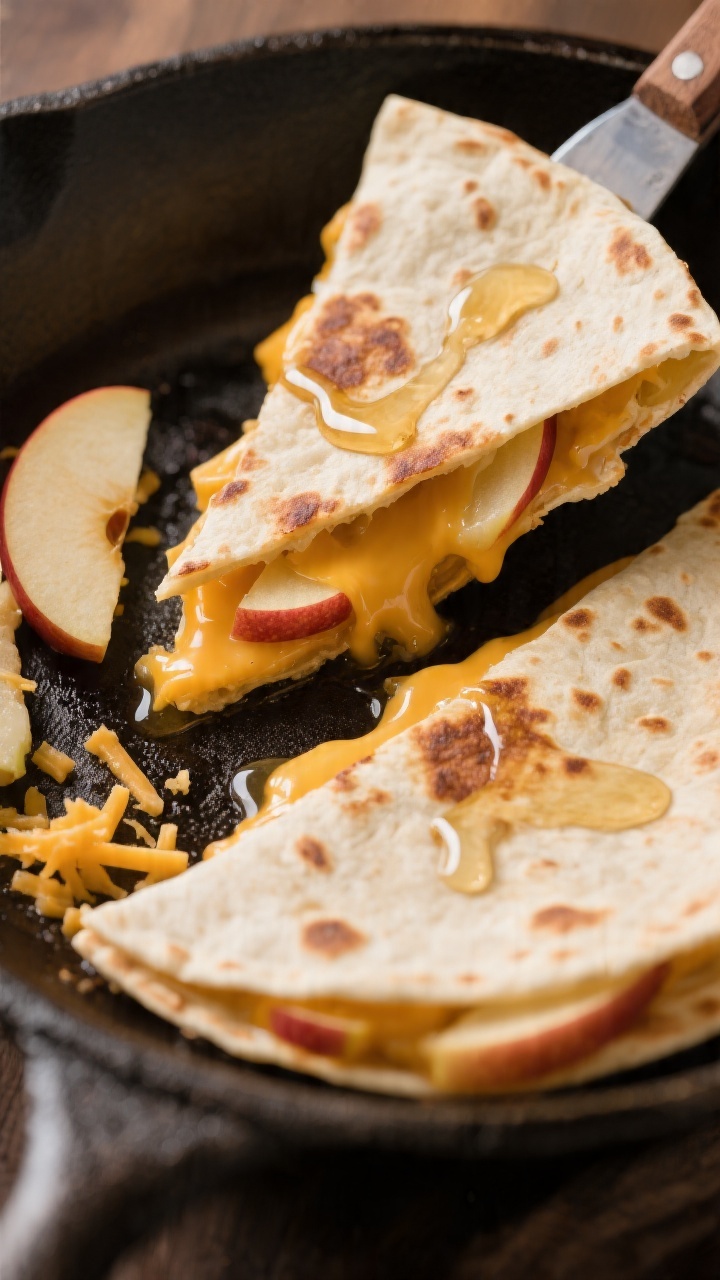
Cheesy, melty, and a little sweet—these quesadillas hit that magic kid combo. They’re crisp on the outside, gooey inside, and still taste great at room temp. Plus, they use pantry staples and take under 10 minutes.
Ingredients:
- 4 small flour tortillas (or 2 large, halved)
- 1 1/2 cups shredded mild or sharp cheddar
- 1 small crisp apple (like Gala), thinly sliced
- 1 tablespoon butter or neutral oil
- 1 teaspoon honey or maple syrup (optional)
- Pinch of cinnamon (optional)
- Pinch of salt
Instructions:
- Heat a large skillet over medium heat and add half the butter or oil.
- Place a tortilla in the pan, sprinkle with 3/4 cup cheese, layer apple slices evenly, and drizzle with a touch of honey if using. Dust with a tiny pinch of cinnamon and salt. Top with another tortilla.
- Cook 2–3 minutes per side until golden and the cheese melts. Repeat with remaining tortillas and cheese.
- Cool slightly, then cut into triangles. Let them steam off so they don’t sog out in the box.
Make it yours: Add a thin layer of ham or turkey for extra protein. Serve with a small cup of salsa or plain Greek yogurt for dipping. For a whole-grain boost, use whole-wheat tortillas—kids barely notice when the cheese is this good.
5. No-Bake Crunchy Yogurt Parfaits That Double As Lunch Or Snack
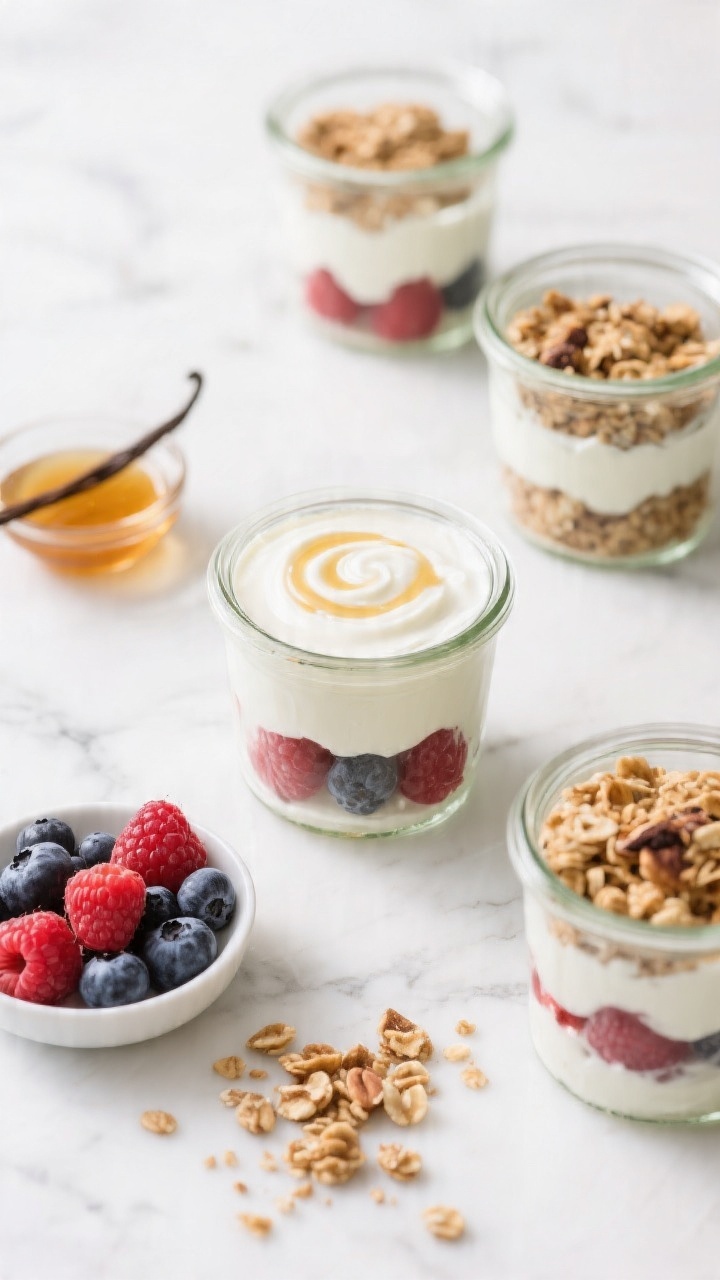
Meet the lunchbox hero that feels like dessert but fuels like breakfast. Layered yogurt, fruit, and a crunchy mix stay fresh and fun. Build them in reusable containers and stash in the fridge—grab-and-go perfection.
Ingredients:
- 2 cups full-fat or 2% Greek yogurt (vanilla or plain)
- 2 tablespoons honey or maple syrup (skip if using sweetened yogurt)
- 1 teaspoon vanilla extract (if using plain yogurt)
- 1 cup berries (strawberries, blueberries, or raspberries), chopped if large
- 1 banana, sliced (optional)
- 1/2 cup granola or crushed whole-grain cereal
- 2 tablespoons mini chocolate chips or cocoa nibs (optional)
- 2 tablespoons chopped nuts or seeds (pumpkin or sunflower; omit for nut-free)
- 1 tablespoon chia seeds (optional fiber boost)
- Small squeeze of lemon for the banana to prevent browning (optional)
Instructions:
- Stir yogurt with honey and vanilla if using. Taste and adjust sweetness.
- If using banana, toss slices with a few drops of lemon to slow browning.
- In two to three small lidded containers, layer: a spoonful of yogurt, a handful of fruit, a sprinkle of granola, and a few chocolate chips or seeds. Repeat layers, finishing with yogurt on top.
- Pack granola separately if you want it ultra-crunchy and let kids sprinkle at lunch.
Tips: Go nut-free for school rules by using seeds and coconut flakes. For extra protein, swirl in a tablespoon of peanut butter or sunflower seed butter. These hold well for 2–3 days, so you’re basically meal-prepped and winning.
Pack Smarter, Not Harder
Want to keep everything fresh and fun? Mix textures—something crunchy, something creamy, and a juicy fruit. Keep dips in leakproof mini containers, add an ice pack for dairy, and use silicone muffin cups to corral small bites. Variety feels special, even when you’re on autopilot.
Time-Saving Prep Moves
- Chop veggies for pinwheels and sushi rolls on Sunday; store in clear containers.
- Cook a pot of rice and a batch of chicken; use all week for quick assemblies.
- Bake mac ‘n’ cheese muffins and freeze; thaw in the fridge overnight.
- Pre-portion fruit, crackers, and cheese into grab bags. Future you says thanks.
Allergy-Savvy Swaps
- Dairy-free: Sub vegan cheese in quesadillas and muffins; use coconut yogurt for parfaits.
- Gluten-free: Use GF tortillas, pasta, and tamari; choose GF granola.
- Nuts: Stick to seeds, hummus, and seed butters—still tasty and school-friendly.
There you go—five easy lunchbox recipes for kids that actually get eaten. Mix and match, repeat favorites, and don’t stress perfection. Pack with a note or a goofy sticker if you can—little surprises make lunch feel extra special. You’ve got this, and your lunchbox game is about to crush it.
Printable Recipe Card
Want just the essential recipe details without scrolling through the article? Get our printable recipe card with just the ingredients and instructions.