Football Snacks for Kids After Game That Win Big With Zero Fuss
Post-game kids are a special kind of hungry. They want something fast, fun, and actually satisfying—ideally before the cleats even come off. These five team snack ideas hit that sweet spot: easy to make, easy to pack, and easy to love. We’re talking crunchy, juicy, cheesy, and sweet (with some sneaky nutrition tucked in). Ready to become the MVP of the snack bench?
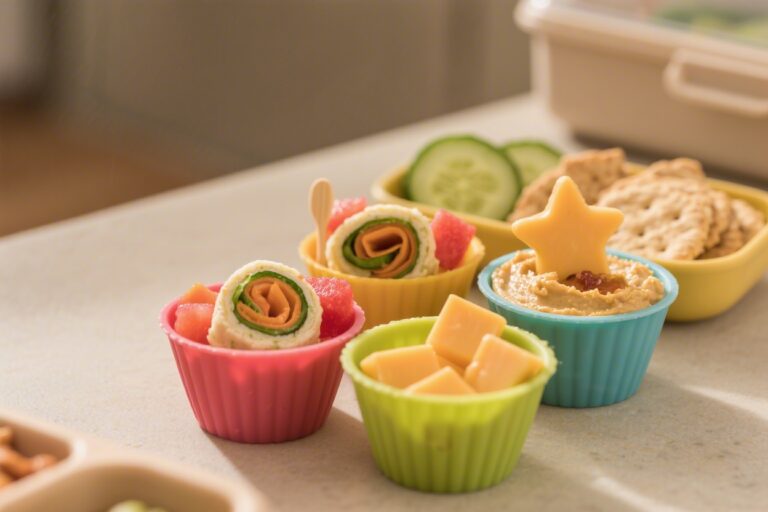
1. Victory Veggie Nacho Cups With Ranch Drizzle
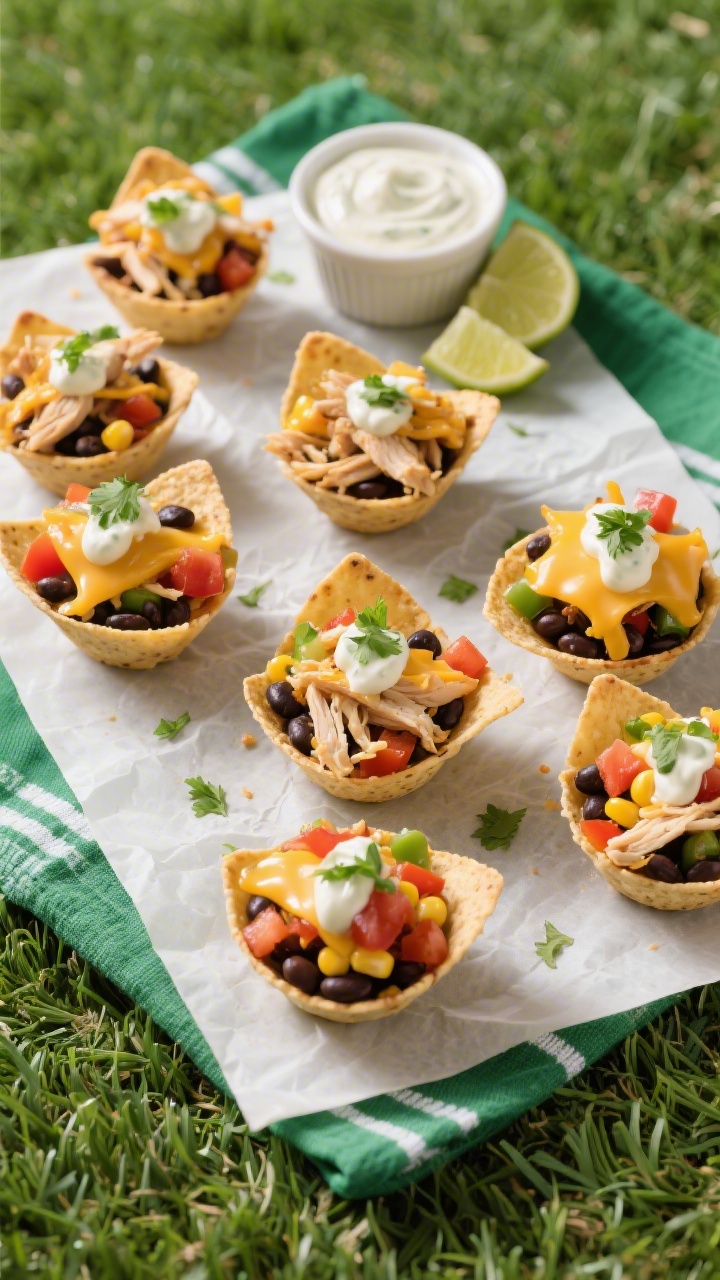
These tiny nacho cups are the dream: crisp, colorful, and totally portable. They’re less messy than full-size nachos, but just as craveable. Kids love the build-your-own feel, and you’ll love that they’re stacked with veggies and protein.
Disclosure: As Amazon Associates, we earn from qualifying purchases at no extra cost to you.
Ingredients:
- 24 mini tortilla scoops (about 2 cups)
- 1 cup shredded rotisserie chicken (optional for protein)
- 1 cup shredded cheddar or Mexican blend cheese
- 1 cup black beans, rinsed and drained
- 1 cup corn kernels (thawed if frozen)
- 1 cup finely diced bell peppers (mix colors for fun)
- 1/2 cup mild salsa
- 1/2 cup plain Greek yogurt
- 2 tablespoons ranch dressing
- 1/4 teaspoon chili powder (optional, kid-friendly)
- Salt and pepper to taste
- Fresh cilantro or green onions, finely chopped (optional)
- Lime wedges for serving (optional)
Instructions:
- Preheat your oven to 375°F (190°C). Line a baking sheet with parchment for easy cleanup.
- Arrange the mini tortilla scoops in a single layer. Sprinkle a pinch of cheese in each to “glue” the fillings.
- Divide the chicken, black beans, corn, and peppers among the cups. Top with remaining cheese.
- Bake for 6–8 minutes, until the cheese is melted and edges are crisp.
- In a small bowl, stir together Greek yogurt, ranch, chili powder, and a pinch of salt and pepper. Thin with a teaspoon of water if needed for drizzling.
- Drizzle the ranch sauce over warm nacho cups. Add salsa, a sprinkle of cilantro or green onions, and a quick squeeze of lime if you like.
Serve warm or at room temp—both are great on the sidelines. Pack them in a lidded tray and keep the drizzle and salsa separate for less sogginess. Variation: swap chicken for diced avocado to go meatless, or add finely chopped tomatoes for extra juiciness.
2. End Zone Turkey-and-Cheese Pinwheel Pops
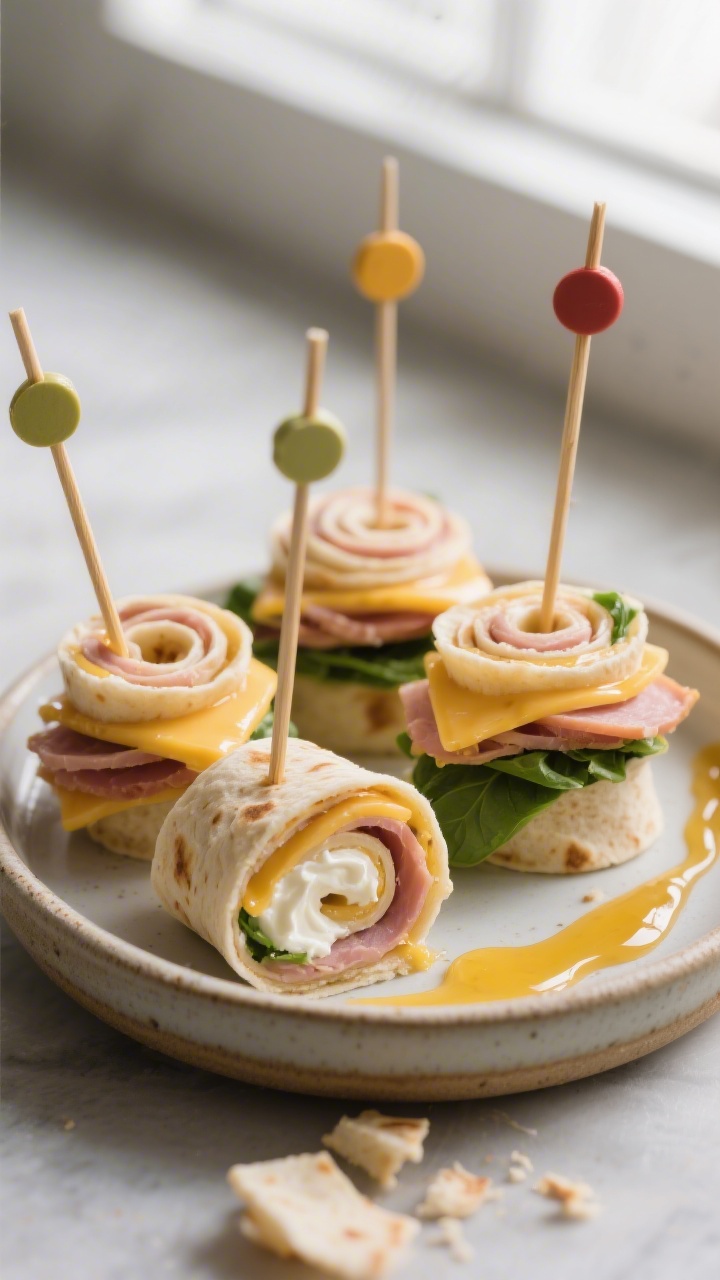
Pinwheels are the unofficial mascot of kid snacks. They’re colorful, sturdy, and totally grab-and-go. These get the “pop” treatment on sticks for fun—and portion control—while a quick honey-mustard spread keeps them moist and flavorful.
Ingredients:
- 4 large flour tortillas (10-inch)
- 6 ounces cream cheese, softened
- 2 tablespoons Dijon mustard
- 1 tablespoon honey
- 8 ounces sliced turkey (or ham)
- 6 slices cheddar or provolone
- 1 cup baby spinach, loosely packed
- 1/2 red bell pepper, very thinly sliced
- Salt and black pepper to taste
- 12–16 food-safe wooden sticks or skewers (3–4 inches)
Instructions:
- Mix cream cheese, Dijon, and honey until smooth. Season lightly with salt and pepper.
- Lay out a tortilla and spread about 3 tablespoons of the mixture edge-to-edge.
- Layer turkey, cheese, spinach, and red pepper in a thin, even layer, leaving a 1-inch border along one edge.
- Roll up tightly from the filled edge toward the border, pressing gently to seal. Repeat with remaining tortillas.
- Wrap rolls in plastic and chill 15–20 minutes to firm (key for clean slices).
- Slice into 1-inch pinwheels. Gently insert a stick into each piece from the seam side for stability.
Pack in shallow containers so they don’t tip. For variety, try hummus instead of cream cheese, or swap turkey for roasted veggies. Pro tip: tuck a paper towel in the container to absorb condensation and keep the pinwheels perky.
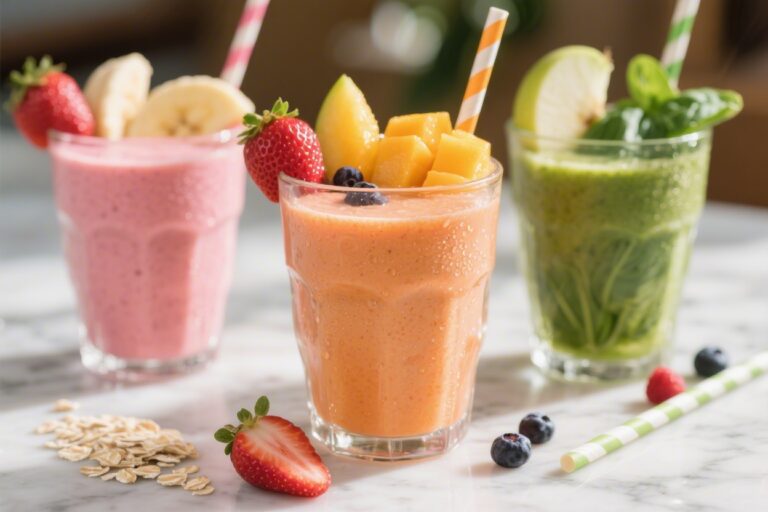
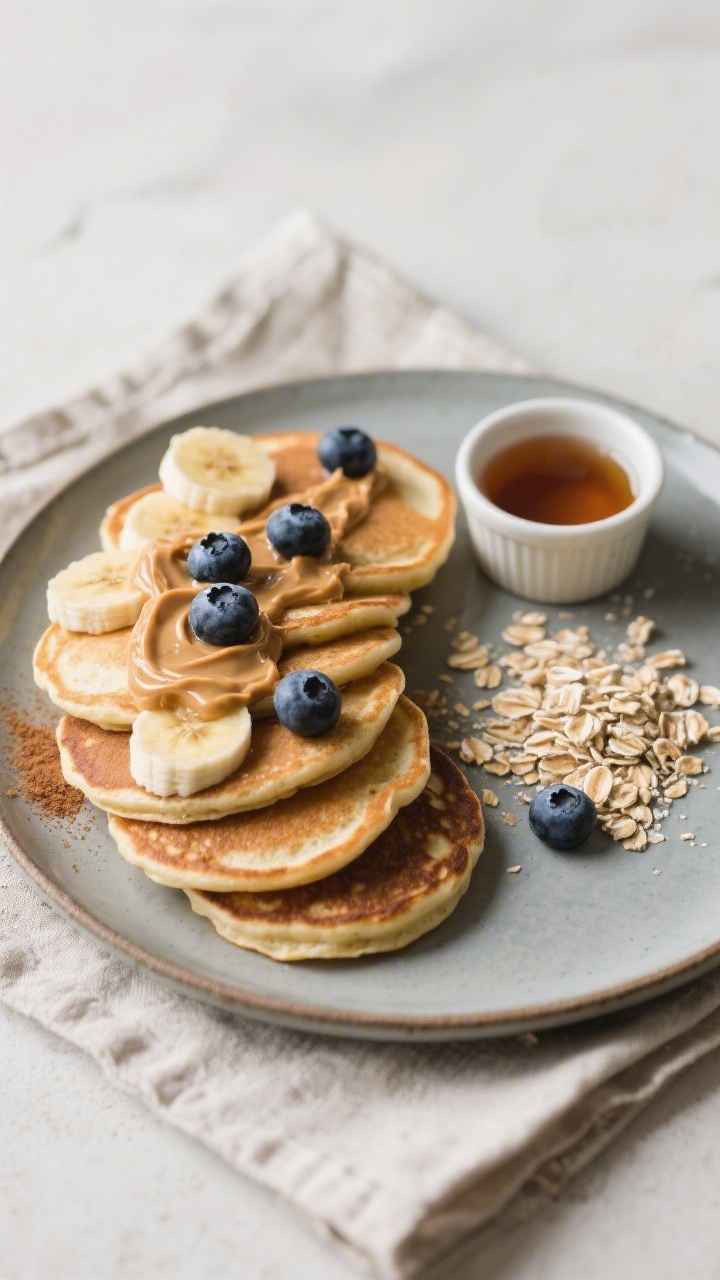
3. Power-Up Fruit Cones With Yogurt Confetti

Think sundae vibes without the sugar crash. These fruit cones are bright, juicy, and ridiculously cute—plus they keep little hands clean. The trick is a quick “chocolate shell” made from yogurt that sets in the fridge, then a shower of crunchy granola confetti.
Ingredients:
- 12 small waffle cones
- 2 cups vanilla Greek yogurt
- 1 tablespoon maple syrup or honey (optional)
- 1/2 teaspoon vanilla extract
- 2 cups mixed berries (strawberries chopped, blueberries, raspberries)
- 1 cup diced pineapple or mango
- 1 large banana, diced (optional)
- 1/2 cup granola (choose nut-free if needed)
- 2 tablespoons mini chocolate chips or rainbow sprinkles (optional)
- Foil or cone holders for transport
Instructions:
- In a bowl, whisk yogurt with maple syrup and vanilla until silky. Chill 10 minutes to slightly thicken.
- Prep fruit in small, bite-size pieces and pat dry with paper towels to reduce drips.
- Line up cones in a muffin tin or cone holder. Spoon 1 tablespoon yogurt into each cone base—this helps “seal” the tip.
- Fill cones with mixed fruit, gently pressing so they’re snug but not crushed.
- Top with a dollop of yogurt and sprinkle with granola and mini chips or sprinkles.
- Cover each cone loosely with a small square of foil to protect the top during transport. Chill until serving for best texture.
Swap in seasonal fruit—peaches in summer, mandarins in winter. Want extra staying power? Use strained yogurt (labneh-style) or mix in a spoon of cream cheese for a thicker top that won’t slide. For dairy-free kids, try coconut yogurt and a gluten-free cone.
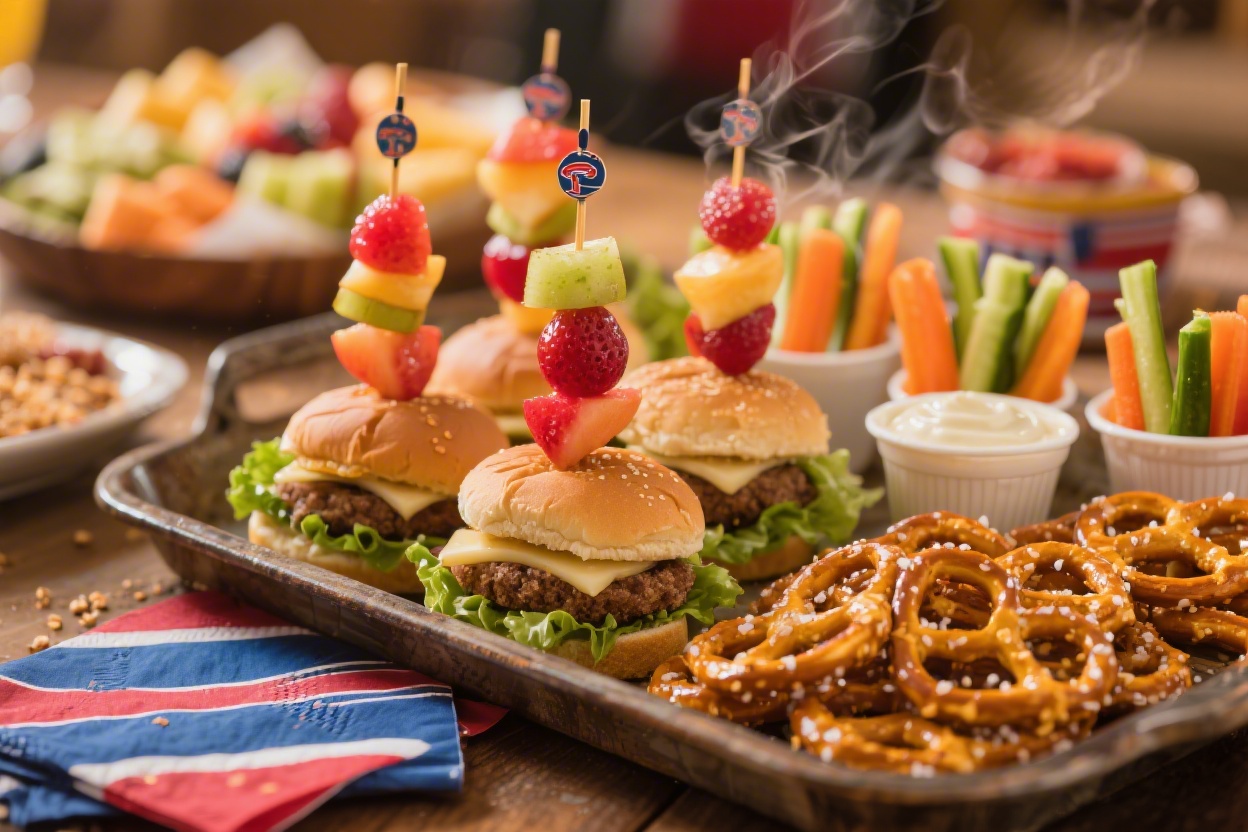
4. Touchdown Baked Pizza Sliders (Sheet-Pan Style)

These sliders feed a squad and bake in one go. Soft rolls, melty cheese, and classic pizza flavors—what’s not to love? They’re easy to customize for picky eaters and reheat like a dream if your team is running late.
Ingredients:
- 1 package (12-count) Hawaiian or soft dinner rolls
- 1 cup pizza sauce or marinara
- 12 slices low-moisture mozzarella (or 2 cups shredded)
- 12–16 slices turkey pepperoni (optional)
- 1 small green bell pepper, finely diced
- 1/4 cup sliced black olives (optional)
- 2 tablespoons grated Parmesan
- 2 tablespoons olive oil
- 1 teaspoon Italian seasoning
- 1/2 teaspoon garlic powder
- Pinch of salt
Instructions:
- Preheat oven to 375°F (190°C). Line a sheet pan with parchment.
- Without separating rolls, slice the whole slab horizontally. Place the bottom half on the pan.
- Spread pizza sauce evenly over the bottom. Layer half the cheese, then pepperoni, peppers, and olives. Top with remaining cheese and the roll tops.
- Mix olive oil, Italian seasoning, garlic powder, Parmesan, and a pinch of salt. Brush over the tops.
- Cover loosely with foil and bake 12 minutes. Uncover and bake 5–7 minutes more, until tops are golden and cheese is melty.
- Cool 5 minutes, then cut into 12 sliders along the roll lines.
Serve with extra warm marinara for dipping. For a veggie-forward version, skip pepperoni and add sautéed mushrooms or spinach. Make-ahead tip: assemble up to 6 hours early, refrigerate, then bake an extra 5 minutes to heat through.
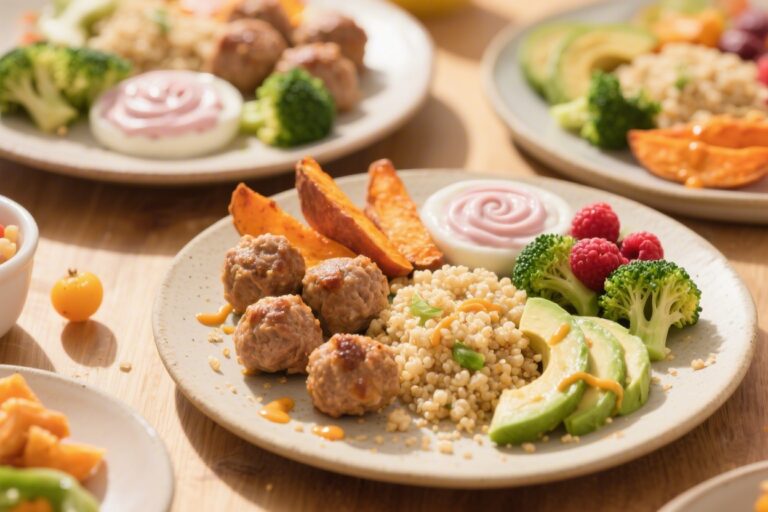
5. Post-Game Protein Snack Boxes With Sweet-and-Salty Crunch
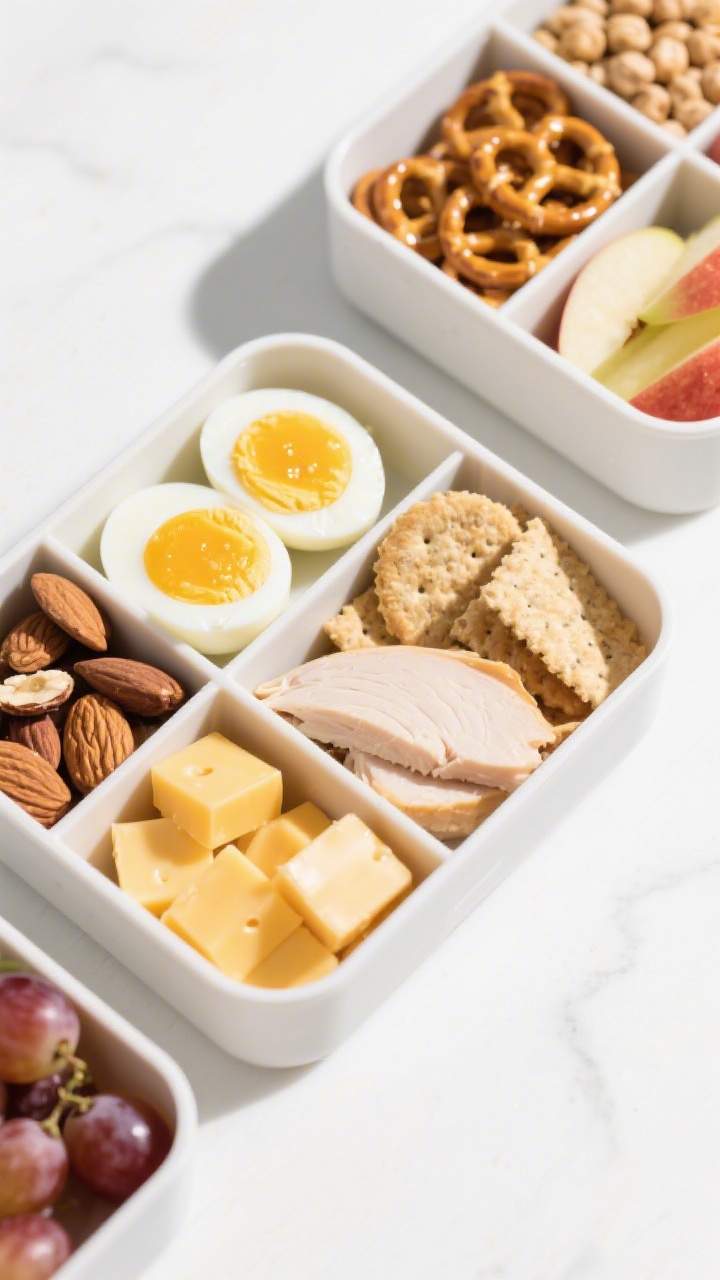
When you need something balanced and packable, these snack boxes deliver. They’ve got carbs for quick energy, protein for staying power, and a little treat for morale. Bonus: everything’s cold-hold friendly and easy to scale for a whole roster.
Ingredients:
- 8 hard-boiled eggs, halved (or 1 1/2 cups roasted chickpeas for egg-free)
- 8 ounces sliced deli chicken or turkey (or cheese cubes)
- 8 cheese sticks or 1 1/2 cups mini cheese cubes
- 2 cups whole-grain crackers or pretzel thins
- 2 cups baby carrots and sugar snap peas
- 1 1/2 cups apple slices or grapes (seedless)
- 1/2 cup hummus or ranch cups (store-bought is fine)
- 1/2 cup trail mix or yogurt-covered raisins (nut-free if needed)
- Lemon juice to spritz apples
- 12 small bento-style containers or divided meal prep boxes
Instructions:
- Prep proteins: peel eggs; pat deli meat and cheese dry to avoid condensation. If using roasted chickpeas, let them cool fully for maximum crunch.
- Slice apples and spritz with lemon juice to prevent browning. Wash and dry all produce thoroughly.
- Assemble boxes: add 1 egg (2 halves) or 1/4 cup chickpeas, a few turkey slices, 1 cheese stick, a handful of crackers, a handful of veggies, a handful of fruit, and 1 tablespoon of trail mix.
- Include a small container of hummus or ranch for dipping. Seal and refrigerate until game time.
Keep boxes in a cooler with ice packs for safety. For dairy-free boxes, swap cheese for a sunflower seed butter dip and extra roasted chickpeas. Want it themed? Use team-colored napkins or sticker labels—seriously, the kids notice.
Smart Sideline Tips
Planning for a crowd? Here’s how to make snack time as smooth as that perfect pass:
- Label everything. Add name stickers or positions to keep hands off duplicates.
- Think finger foods. Minimize forks and knives—small bites win.
- Bring wipes and a trash bag. You’ll be the hero nobody knew they needed.
- Hydration counts. Pack water, and if it’s hot, toss in orange slices for a quick refresh.
Allergy and Dietary Swaps
- Gluten-free: use GF tortilla scoops, crackers, and cones; check sauces.
- Dairy-free: rely on hummus, dairy-free cheese, and coconut yogurt.
- Nut-free: pick safe granola and trail mix; sunflower seeds add crunch.
- Vegetarian: sub beans, avocado, or roasted veggies for meats.
Speedy Make-Ahead Plan
- Night before: boil eggs, chop veggies, mix sauces, and assemble pinwheel rolls (slice day-of).
- Morning of: bake sliders and nacho cups; fill fruit cones; pack boxes and coolers.
- At the field: drizzle, dip, and distribute. You’re done.
There you go—five after-game snacks that travel well, taste great, and won’t keep you in the kitchen all day. Pick one, or rotate through for the season. Your team’s bellies will be full, the parents will be grateful, and you’ll still have time to cheer the last play. Now, which one are you making first?
Printable Recipe Card
Want just the essential recipe details without scrolling through the article? Get our printable recipe card with just the ingredients and instructions.