Christmas Snacks for Kids School Party That Disappear Faster Than Santa’s Cookies
Kids’ holiday parties move fast—sugar-high fast. You need snacks that are bright, bite-sized, and easy to share without a meltdown over the last sprinkle. These five festive treats nail the brief: low-fuss, super cute, classroom-friendly, and customizable for picky eaters. Bonus: most are no-bake or quick-bake, so you won’t be stuck in the kitchen whispering “why” to a mixing bowl.
Ready to become the holiday snack hero? Let’s make treats that look like they leapt off a Pinterest board—but won’t stress you out.
Disclosure: As Amazon Associates, we earn from qualifying purchases at no extra cost to you.
1. Reindeer Pretzel Bites That Wink Back

These little reindeer are salty-sweet magic: crunchy pretzels, melty chocolate, and a red nose that makes every kid smile. They’re fast to assemble, wildly photogenic, and perfect for little hands. Plus, they travel like champs in lunchboxes and party trays.
Ingredients:
- 40 mini pretzel twists (plus a few extra for breakage)
- 20 chocolate-covered caramel candies (like Rolos)
- 20 red candy-coated chocolates (for noses)
- 40 candy eyes (or mini white chocolate chips)
- Optional: 1/2 cup melted semi-sweet chocolate for extra “glue”
Instructions:
- Preheat oven to 250°F (120°C). Line a baking sheet with parchment.
- Lay out 20 pretzel twists. Top each with one chocolate-covered caramel candy.
- Bake for 3–4 minutes, just until candies look shiny and slightly soft (not fully melted).
- Immediately press a red candy into the bottom of each softened candy for the nose.
- Add two candy eyes near the top. Break remaining pretzels into halves to make antlers and gently press one on each side.
- Let set at room temp for 30 minutes, or chill 10 minutes to speed things up. If anything won’t stick, use a dab of melted chocolate as glue.
Pack in a single layer to keep antlers intact. Swap red noses for any color if you’re low on Rudolphs. Feeling fancy? Drizzle with white chocolate “snow.” These are peanut-free if your chocolate candies are safe—always double-check labels for allergen awareness.
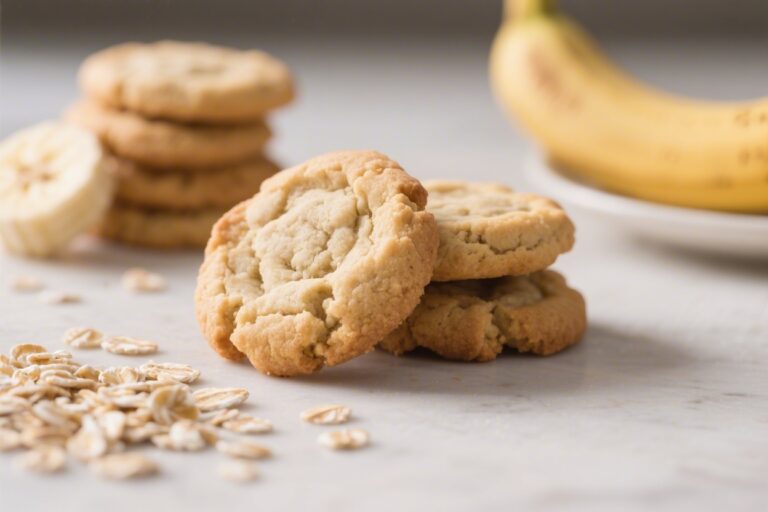
2. Snowman Banana Pops Kids Actually Eat

Fruit that feels like candy? Yes, please. These frozen banana snowmen are dipped in white yogurt, sprinkled with mini chocolate chips, and accessorized with pretzel arms. They’re fun to decorate and a smarter sweet for the classroom crowd.
Ingredients:
- 4 ripe but firm bananas
- 1 1/2 cups vanilla Greek yogurt (or dairy-free yogurt)
- 2 tablespoons honey or maple syrup (optional, for sweetness)
- 24 mini chocolate chips (eyes and buttons)
- 12 orange sprinkle bits or tiny carrot-shaped sprinkles (noses)
- 12 small pretzel sticks (arms)
- 6 paper straws or popsicle sticks
- 1/2 cup shredded coconut (for “snow,” optional)
- 2 tablespoons colored sprinkles or mini scarves made from fruit leather (optional)
Instructions:
- Line a tray with parchment. Peel bananas and slice each in half crosswise. Insert a straw or popsicle stick into each piece from the cut side.
- In a bowl, whisk yogurt with honey or maple syrup if desired. This makes a smoother, sweeter “coat.”
- Dip each banana pop into yogurt, using a spoon to coat evenly. Let excess drip off. Optionally roll bottoms in shredded coconut for a snowy base.
- Place on the tray and quickly add mini chocolate chips for eyes and buttons, and an orange sprinkle for the nose. Press a pretzel stick into each side for arms.
- Freeze for at least 1 hour, until set. Keep frozen until serving; they’ll hold for 20–30 minutes at room temp.
Serve straight from a cooler with napkins—these are delightfully messy. Swap yogurt for melted white chocolate if you need room-temp stability (just let set on the tray). For allergen-friendly versions, use dairy-free yogurt and gluten-free pretzels. Fruit leather scarves? Adorable and classroom-appropriate.
3. Christmas Tree Veggie Cones They’ll Actually Grab
Turn veggies into a festive grab-and-go snack that doubles as a centerpiece. Mini waffle cones become “tree holders,” stuffed with creamy ranch dip and topped with broccoli florets “branches,” cherry tomato “ornaments,” and star-cut cheddar toppers. They’re crunchy, colorful, and way more fun than a plain crudité platter.
Ingredients:
- 12 mini waffle cones (plain or savory; look for small size)
- 1 1/4 cups ranch dip (store-bought or homemade)
- 2 cups small broccoli florets (bite-sized)
- 1 cup halved cherry tomatoes
- 1/2 cup diced yellow bell pepper (optional)
- 4 slices mild cheddar or provolone (for star toppers)
- 2 tablespoons finely chopped chives or parsley (for “tinsel”)
- Toothpicks or small skewers (optional for securing stars)
Instructions:
- Place cones upright in a muffin tin or shallow box with holes to keep them steady. Spoon 1–2 tablespoons of ranch dip into each cone as the base.
- Press small broccoli florets into the dip so they stand up slightly and form a tree shape rising above the rim.
- Tuck in halved cherry tomatoes and bits of yellow bell pepper like ornaments.
- Use a tiny star-shaped cutter to punch stars from cheese slices. Secure on top of the broccoli with a dab of dip or a small toothpick (snip ends for safety if using toothpicks).
- Sprinkle with chopped chives or parsley for a “tinsel” look. Chill 15–20 minutes to set.
Display them in a styrofoam block or egg carton for easy transport. Need a dairy-free option? Use hummus or avocado-lime dip. If cones feel too sweet, swap for mini savory cones or fill small paper cups with dip and build the tree from there—same look, less crumble.
4. Hot Cocoa Brownie Bites With Marshmallow Frosting
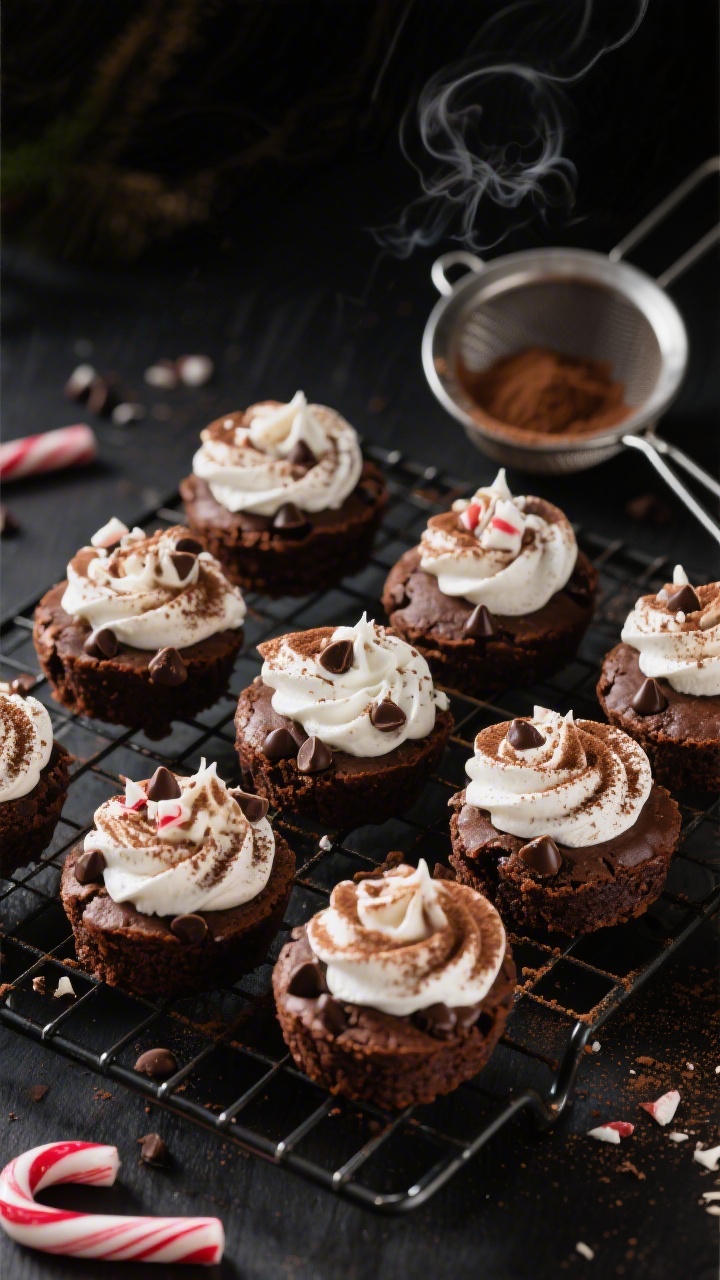
Like hot cocoa, but in dessert form that won’t spill on the classroom carpet. These bite-sized brownies are topped with a swirl of marshmallow buttercream, mini marshmallows, and a dusting of cocoa. They look bakery-fancy, but start with an easy brownie base—boxed or homemade.
Ingredients:
- 1 box brownie mix (plus eggs, oil, and water as directed) or your favorite from-scratch batter
- 1/2 cup mini chocolate chips
- 1/2 cup crushed candy canes (optional)
- For Marshmallow Frosting:
- 1/2 cup unsalted butter, softened
- 1 1/2 cups marshmallow creme
- 1 1/2 cups powdered sugar
- 1 teaspoon vanilla extract
- Pinch of salt
- Toppings: mini marshmallows, cocoa powder or hot cocoa mix for dusting, extra crushed candy canes
Instructions:
- Preheat oven to 350°F (175°C). Grease a mini muffin tin well or line with mini liners.
- Prepare brownie batter according to package or recipe. Stir in mini chocolate chips and crushed candy canes if using.
- Spoon batter into mini muffin cups, filling about 3/4 full. Bake 10–12 minutes until set and slightly fudgy. Cool completely in pan, then gently remove.
- Make frosting: Beat softened butter until creamy. Add marshmallow creme and beat until fluffy. Gradually add powdered sugar, vanilla, and a pinch of salt; whip until light.
- Pipe or dollop frosting on each brownie bite. Top with mini marshmallows and a light dusting of cocoa or hot cocoa mix. Add a sprinkle of crushed candy canes for sparkle.
Short on time? Use store-bought frosting and stir in marshmallow creme. Need nut-free? Double-check your brownie mix and toppings. For classroom ease, skip the frosting swirl and stick a single marshmallow on top right after baking—pop back in the warm oven for 1 minute to soften, then dust with cocoa.
5. No-Bake North Pole Snack Mix That’s Party-Proof
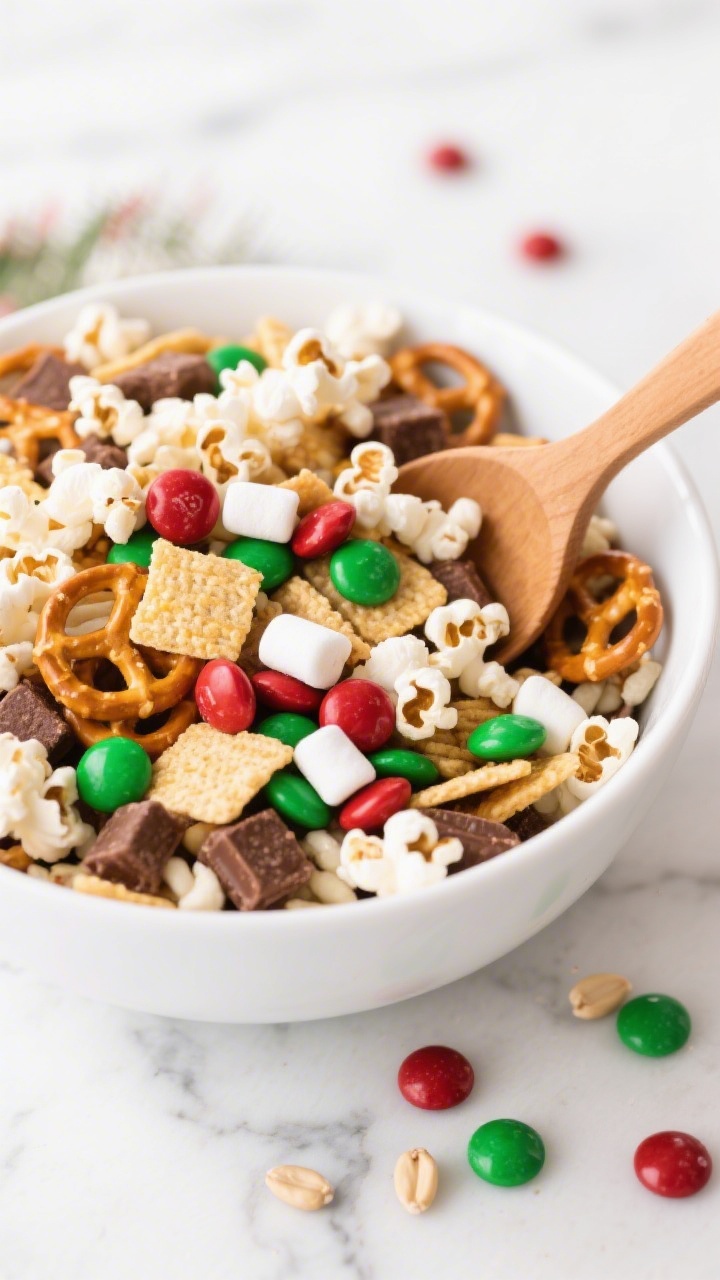
Every party needs a big bowl of festive crunch you can scoop into cups and run. This no-bake snack mix cranks up the holiday cheer with red-green candies, pretzels, popcorn, and white chocolate drizzle. It’s endlessly customizable and perfect when you need a last-minute lifesaver.
Ingredients:
- 6 cups air-popped or plain microwave popcorn (lightly salted)
- 3 cups mini pretzels
- 2 cups rice or corn cereal squares
- 1 cup holiday-colored chocolate candies (red/green)
- 1 cup mini marshmallows
- 1/2 cup dried cranberries or golden raisins (optional)
- 12 ounces white chocolate or vanilla candy melts
- 2 tablespoons holiday sprinkles
Instructions:
- Line a large baking sheet with parchment. In a big bowl, combine popcorn, pretzels, cereal, candies, mini marshmallows, and dried fruit if using.
- Melt white chocolate or candy melts according to package directions until smooth.
- Drizzle over the mix, tossing gently with a spatula to coat everything lightly but evenly. Spread onto the prepared baking sheet.
- Top with sprinkles and let set at room temperature for 20–30 minutes, or refrigerate for 10 minutes.
- Break into clusters and portion into snack cups or small bags for easy classroom sharing.
Want it allergy-friendly? Use dye-free candies, gluten-free pretzels, and check labels. Swap white chocolate for dark if you like it less sweet. For a peppermint twist, add 1/2 teaspoon peppermint extract to the melted chocolate and a handful of crushed candy canes. Trust me, it disappears faster than recess.
Make-Ahead And Transport Tips
Classroom logistics matter. Here’s how to keep your treats looking cute from kitchen to cubbies:
- Use sturdy containers and pack in single layers when possible.
- Chill anything with melted chocolate so it sets before transport.
- Label for common allergens (nuts, dairy, gluten). Teachers will love you.
- Bring wipes, napkins, and a serving scoop for the snack mix—saves a thousand tiny hands from diving in.
Quick Substitutions If You’re In A Pinch
- No mini pretzels? Use sticks and snap into antlers for the reindeer.
- Out of yogurt? Dip banana pops in melted white chocolate.
- No waffle cones? Build veggie trees in paper cups with dip.
- No time to bake brownies? Buy mini brownies and just add the marshmallow topping and cocoa dust.
There you have it: five festive bites that are bright, easy, and guaranteed to win the winter party. Pick one or mix and match for a merry tray that looks pro without the stress. Now go be the snack MVP—those little elves are hungry!
Printable Recipe Card
Want just the essential recipe details without scrolling through the article? Get our printable recipe card with just the ingredients and instructions.