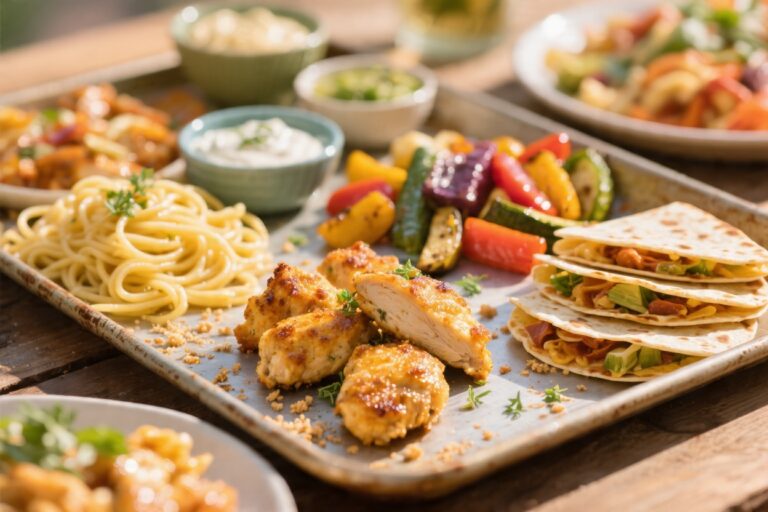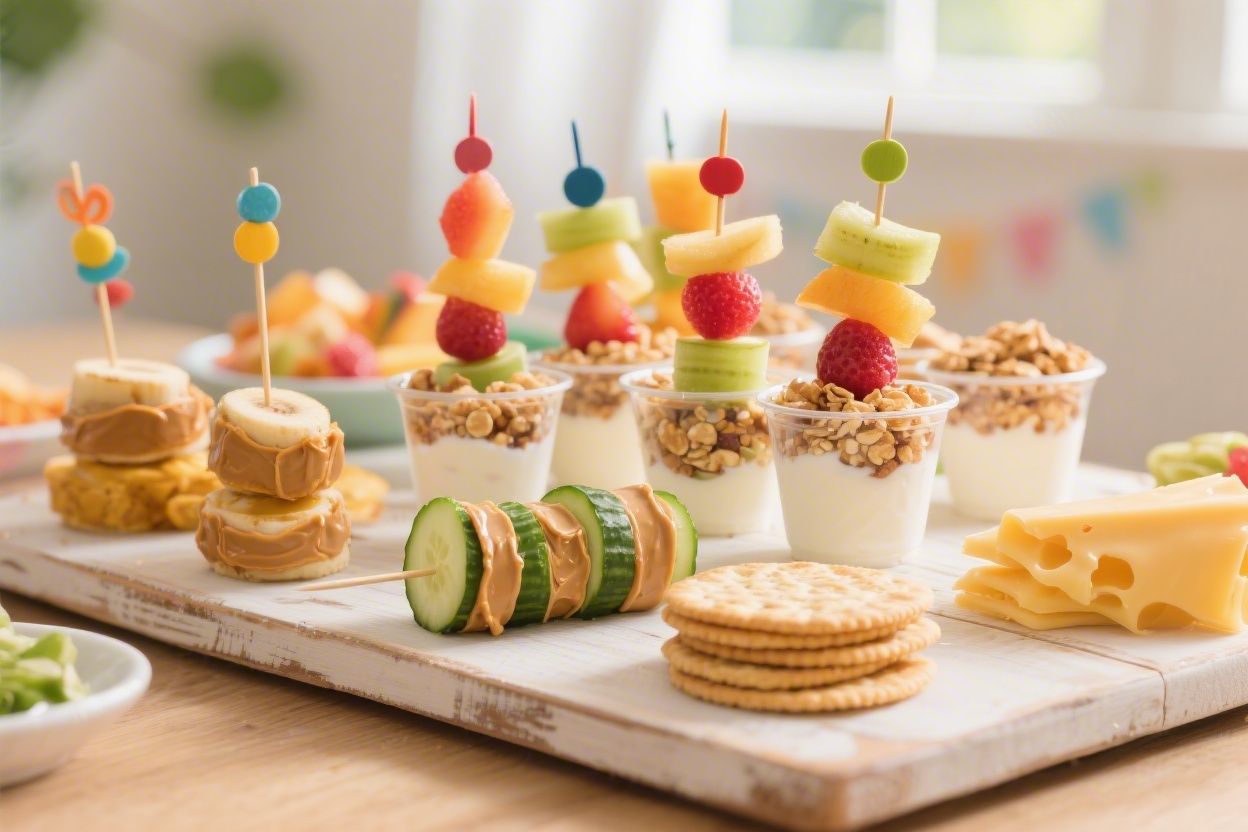
5 Fireless Cooking for Kids Recipes That Are Fun and Easy—no Stove, All Smiles
Stove off, creativity on. These kid-friendly, fireless recipes are perfect for tiny chefs with big imaginations—no heat, no stress, just delicious results. Think after-school snacks, weekend playdates, or a rainy-day kitchen adventure that ends with happy taste buds and zero burns.
We’re talking bright colors, crunchy textures, and flavors kids actually want to eat. Plus, every recipe doubles as a mini cooking lesson—measuring, mixing, layering, and tasting along the way. Ready to build confident cooks (and a few new family favorites) without touching a flame?
Disclosure: As Amazon Associates, we earn from qualifying purchases at no extra cost to you.
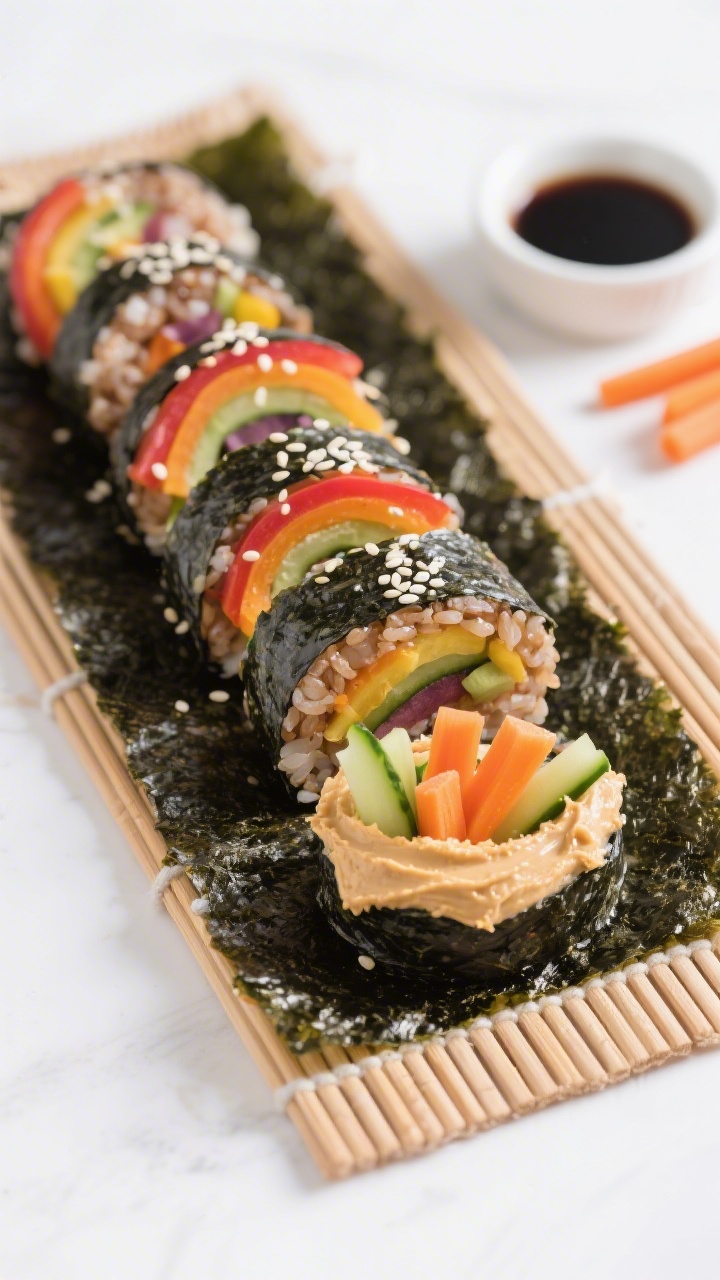
1. Rainbow Veggie Sushi Rolls Kids Can Actually Make
⭐ Tip for picky eaters – I bought this Disney plate for my daughter and it instantly made dinner more exciting — they also have a boys’ option with fun character themes.💡 This is the exact blender with a chopper function we use to blend spinach or zucchini and add hidden vegetables into smoothies, sauces, and even pancake batter without her noticing. ⭐ My secret tip – Ever since we started using this kids baking set, my toddler loves helping in the kitchen and is much more willing to try new foods.
These cheerful, no-fuss “sushi” rolls are packed with crisp veggies and creamy hummus—no raw fish, no rice cooker. They’re perfect for lunchboxes, picnics, or a DIY dinner where everyone makes their own colorful roll. Bonus: they look so fun, kids forget they’re basically eating a salad in a roll.
Ingredients:
- 4 nori sheets (seaweed wraps)
- 1 cup hummus (classic or roasted red pepper)
- 1 cup cooked microwave-ready brown rice, cooled (optional but helps structure)
- 1 small cucumber, cut into thin matchsticks
- 1 small carrot, peeled and cut into thin matchsticks
- 1/2 red bell pepper, thinly sliced
- 1/2 avocado, sliced
- 2 tablespoons low-sodium soy sauce or tamari (for dipping)
- 1 teaspoon sesame seeds (optional)
- 1 tablespoon cream cheese (optional, for extra kid appeal)
Instructions:
- Lay one nori sheet shiny side down on a clean cutting board. If using rice, spread a thin layer over the bottom two-thirds of the sheet, leaving the top third bare.
- Spread a 2–3 tablespoon stripe of hummus or cream cheese horizontally about 1 inch from the bottom edge.
- Arrange a few sticks of cucumber, carrot, red pepper, and avocado across the hummus line. Don’t overstuff—think neat and tidy.
- Starting at the bottom, roll tightly, tucking the vegetables in as you go. Dab a little water along the top edge to seal.
- Let the roll sit seam-side down for 1–2 minutes, then slice into 6–8 pieces with a sharp knife (a serrated knife can help).
- Sprinkle with sesame seeds and serve with soy sauce or tamari for dipping.
Serve these with orange slices or edamame for a full, no-cook meal. Swap the hummus for peanut butter and the veggies for fruit, and boom—dessert “sushi”! Want gluten-free? Stick to tamari and check your nori brand. For extra fun, set up a roll-your-own sushi bar and let kids pick their favorite fillings.
2. No-Bake Confetti Energy Bites That Taste Like Cookie Dough

⭐ Tip for picky eaters – I bought this Disney plate for my daughter and it instantly made dinner more exciting — they also have a boys’ option with fun character themes.💡 This is the exact blender with a chopper function we use to blend spinach or zucchini and add hidden vegetables into smoothies, sauces, and even pancake batter without her noticing. ⭐ My secret tip – Ever since we started using this kids baking set, my toddler loves helping in the kitchen and is much more willing to try new foods.
Snack time, solved. These soft, chewy bites come together in minutes and taste like dessert—but they’re loaded with oats and nut butter to keep little tummies happy. They’re perfect for lunchboxes, road trips, or pre-soccer fuel, and you only need one bowl. Trust me: you’ll want to double the batch.
Ingredients:
- 1 1/2 cups quick oats
- 1/2 cup creamy peanut butter or almond butter
- 1/3 cup honey or maple syrup
- 1 teaspoon vanilla extract
- 1/4 cup mini chocolate chips
- 2 tablespoons rainbow sprinkles (optional, but very fun)
- Pinch of salt
Instructions:
- In a medium bowl, combine oats, peanut butter, honey, vanilla, and a pinch of salt. Stir until a thick, sticky dough forms.
- Fold in chocolate chips and sprinkles. If the mixture feels too dry, add 1 teaspoon honey. If too sticky, add 1–2 tablespoons oats.
- Scoop out tablespoon portions and roll into balls. Place on a plate and chill for 15–20 minutes to firm up.
- Store in an airtight container in the fridge for up to 1 week (if they last that long).
For nut-free schools, use sunflower seed butter. Need a protein boost? Add 1–2 tablespoons ground flaxseed or chia. You can also roll the bites in shredded coconut or crushed freeze-dried strawberries for a fancy finish. Seriously, these disappear fast.
3. Crunchy Caprese Cracker Stacks With Basil Drizzle

⭐ Tip for picky eaters – I bought this Disney plate for my daughter and it instantly made dinner more exciting — they also have a boys’ option with fun character themes.💡 This is the exact blender with a chopper function we use to blend spinach or zucchini and add hidden vegetables into smoothies, sauces, and even pancake batter without her noticing. ⭐ My secret tip – Ever since we started using this kids baking set, my toddler loves helping in the kitchen and is much more willing to try new foods.
This is snack-meets-appetizer magic: crisp crackers, juicy tomatoes, creamy mozzarella, and a sweet-tangy balsamic drizzle. Kids can assemble them like edible building blocks, and they’re adorable on a platter for parties. No stove, no oven, just fresh Italian vibes.
Ingredients:
- 24 sturdy round crackers (like multigrain or water crackers)
- 12 cherry tomatoes, halved
- 8 ounces fresh mozzarella pearls (or cut small cubes from a larger ball)
- 12 fresh basil leaves, cut into thin ribbons
- 2 tablespoons olive oil
- 1 tablespoon balsamic glaze (store-bought)
- Pinch of salt and black pepper
Instructions:
- Lay out the crackers on a tray. Top each with a mozzarella pearl and a tomato half, cut side down so it sits nicely.
- Drizzle lightly with olive oil and a thin zigzag of balsamic glaze.
- Sprinkle with salt, pepper, and a little basil on each stack.
- Serve immediately so the crackers stay crisp.
Want extra crunch? Add a cucumber slice under the cheese. Sub balsamic glaze with a tiny drop of honey for picky eaters. For a lunchbox twist, pack the components separately and let kids build their stacks at school—interactive and not soggy.
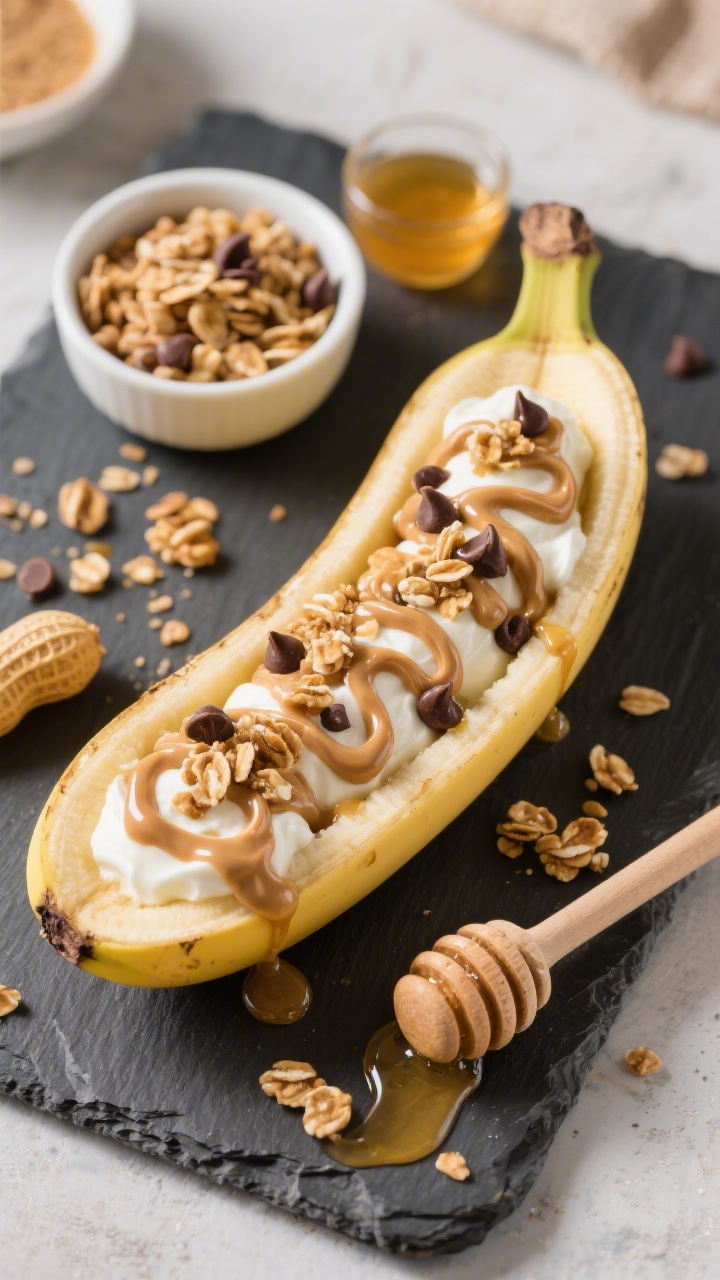
4. Peanut Butter Banana “Sundae” Boats With Crunch Magic
⭐ Tip for picky eaters – I bought this Disney plate for my daughter and it instantly made dinner more exciting — they also have a boys’ option with fun character themes.💡 This is the exact blender with a chopper function we use to blend spinach or zucchini and add hidden vegetables into smoothies, sauces, and even pancake batter without her noticing. ⭐ My secret tip – Ever since we started using this kids baking set, my toddler loves helping in the kitchen and is much more willing to try new foods.
All the joy of a sundae without the meltdown or the sugar crash. These banana boats are drippy, crunchy, sweet, and satisfying—and they’re made with pantry staples in five minutes flat. Dessert for breakfast? Honestly, yes.
Ingredients:
- 3 ripe but firm bananas
- 1/3 cup creamy peanut butter (or almond butter)
- 1/4 cup Greek yogurt (vanilla or plain)
- 2 tablespoons honey or maple syrup
- 1/4 cup granola
- 2 tablespoons mini chocolate chips
- 1 tablespoon chopped peanuts or sunflower seeds (optional)
- 1 tablespoon shredded coconut (optional)
Instructions:
- Peel the bananas and slice them lengthwise. Place each half cut-side up on a plate—like little boats.
- In a small bowl, stir together peanut butter, Greek yogurt, and honey until smooth and spoonable.
- Spoon the mixture over the bananas, then sprinkle with granola, chocolate chips, and any optional toppings.
- Serve immediately with spoons, or chill for 10 minutes if you like them firmer.
Swap peanut butter for cookie butter as a treat, or use dairy-free yogurt if needed. Add sliced strawberries for color or drizzle a tiny bit of chocolate syrup for birthday energy. For mini hands, cut the bananas into coins and make “sundae nachos” on a plate.
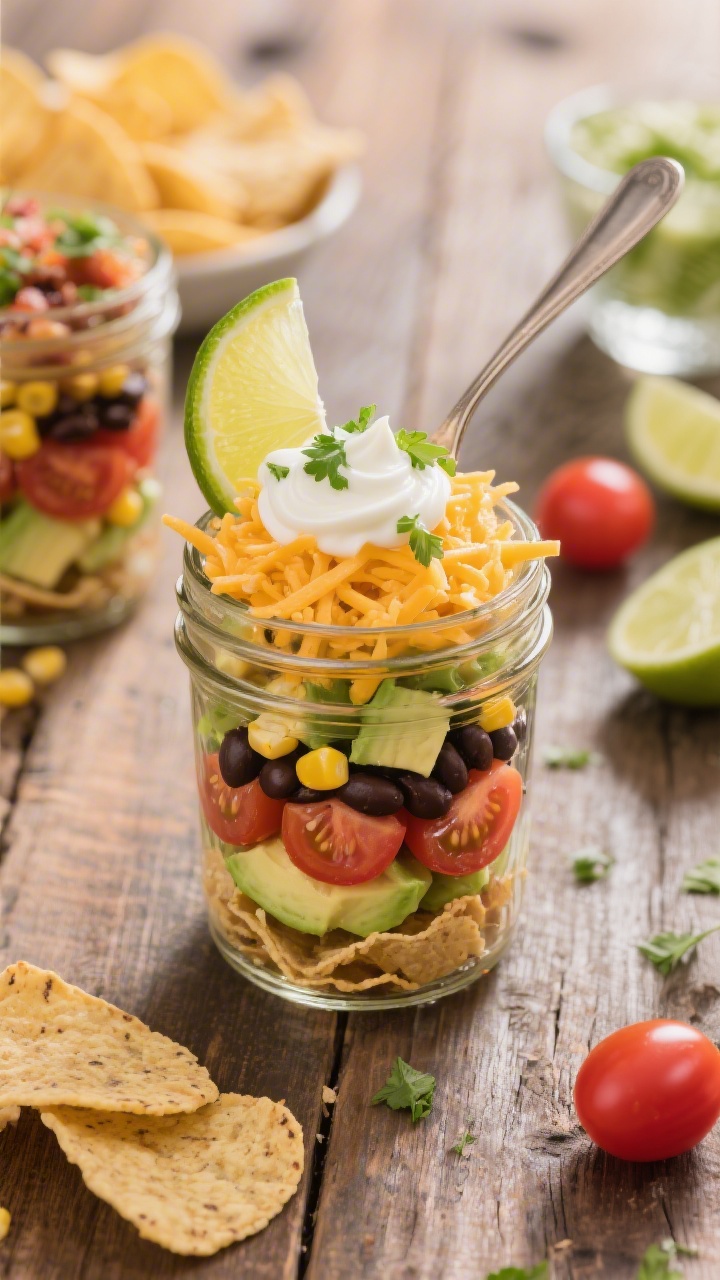
5. Mason Jar Tacos-in-a-Cup With Zesty Lime Yogurt
⭐ Tip for picky eaters – I bought this Disney plate for my daughter and it instantly made dinner more exciting — they also have a boys’ option with fun character themes.💡 This is the exact blender with a chopper function we use to blend spinach or zucchini and add hidden vegetables into smoothies, sauces, and even pancake batter without her noticing. ⭐ My secret tip – Ever since we started using this kids baking set, my toddler loves helping in the kitchen and is much more willing to try new foods.
Tacos meet parfait in this no-cook, layer-and-go meal that kids love to build (and devour). Crisp chips, creamy beans, sweet corn, and all the toppings—no stovetop required. It’s picnic-ready, party-friendly, and a total lifesaver for busy nights.
Ingredients:
- 2 cups tortilla chips, lightly crushed
- 1 cup canned black beans, drained and rinsed
- 1 cup canned corn, drained
- 1 cup cherry tomatoes, quartered
- 1 ripe avocado, diced
- 1/2 cup shredded cheddar or Mexican blend cheese
- 1/4 cup sliced black olives (optional)
- 1/4 cup finely chopped red onion (optional)
- 1/4 cup fresh cilantro, chopped
- 1/2 cup Greek yogurt
- 1 tablespoon lime juice
- 1/2 teaspoon mild taco seasoning or chili-lime seasoning
- Pinch of salt
Instructions:
- In a small bowl, whisk the Greek yogurt with lime juice, taco seasoning, and a pinch of salt to make the zesty dressing.
- In 4 small jars or cups, layer in this order: a few tablespoons crushed chips, a spoonful of black beans, a spoonful of corn, then tomatoes and avocado.
- Top with a drizzle of the lime yogurt and a sprinkle of cheese, olives, red onion (if using), and cilantro.
- Serve with extra chips on the side for scooping.
Make it milder with plain yogurt and a squeeze of lime only. Want a protein bump? Add rotisserie chicken or canned tuna if that works for your crowd. For storage, keep the chips separate so they stay crunchy—then let kids assemble at the table like tiny taco engineers.
Tips For Fireless Cooking With Kids
Keep it safe, colorful, and fun. Set out a kid-height station with a cutting board and kid-safe knife, and give them a “chef job” like spreading, sprinkling, or stirring. Pre-chop tougher veggies, keep napkins and wipes nearby, and embrace the glorious mess—creativity tastes better.
Smart Swaps To Beat Allergies And Picky Eating
- Nut-free: Use seed butters (sunflower, pumpkin) and check labels on granola and chocolate chips.
- Dairy-free: Sub plant-based yogurt and cheese alternatives.
- Gluten-free: Choose GF crackers, oats, and chips.
- Picky eaters: Offer a “try-it” plate with just one new item each time.
No-Cook Pantry MVPs
- Hummus, nut/seed butters, Greek yogurt
- Crackers, oats, tortilla chips
- Canned beans and corn (rinse for fresher flavor)
- Nori sheets, balsamic glaze, sesame seeds
- Fresh basics: cucumbers, carrots, cherry tomatoes, bananas, avocado
These 5 fireless cooking for kids recipes are confidence-builders disguised as snacks and meals. They’re quick wins on busy days, and they make kitchen time feel like playtime. Pick one, grab a few bowls, and let your mini chef take the lead—aprons on, stoves off, smiles guaranteed.
Printable Recipe Card
Want just the essential recipe details without scrolling through the article? Get our printable recipe card with just the ingredients and instructions.