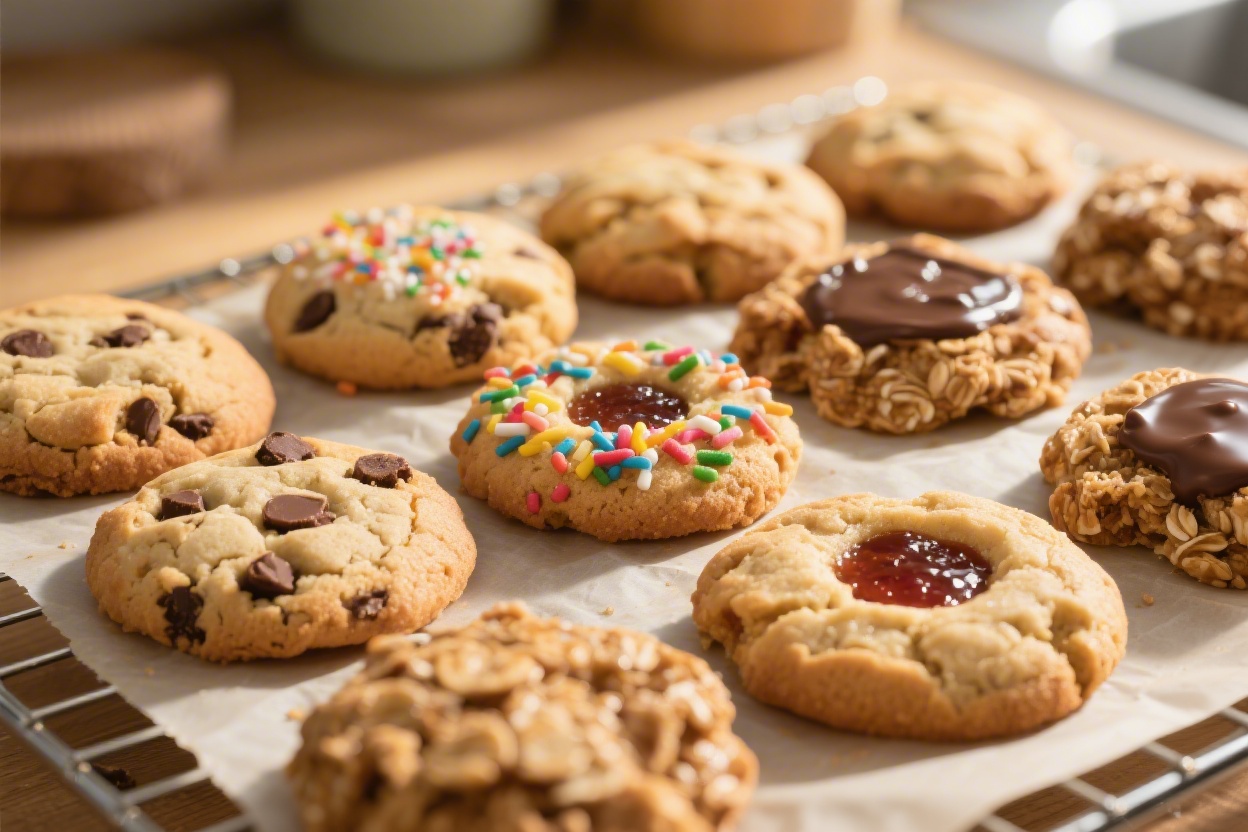
5 Cookie Recipes for Kids That Are Simple to Make and Impossible to Resist
Kids want treats that are fun. You want recipes that are easy, quick, and actually work. These five cookie recipes check all the boxes—minimal fuss, kid-approved flavors, and simple steps that even little hands can help with. Expect melty chocolate, cheerful sprinkles, and a few smart shortcuts you’ll keep forever.
Let’s preheat that oven and make the house smell like victory.
Disclosure: As Amazon Associates, we earn from qualifying purchases at no extra cost to you.
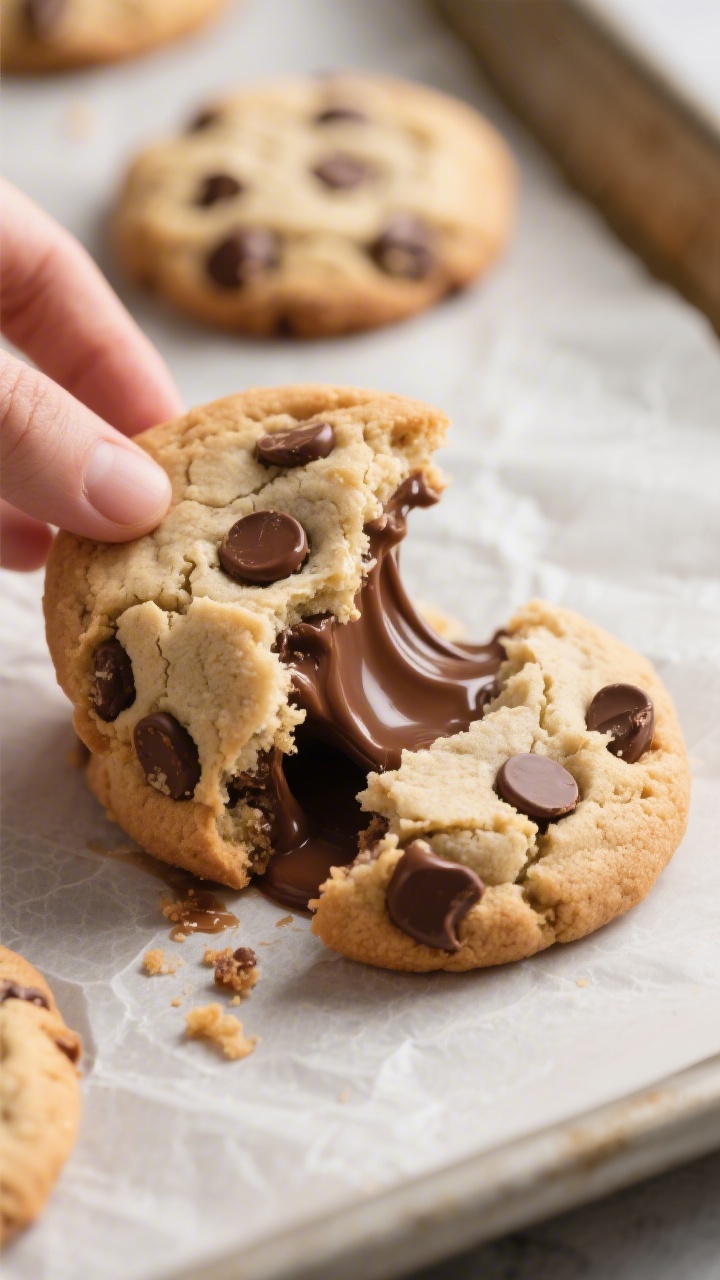
1. Chocolate Chip Cloud Cookies That Stay Gooey (Even After Naptime)
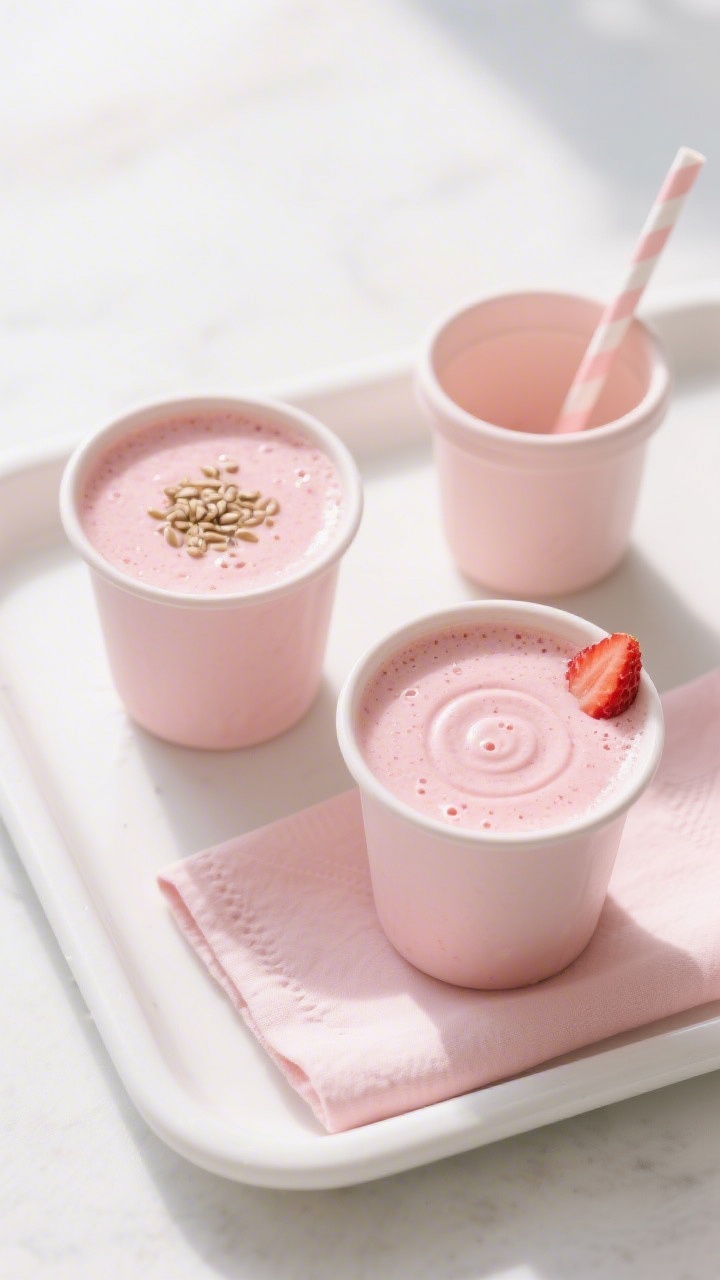
⭐ My secret tip – Ever since we started using this kids baking set, my toddler loves helping in the kitchen and is much more willing to try new foods. ✨ This is the blender we use for protein smoothies with yogurt, peanut butter, and fruit.
Soft, puffy, and loaded with puddles of chocolate—these are the crowd-pleasers you’ll make on repeat. The secret? A touch of cornstarch for extra softness and a quick chill so they don’t pancake in the oven. Perfect for lunchboxes, bake sales, or bribing someone to clean their room.
Ingredients:
- 1/2 cup (113 g) unsalted butter, softened
- 1/2 cup (100 g) brown sugar, packed
- 1/4 cup (50 g) granulated sugar
- 1 large egg
- 1 1/2 teaspoons vanilla extract
- 1 1/4 cups (160 g) all-purpose flour
- 1 tablespoon cornstarch
- 1/2 teaspoon baking soda
- 1/4 teaspoon fine salt
- 1 cup (170 g) chocolate chips or chunks
- Optional: flaky sea salt for topping
Instructions:
- Beat the butter and sugars together until creamy, about 1 minute. Mix in the egg and vanilla.
- In a separate bowl, whisk the flour, cornstarch, baking soda, and salt. Add to the wet ingredients and mix just until combined. Fold in the chocolate.
- Scoop 2-tablespoon portions onto a plate. Chill 20–30 minutes to keep cookies thick and soft.
- Preheat oven to 350°F (175°C). Line a baking sheet with parchment.
- Place dough balls 2 inches apart. Bake 9–11 minutes until edges are set and centers look slightly underdone. If using, sprinkle a pinch of flaky salt on hot cookies.
- Cool on the pan 5 minutes, then transfer to a rack. They’ll finish setting as they cool (and stay gooey inside).
Serve it up: Pair with cold milk or sandwich two around ice cream. For a twist, swap half the chips for mini M&M’s or chopped pretzels. Dough freezes great—scoop, freeze on a tray, then bag and bake from frozen, adding 1–2 minutes.
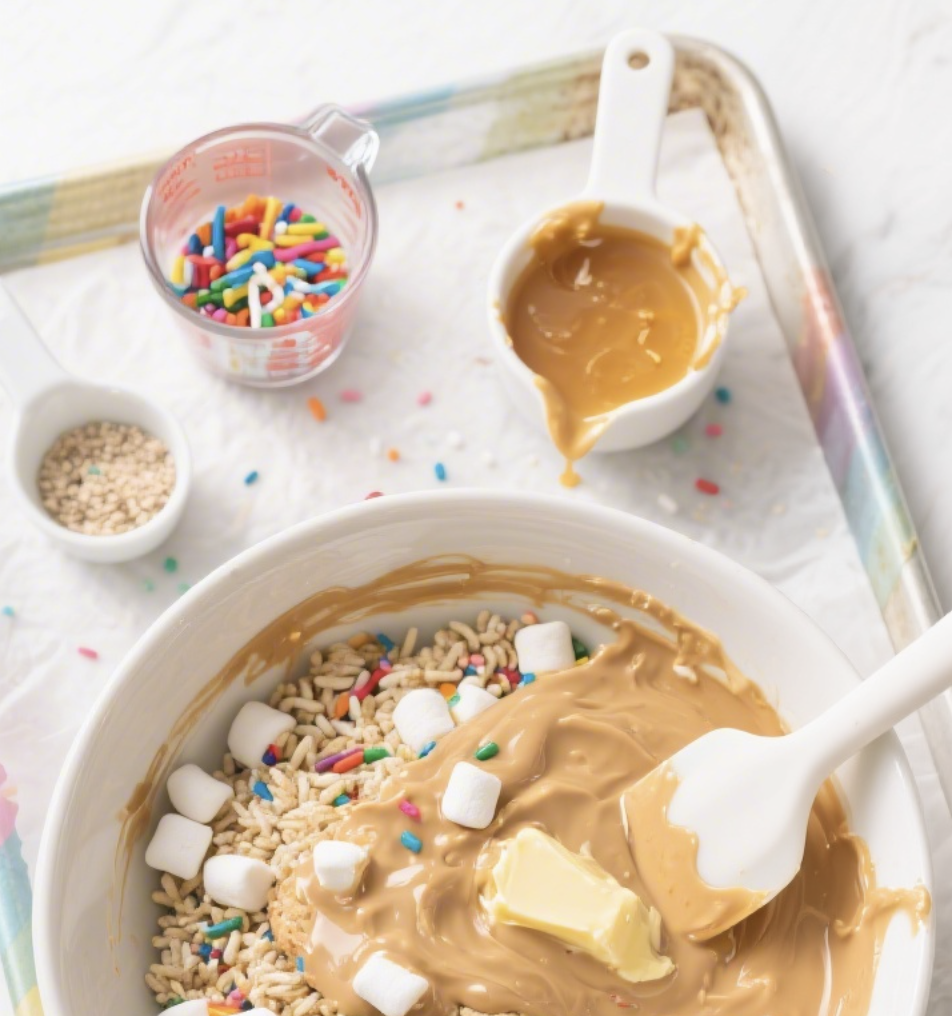
2. No-Bake Sprinkle Confetti Cookies That Kids Can Mix Themselves
⭐ My secret tip – Ever since we started using this kids baking set, my toddler loves helping in the kitchen and is much more willing to try new foods. ✨ This is the blender we use for protein smoothies with yogurt, peanut butter, and fruit.
No oven, no stress, maximum sparkle. These chewy, marshmallowy treats are like a mash-up of cereal bars and cookies, and they come together in minutes. Great for hot days, birthday parties, or when the oven’s already busy with dinner.
Ingredients:
- 3 cups crispy rice cereal
- 1 1/2 cups mini marshmallows
- 1/3 cup creamy peanut butter or sunflower seed butter
- 1/4 cup honey or maple syrup
- 2 tablespoons unsalted butter
- 1 teaspoon vanilla extract
- 1/4 teaspoon fine salt
- 1/3 cup rainbow sprinkles (plus extra for rolling)
Instructions:
- Line a baking sheet with parchment. Add cereal to a large bowl.
- In a saucepan over low heat, melt butter, marshmallows, peanut butter, and honey, stirring until smooth. Remove from heat; stir in vanilla and salt.
- Pour the warm mixture over the cereal. Mix gently until evenly coated. Fold in the sprinkles.
- Scoop tablespoon-sized mounds. Lightly oil your hands and roll into balls. Dip or roll in extra sprinkles if you want more confetti.
- Chill 15–20 minutes to set. Store covered at room temp for 2 days or refrigerate up to a week.
Pro tip: Divide the batch and add mini chocolate chips to half. Allergies? Use sunflower seed butter and check sprinkle labels. Want shapes? Press into a parchment-lined pan, chill, and cut into cookie squares.
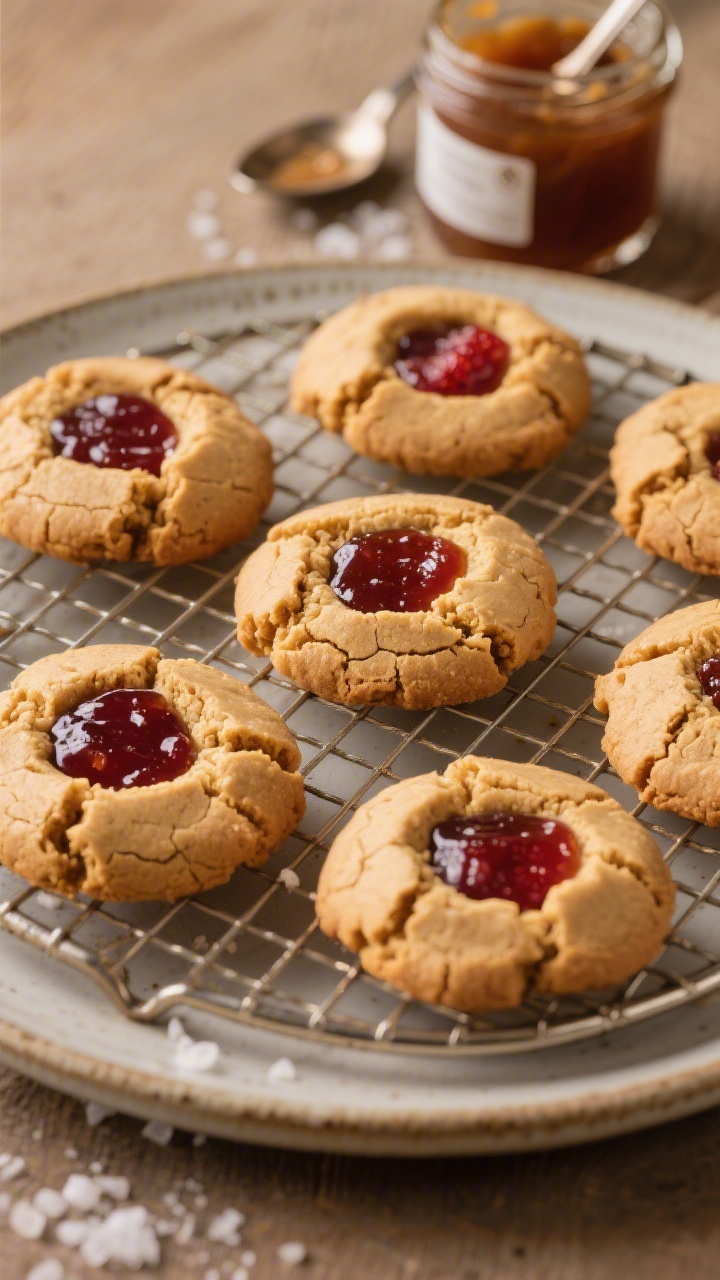
3. One-Bowl Peanut Butter Thumbprints With Jammy Centers
⭐ My secret tip – Ever since we started using this kids baking set, my toddler loves helping in the kitchen and is much more willing to try new foods. ✨ This is the blender we use for protein smoothies with yogurt, peanut butter, and fruit.
These classic thumbprints are soft, nutty, and finished with a pop of sweet jam. They’re naturally tender (no mixer required) and perfect for little thumbs to press. Bonus: they freeze beautifully, so you can bake ahead for hectic weeks.
Ingredients:
- 1 cup creamy peanut butter
- 1/2 cup (100 g) brown sugar, packed
- 1 large egg
- 1 teaspoon vanilla extract
- 1/2 teaspoon baking soda
- 1/4 teaspoon fine salt
- 1/2 cup all-purpose flour (or 2/3 cup almond flour for gluten-free)
- 1/3–1/2 cup jam (strawberry, raspberry, or grape)
Instructions:
- Preheat oven to 350°F (175°C). Line a baking sheet with parchment.
- In a bowl, mix peanut butter, brown sugar, egg, and vanilla until smooth. Sprinkle in baking soda, salt, and flour; stir just to combine.
- Roll tablespoons of dough into 1-inch balls. Place on the sheet and use a thumb (or the back of a 1/2-teaspoon measure) to make a deep well.
- Fill each well with about 1/2 teaspoon jam. Don’t overfill; jam bubbles.
- Bake 9–11 minutes, until edges are set and bottoms are lightly golden. Cool on the pan 5 minutes, then transfer to a rack.
Serving ideas: Mix and match jams for a rainbow tray. For PB&J deluxe, drizzle with melted white chocolate. Peanut allergy? Use thick sunflower seed butter and a pinch more flour until the dough is rollable.
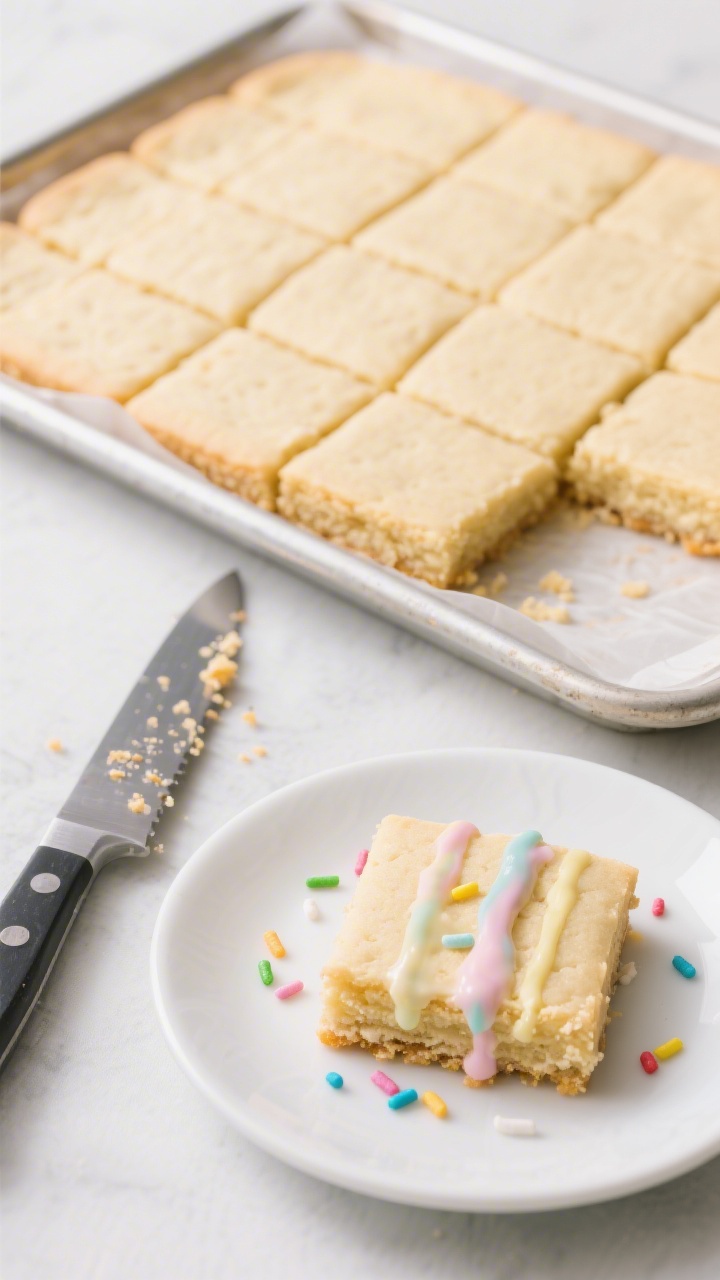
4. Soft-Baked Sugar Cookie Bars That Cut Into Perfect Squares
⭐ My secret tip – Ever since we started using this kids baking set, my toddler loves helping in the kitchen and is much more willing to try new foods. ✨ This is the blender we use for protein smoothies with yogurt, peanut butter, and fruit.
All the charm of sugar cookies without rolling or fuss. These bars bake in one pan, come out pillowy-soft, and get topped with a creamy frosting and sprinkles. They’re the make-ahead hero for class parties and after-school hangouts.
Ingredients (Bars):
- 1/2 cup (113 g) unsalted butter, softened
- 3/4 cup (150 g) granulated sugar
- 1 large egg
- 2 teaspoons vanilla extract
- 1 1/2 cups (195 g) all-purpose flour
- 1/2 teaspoon baking powder
- 1/4 teaspoon baking soda
- 1/4 teaspoon fine salt
- 2 tablespoons milk
Ingredients (Frosting):
- 4 tablespoons (57 g) unsalted butter, softened
- 1 1/2 cups (180 g) powdered sugar
- 1–2 tablespoons milk
- 1 teaspoon vanilla extract (or 1/2 teaspoon almond extract)
- Pinch of salt
- Sprinkles, to finish
Instructions:
- Preheat oven to 350°F (175°C). Line an 8-inch square pan with parchment, leaving overhang.
- Cream the butter and sugar until light, about 2 minutes. Beat in the egg and vanilla.
- Whisk flour, baking powder, baking soda, and salt. Add to the bowl, mixing on low. Add milk and mix until a soft dough forms.
- Press dough evenly into the pan. Bake 16–20 minutes, until edges are just golden and center looks set. Cool completely in the pan.
- For frosting, beat butter until creamy. Gradually add powdered sugar, then milk, vanilla, and salt until spreadable. Tint with food coloring if you like.
- Spread frosting over cooled bars; top with sprinkles. Lift out using parchment and cut into 16 squares.
Variations: Add lemon zest to the dough and frosting for a citrus twist. For funfetti bars, fold 1/4 cup sprinkles into the batter. To make dairy-free, use plant butter and your favorite non-dairy milk.
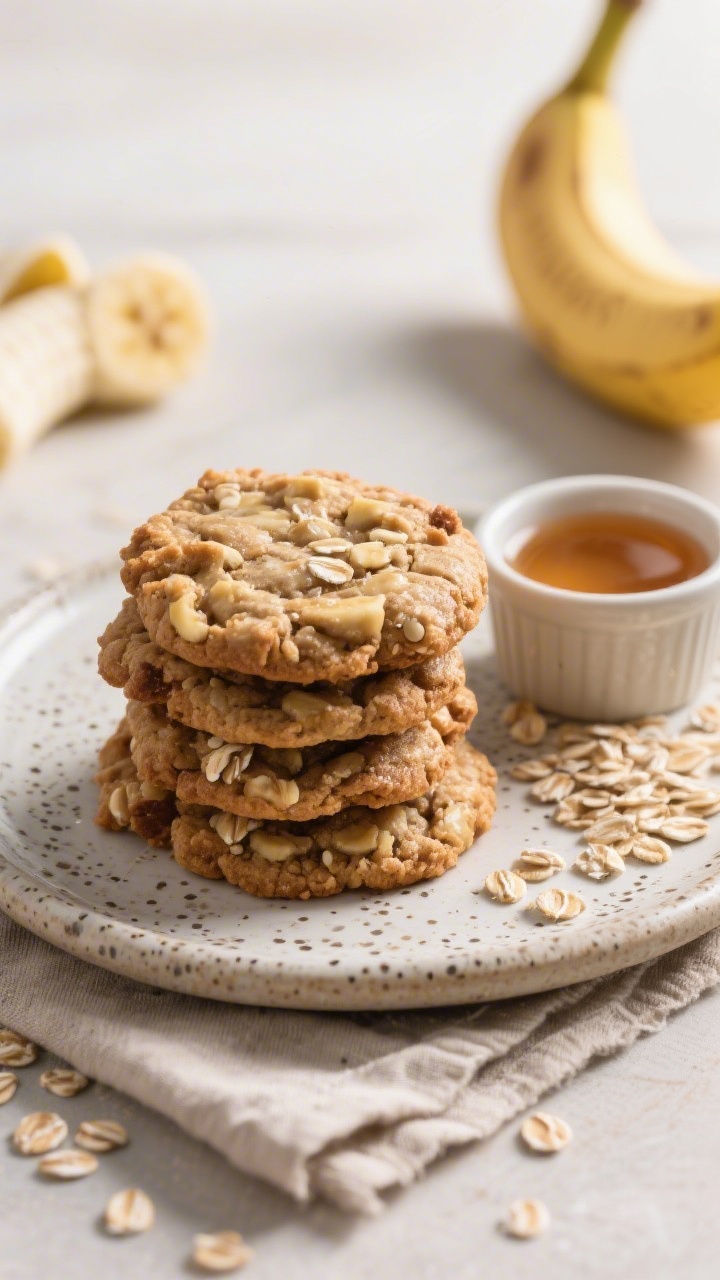
5. Banana Oat Breakfast Cookies You’ll Feel Good About
⭐ My secret tip – Ever since we started using this kids baking set, my toddler loves helping in the kitchen and is much more willing to try new foods. ✨ This is the blender we use for protein smoothies with yogurt, peanut butter, and fruit.
These naturally sweet, chewy cookies are a morning win—no refined sugar required. Ripe bananas bring moisture and sweetness, while oats make them hearty enough for grab-and-go breakfasts. Kids think they’re treats; you know they’re smarter snacking.
Ingredients:
- 2 large ripe bananas, mashed (about 1 cup)
- 1 3/4 cups quick oats (or pulse old-fashioned oats a few times)
- 1/4 cup peanut butter or almond butter
- 2 tablespoons maple syrup or honey (optional, for extra sweetness)
- 1 teaspoon vanilla extract
- 1/2 teaspoon cinnamon
- 1/4 teaspoon fine salt
- 1/3 cup mini chocolate chips or raisins
- Optional add-ins: 2 tablespoons ground flaxseed, 1/4 cup chopped nuts, or shredded coconut
Instructions:
- Preheat oven to 350°F (175°C). Line a baking sheet with parchment.
- In a bowl, combine mashed bananas, nut butter, maple syrup, and vanilla. Stir in oats, cinnamon, salt, and any add-ins. Fold in chocolate chips or raisins.
- Let the mixture rest 5 minutes so oats hydrate. Scoop 2-tablespoon mounds and flatten slightly; they won’t spread.
- Bake 12–14 minutes, until set and lightly golden at the edges. Cool on the sheet 5 minutes, then move to a rack.
Make it yours: Swap in pumpkin puree for half the banana and add pumpkin spice. Use sunflower seed butter for nut-free, and dried blueberries for a PB&J vibe. These freeze perfectly—wrap individually and reheat in the toaster oven.
Tips For Baking With Kids (And Loving It)
- Set up a “kid station” with pre-measured ingredients in small bowls. Instant win.
- Teach simple terms—“cream,” “fold,” “level”—and let them do the fun jobs like sprinkling, scooping, and pressing.
- Use a cookie scoop for uniform sizes and less mess.
- Chill dough when the recipe says to. It’s the difference between fluffy cookies and flat disappointments, trust me.
- Line pans with parchment. Cleanup becomes a 30-second situation.
How To Store Your Cookie Stash
- Room temp: Most cookies keep 3–4 days in an airtight tin with a slice of bread to stay soft.
- Freezer: Freeze baked cookies in layers with parchment up to 3 months. Thaw at room temp.
- Dough: Freeze scooped dough balls. Bake from frozen and add a minute or two to the time.
There you go—five cookie recipes kids can actually help make, and you’ll actually want to eat. From gooey chocolate chips to sprinkle-loaded no-bakes, there’s something for every craving and every schedule. Pick a recipe, grab a helper, and make a little magic in the kitchen—seriously, the smell alone is worth it.
Printable Recipe Card
Want just the essential recipe details without scrolling through the article? Get our printable recipe card with just the ingredients and instructions.