5 Cake Designs for Kids That Are Perfect for Birthday Parties (and Total Crowd-pleasers)
Planning a kid’s birthday cake that looks epic and actually tastes amazing? You’re in the right place. These five cake designs are playful, eye-popping, and surprisingly doable—no pastry degree required. We’re talking bold colors, simple decorating techniques, and flavors kids (and adults) actually crave.
Grab your spatula and a little food coloring—we’re about to turn your kitchen into a tiny cake studio. Ready to bake some birthday magic?
Disclosure: As Amazon Associates, we earn from qualifying purchases at no extra cost to you.
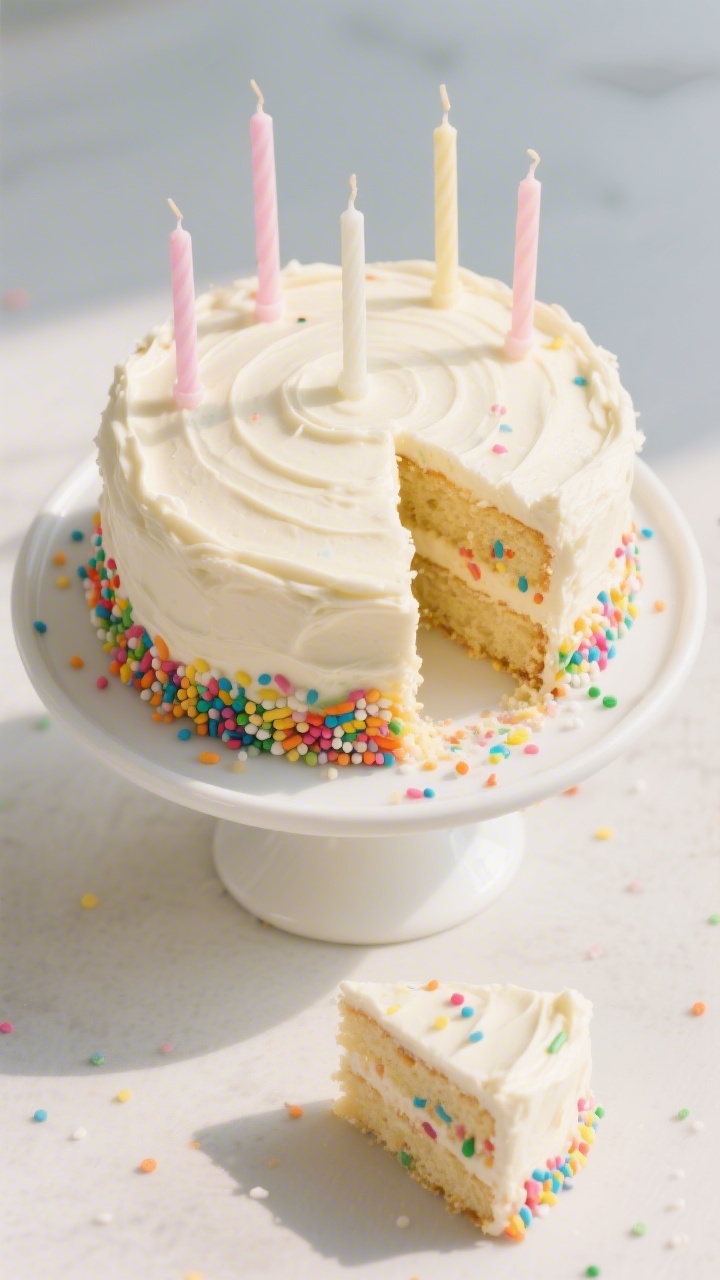
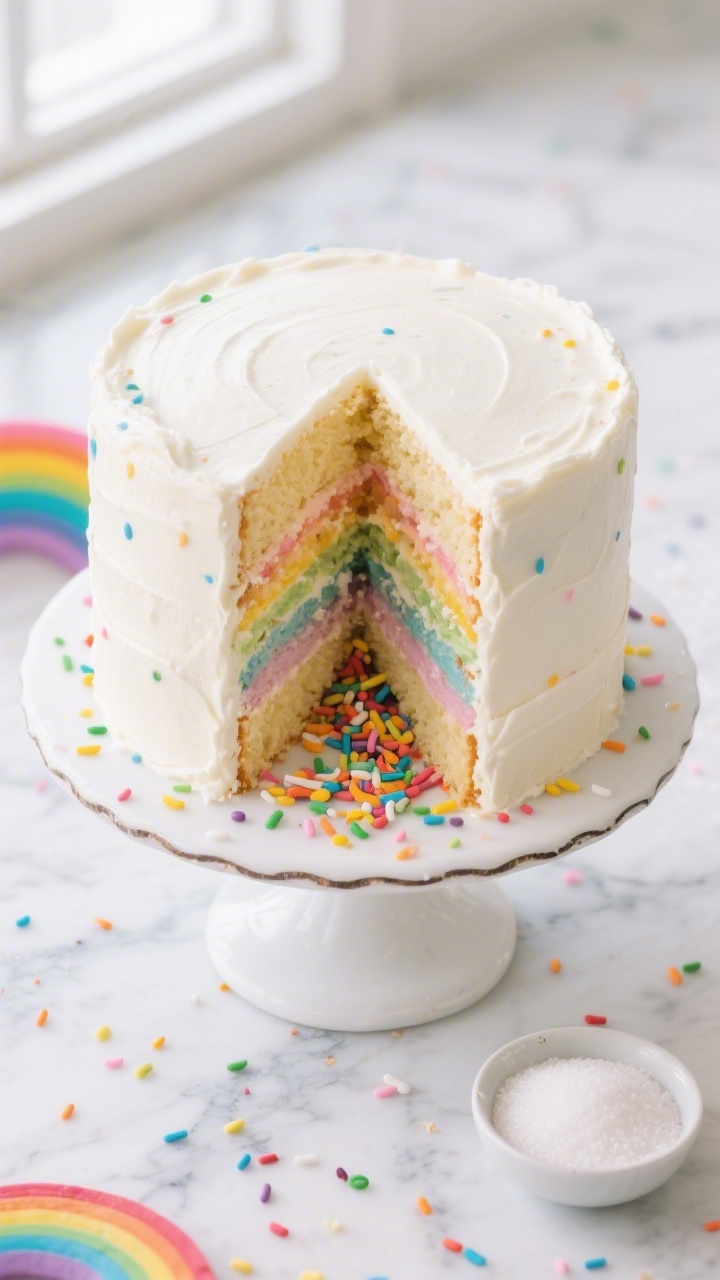
1. Rainbow Surprise Sprinkle Explosion Cake
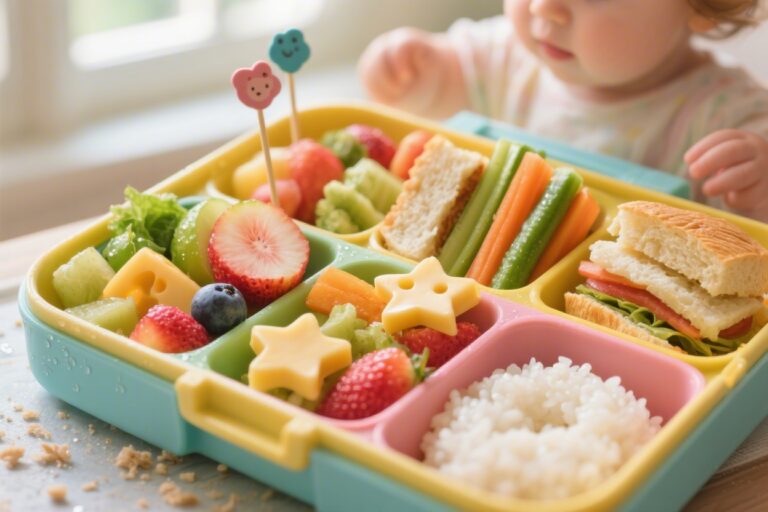
⭐ My secret tip – Ever since we started using this kids baking set, my toddler loves helping in the kitchen and is much more willing to try new foods. ✨ This is the blender we use for protein smoothies with yogurt, peanut butter, and fruit.
This is the showstopper that makes everyone gasp when you slice it. The center’s packed with sprinkles that tumble out like confetti—instant birthday vibes. It’s bright, happy, and the vanilla layers are super tender and buttery.
Ingredients:
- 3 cups (360 g) all-purpose flour
- 2 1/2 tsp baking powder
- 1/2 tsp baking soda
- 1 tsp fine salt
- 1 cup (225 g) unsalted butter, room temp
- 2 cups (400 g) granulated sugar
- 4 large eggs, room temp
- 1 Tbsp pure vanilla extract
- 1 1/2 cups (360 ml) buttermilk, room temp
- 1 1/2 cups rainbow sprinkles (jimmies), plus extra for coating
- 4 cups vanilla buttercream (store-bought or homemade)
- Gel food coloring (optional) for rainbow buttercream swirls
Instructions:
- Preheat oven to 350°F (175°C). Grease and line three 8-inch round cake pans with parchment.
- Whisk flour, baking powder, baking soda, and salt. Set aside.
- Cream butter and sugar with a mixer on medium-high until pale and fluffy, 3–4 minutes. Beat in eggs one at a time, then vanilla.
- Mix in dry ingredients alternately with buttermilk, starting and ending with dry. Fold in 3/4 cup sprinkles.
- Divide batter among pans and bake 23–27 minutes, until a toothpick comes out clean. Cool 10 minutes in pans, then turn out and cool completely.
- Use a 3-inch round cutter to remove the centers from two of the layers (leave the top layer intact).
- Place one “donut” layer on a board with a dab of frosting. Spread a thin layer of buttercream on top. Add the second “donut” layer, aligning the holes. Pour 3/4 cup sprinkles into the cavity.
- Top with the full, uncut layer. Crumb-coat the cake, chill 20 minutes, then frost smoothly.
- Press sprinkles up the sides for a fun confetti border. Swirl colored buttercream on top with a star tip, if you like.
Pro tip: Use jimmies (the longer sprinkles), not nonpareils—they bleed less. Serve with sparkler candles for drama, and try fun fillings like mini M&Ms or gummy bears for a twist.
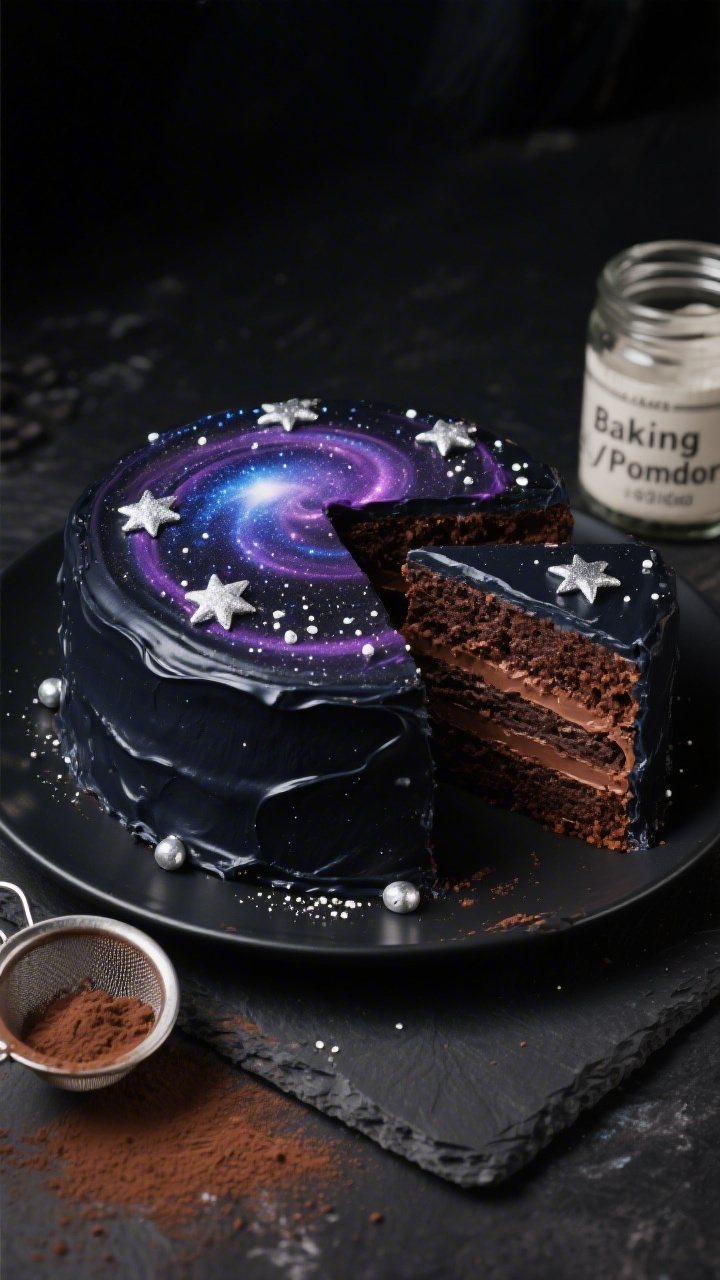
2. Galaxy Night Sky Chocolate Cake
⭐ My secret tip – Ever since we started using this kids baking set, my toddler loves helping in the kitchen and is much more willing to try new foods. ✨ This is the blender we use for protein smoothies with yogurt, peanut butter, and fruit.
Moody, sparkly, and cosmic—this cake is perfect for space lovers. The rich chocolate layers are insanely moist, and the galaxy buttercream is way easier than it looks. Add edible stars and you’ve got liftoff.
Ingredients:
- 2 cups (260 g) all-purpose flour
- 3/4 cup (75 g) unsweetened cocoa powder
- 2 cups (400 g) granulated sugar
- 2 tsp baking powder
- 1 1/2 tsp baking soda
- 1 tsp fine salt
- 1 cup (240 ml) whole milk
- 1/2 cup (120 ml) neutral oil
- 2 large eggs
- 2 tsp vanilla extract
- 1 cup (240 ml) hot coffee (or hot water)
- 5 cups vanilla buttercream
- Gel food coloring: navy, purple, black, teal, and a touch of pink
- Edible silver stars or white nonpareils
- Edible silver luster dust (optional)
Instructions:
- Heat oven to 350°F (175°C). Line three 8-inch pans with parchment and grease.
- Whisk flour, cocoa, sugar, baking powder, baking soda, and salt.
- Whisk in milk, oil, eggs, and vanilla until smooth. Carefully stir in hot coffee; batter will be thin.
- Divide between pans and bake 22–26 minutes, until set. Cool completely.
- Stack layers with a thin layer of buttercream between each. Crumb-coat and chill 20 minutes.
- Tint small bowls of buttercream in navy, purple, teal, black, and a tiny bit of pink. Dollop random patches around the cake, then use a bench scraper to smooth, letting colors streak into each other for a galaxy effect.
- Flick on edible silver luster dust mixed with a few drops of vodka or lemon extract to create “stars,” or scatter edible star sprinkles.
Serving tip: Top with chocolate planets (truffles rolled in luster dust) and a toy rocket. For a lighter option, swap chocolate cake for vanilla funfetti—space but make it party.
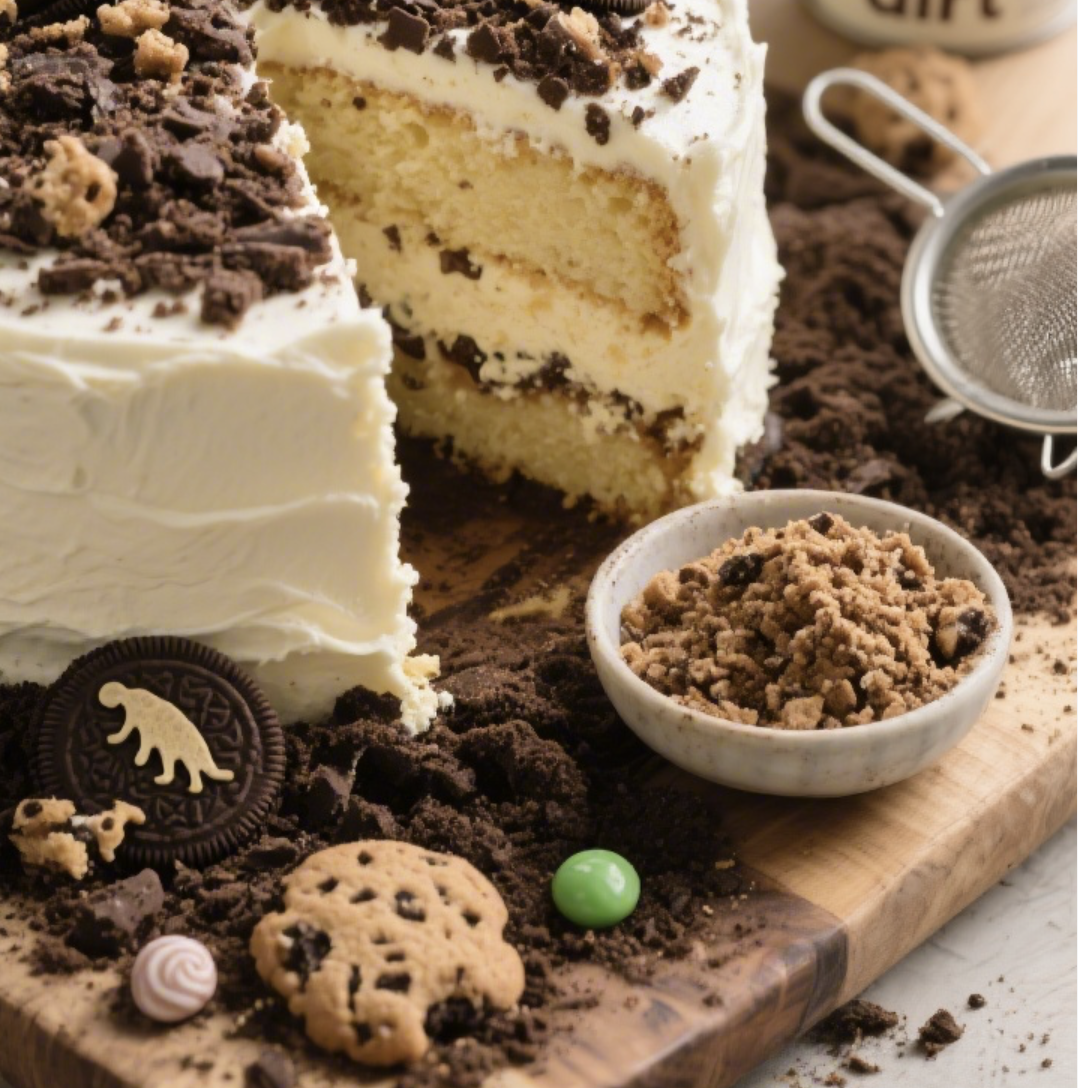
3. Dino Dig Cookie Crumble Cake
⭐ My secret tip – Ever since we started using this kids baking set, my toddler loves helping in the kitchen and is much more willing to try new foods. ✨ This is the blender we use for protein smoothies with yogurt, peanut butter, and fruit.
Archaeology meets dessert. This vanilla cake hides “fossils” in a cookie crumble topping that kids can excavate. It’s playful, tactile, and gloriously messy—in the best way.
Ingredients:
- 2 1/2 cups (300 g) all-purpose flour
- 2 tsp baking powder
- 1/2 tsp baking soda
- 3/4 tsp fine salt
- 3/4 cup (170 g) unsalted butter, room temp
- 1 3/4 cups (350 g) granulated sugar
- 3 large eggs, room temp
- 2 tsp vanilla extract
- 1 1/4 cups (300 ml) buttermilk
- 4 cups vanilla or cream cheese frosting
- 3 cups crushed vanilla sandwich cookies (or graham crackers) for “sand”
- 2 Tbsp cocoa powder (to darken some crumbs)
- White candy melts or white chocolate for “fossils”
- Small plastic dinosaur figurines (decor only, not for baking)
- Green frosting or candy for “plants”
Instructions:
- Preheat to 350°F (175°C). Prep two 9-inch cake pans with parchment and grease.
- Whisk flour, baking powder, baking soda, and salt.
- Cream butter and sugar until fluffy. Beat in eggs one by one, then vanilla.
- Add dry ingredients alternately with buttermilk. Mix just to combine.
- Bake 25–30 minutes, cool completely.
- Melt candy melts and pipe simple fossil shapes (bones, leaves) onto parchment. Chill to set.
- Frost the first layer, add the second, and crumb-coat. Chill 15 minutes, then add a final thin coat on top only.
- Mix crushed cookies with a little cocoa powder to vary the “sand” tones. Gently pile on top, pressing lightly so it adheres.
- Arrange white chocolate “fossils” peeking through the crumb layer. Add mini dinos and green frosting tufts for bushes.
Variation: Swap vanilla cake for chocolate and use crushed chocolate cookies for a “volcanic dig.” Serve with a small pastry brush and spoons so kids can dust off fossils—seriously, they love it.
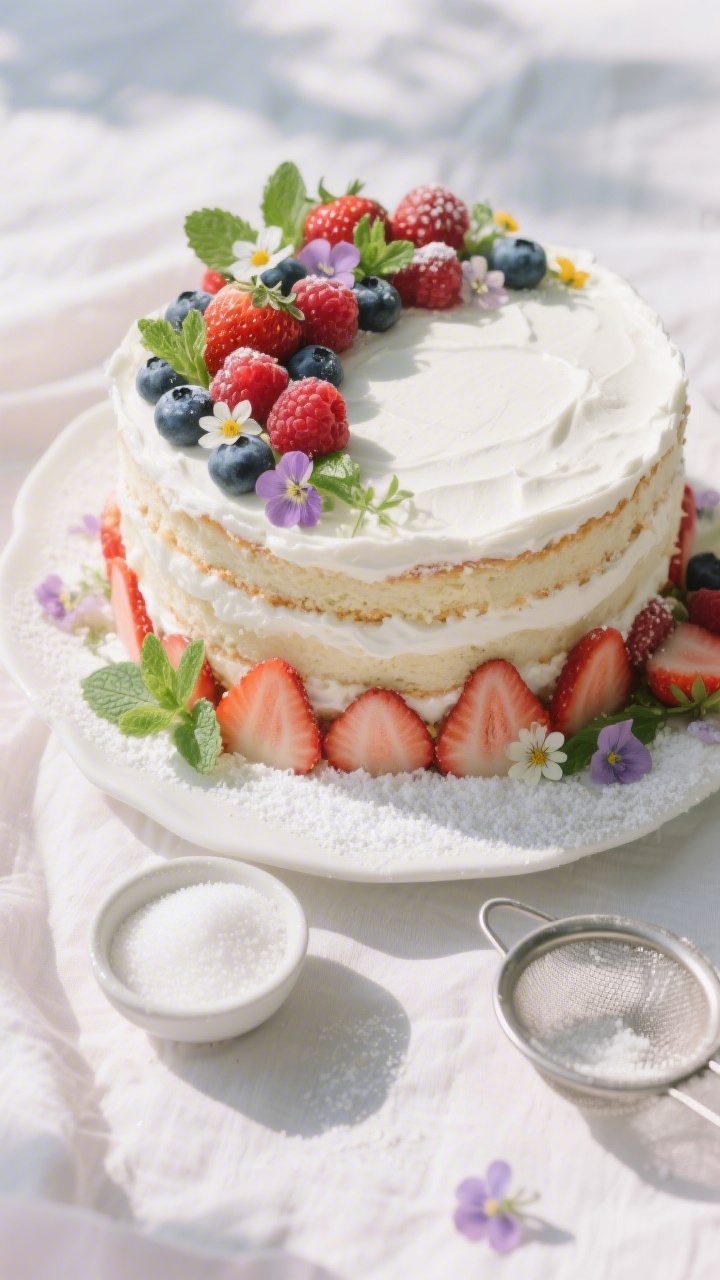
4. Fruit-Fairy Garden Naked Cake
⭐ My secret tip – Ever since we started using this kids baking set, my toddler loves helping in the kitchen and is much more willing to try new foods. ✨ This is the blender we use for protein smoothies with yogurt, peanut butter, and fruit.
Light, fresh, and whimsical—this one’s for the kid who loves butterflies and fairy tales. The barely-there frosting lets the layers show through, and the fruit keeps it bright and juicy. It’s elegant but still super kid-friendly.
Ingredients:
- 3 cups (360 g) cake flour (or all-purpose sifted well)
- 1 Tbsp baking powder
- 1/2 tsp fine salt
- 1 cup (225 g) unsalted butter, room temp
- 1 3/4 cups (350 g) granulated sugar
- 5 large egg whites, room temp
- 1 Tbsp vanilla extract
- 1 1/4 cups (300 ml) whole milk, room temp
- 2 cups whipped mascarpone frosting (mascarpone + lightly sweetened whipped cream)
- 1 cup lemon curd (store-bought or homemade)
- Fresh berries: 1 cup sliced strawberries, 1 cup blueberries, 1 cup raspberries
- Edible flowers (unsprayed) or butterfly cake toppers
- Powdered sugar for dusting
Instructions:
- Heat oven to 350°F (175°C). Line three 8-inch pans with parchment and grease.
- Whisk flour, baking powder, and salt.
- Cream butter and sugar until fluffy. Beat in egg whites gradually, then vanilla.
- Add dry ingredients alternately with milk, mixing just to combine.
- Divide batter and bake 22–25 minutes. Cool completely.
- Layer cake: spread a thin layer of mascarpone frosting, dollop lemon curd, then scatter berries. Repeat with second layer.
- Top with the final layer. Swipe a very thin coat of frosting around the sides, scraping so the cake peeks through—the classic “naked” look.
- Chill 20 minutes. Decorate top with berries and edible flowers. Dust with powdered sugar.
Pro tip: Pat berries dry so the frosting doesn’t slip. For extra fairy sparkle, brush a little thinned honey on the berries and dust with superfine sugar right before serving.
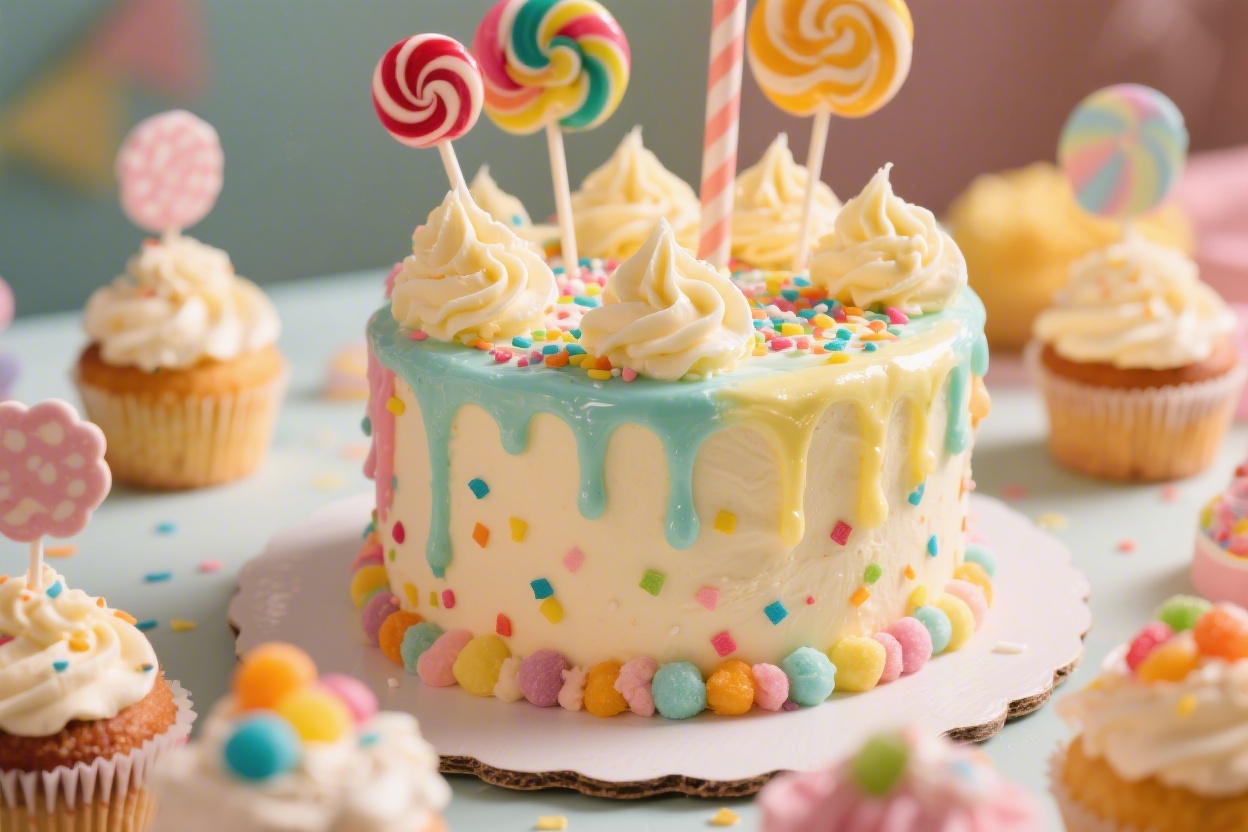
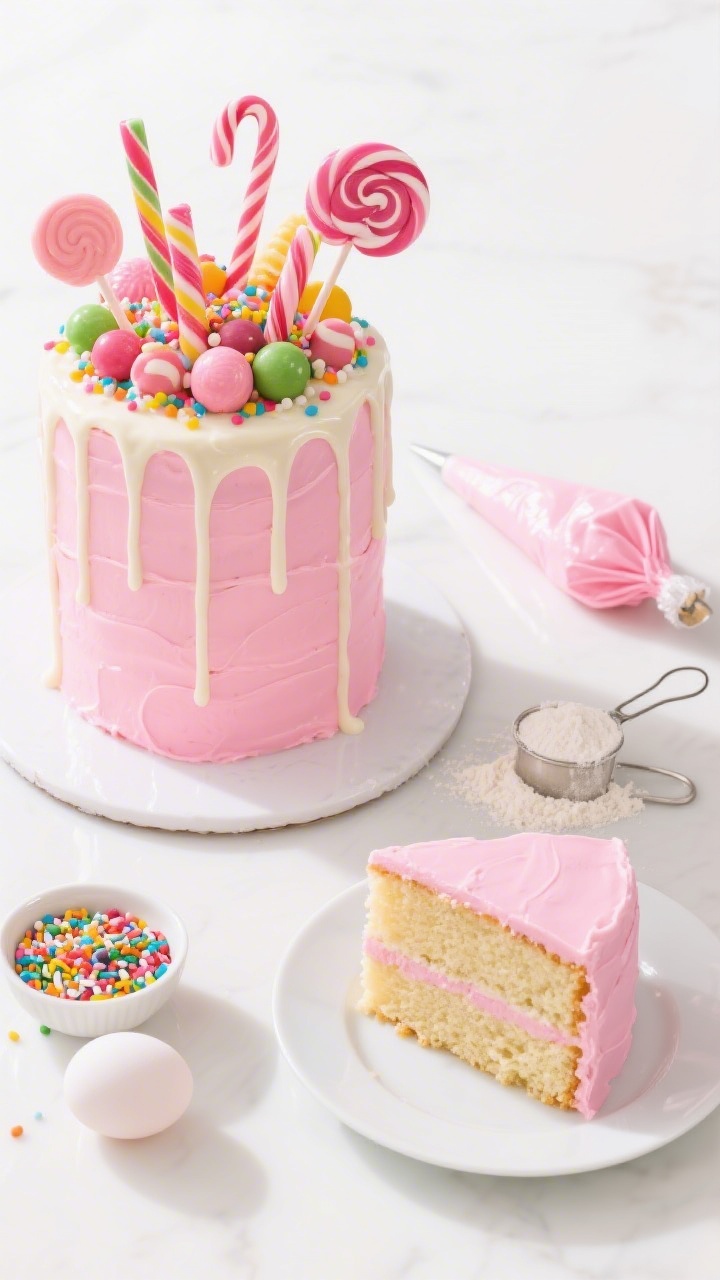
5. Candy Shop Drip Cake With Bubblegum Pink Buttercream
⭐ My secret tip – Ever since we started using this kids baking set, my toddler loves helping in the kitchen and is much more willing to try new foods. ✨ This is the blender we use for protein smoothies with yogurt, peanut butter, and fruit.
It’s a candy lover’s dream: fluffy layers, a silky chocolate drip, and a candy crown on top. This design looks like a bakery cake but uses simple, kid-proof techniques. It’s loud, it’s sweet, and it screams “birthday.”
Ingredients:
- 2 1/4 cups (280 g) all-purpose flour
- 2 tsp baking powder
- 1/2 tsp baking soda
- 3/4 tsp fine salt
- 3/4 cup (170 g) unsalted butter, room temp
- 1 1/2 cups (300 g) granulated sugar
- 3 large eggs, room temp
- 2 tsp vanilla extract
- 1 cup (240 ml) whole milk, room temp
- Pink gel food coloring
- 5–6 cups vanilla buttercream, tinted bubblegum pink
- Chocolate drip: 1/2 cup (120 ml) heavy cream + 3/4 cup (130 g) semi-sweet chocolate chips
- Assorted candies: lollipops, rock candy sticks, gummy bears, marshmallows, mini cookies, confetti sprinkles
Instructions:
- Preheat to 350°F (175°C). Line three 6-inch pans (or two 8-inch) with parchment and grease.
- Whisk flour, baking powder, baking soda, and salt.
- Cream butter and sugar until pale. Beat in eggs one at a time, then vanilla.
- Mix in dry ingredients alternately with milk. Tint batter lightly pink.
- Bake 20–24 minutes (6-inch) or 24–28 minutes (8-inch). Cool completely.
- Stack layers with pink buttercream between. Crumb-coat and chill 20 minutes; apply a smooth final coat. Chill again 15 minutes.
- Make drip: heat cream to steaming, pour over chocolate chips, rest 2 minutes, then stir smooth. Cool to just barely warm—thick but pourable.
- Spoon or bottle the ganache around the top edge, nudging drips over the sides. Fill in the center thinly. Chill 10 minutes to set.
- Create a candy crown on top: anchor larger pieces (lollipops, rock candy) first, then fill gaps with gummies, marshmallows, and sprinkles.
Variation: Go mint-chip: tint frosting pale mint green and use white chocolate drip. For a less-sweet version, add a thin layer of tart raspberry jam inside to balance the candy.
Make-Ahead, Tools, and Frosting Tips
Want smoother finishes and stress-free party day assembly? Here are a few quick wins:
- Bake layers 1–2 days ahead, wrap tightly, and chill. Cold cake is easier to frost cleanly.
- Use a turntable and offset spatula for neat sides. A bench scraper is your best friend for smooth finishes.
- For vibrant hues, use gel food coloring—less liquid, more punch.
- Always do a quick crumb coat and chill. It locks in stray crumbs so your final layer looks pro.
Flavor Boosters Kids Actually Love
- Swirl in 1 tsp almond extract with vanilla for bakery-style depth.
- Brush cake layers with vanilla milk (milk + a little vanilla and sugar) to keep them ultra-moist.
- Filling ideas: cookie butter, chocolate hazelnut spread, strawberry jam, or lemon curd between layers.
Allergy-Friendly Swaps
- Dairy-free: Use plant milk and dairy-free butter; swap ganache with coconut milk + dairy-free chocolate.
- Egg-free: Use a reliable egg replacer or flax eggs in sturdy vanilla or chocolate sponge recipes.
- Gluten-free: Use a 1:1 gluten-free baking blend; add an extra splash of milk if the batter seems thick.
Ready to pick your party centerpiece? Whether you go full sprinkle explosion or keep it whimsical with a fairy garden, these five cake designs bring big smiles and bigger flavor. Take your time, have fun with the decorating, and don’t stress the imperfections—kids love the color and the drama way more than perfection. Now grab your whisk and make some birthday magic, trust me, you’ve got this.
Printable Recipe Card
Want just the essential recipe details without scrolling through the article? Get our printable recipe card with just the ingredients and instructions.